
How to Start Studio Photography Business From Home | Portfolio, Clients, and Pricing!
Starting a studio photography business from home is easily doable with the right setup! You don't need a huge space or tons of gear to start either. With just a few key items, you can snap pics that give the pros a run for their money.

All imagery featured created by Mainstream Multi-Media
4 Steps to Starting a Studio Photography Business From Home
Types of Product Photography
Setting Up Your Home Studio
Building a Portfolio
What to Charge for Brand Photography
Step 1: Types of Product Photography
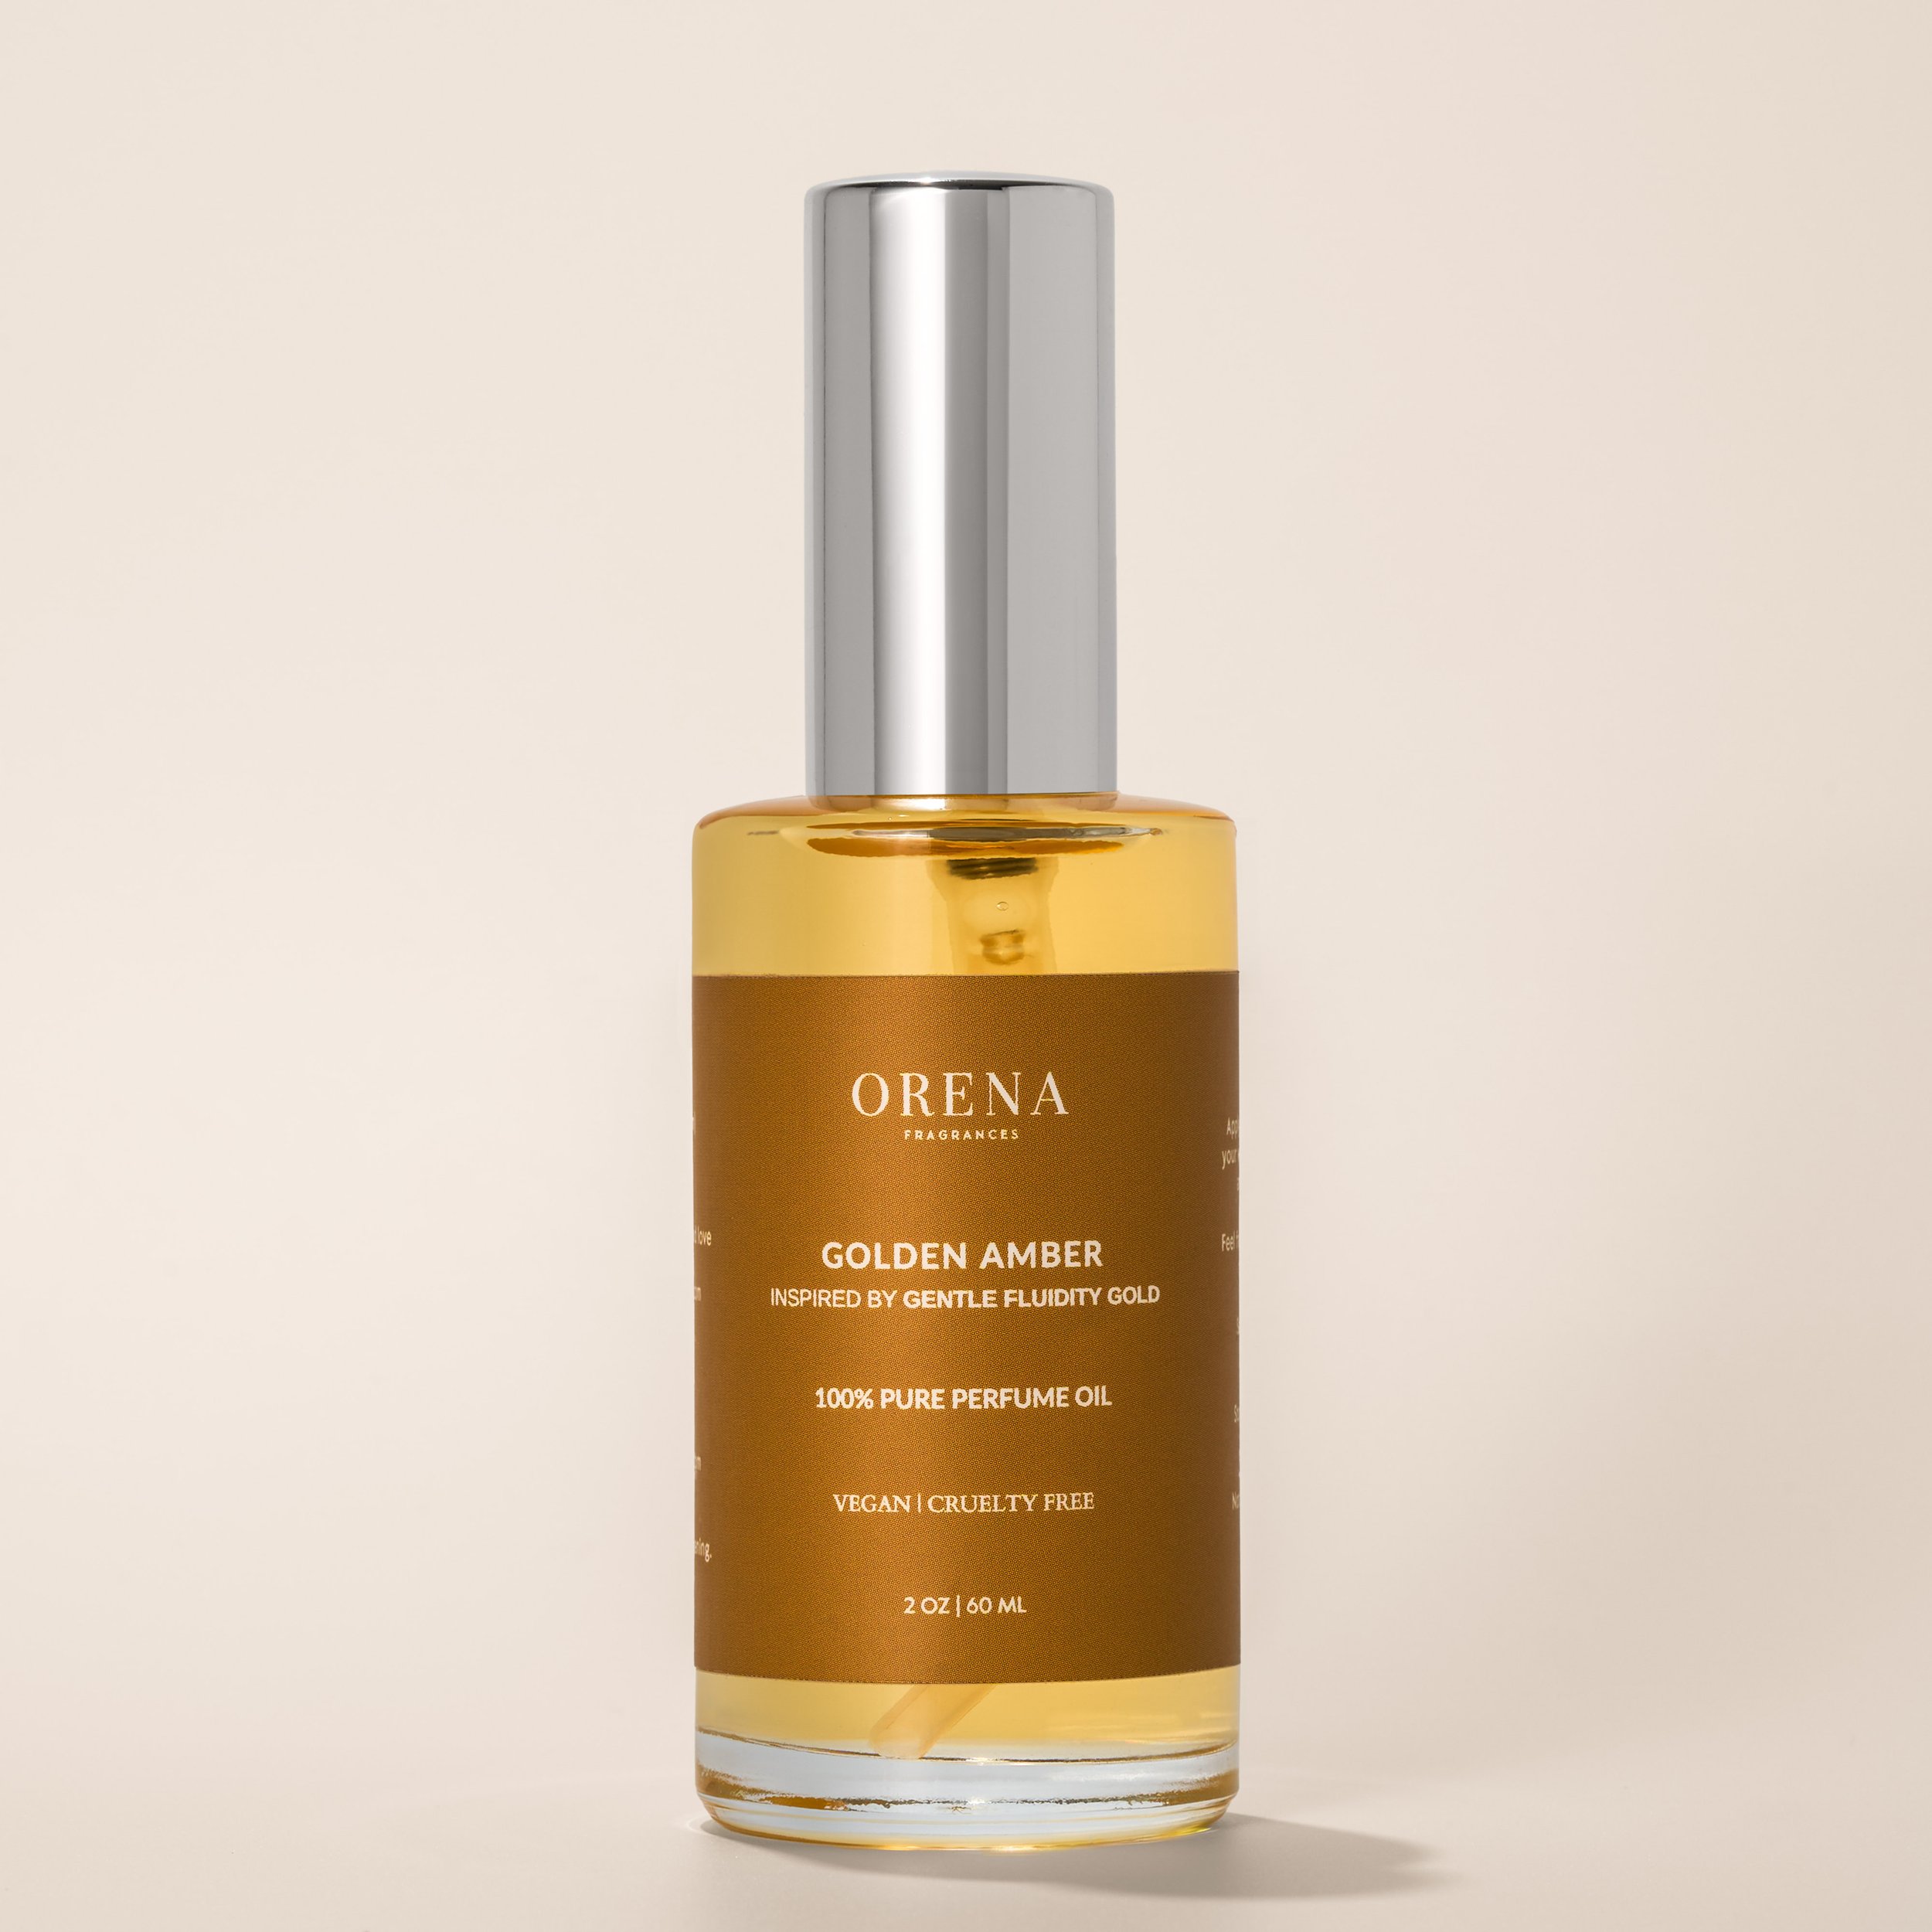
Product photography involves capturing high-quality images of products to showcase their features and appeal. However, there are various ways to capture a product. Whether it's skincare, food, or jewelry, each category comes with its own secrets to make them look their best. Knowing these styles not only boosts your creativity but also helps you nail the perfect shots for any product you're working with.
White Backdrop/Product Packaging Shots:
This classic style involves photographing the product against a plain white background. It's ideal for e-commerce platforms as it emphasizes the product itself without distractions.
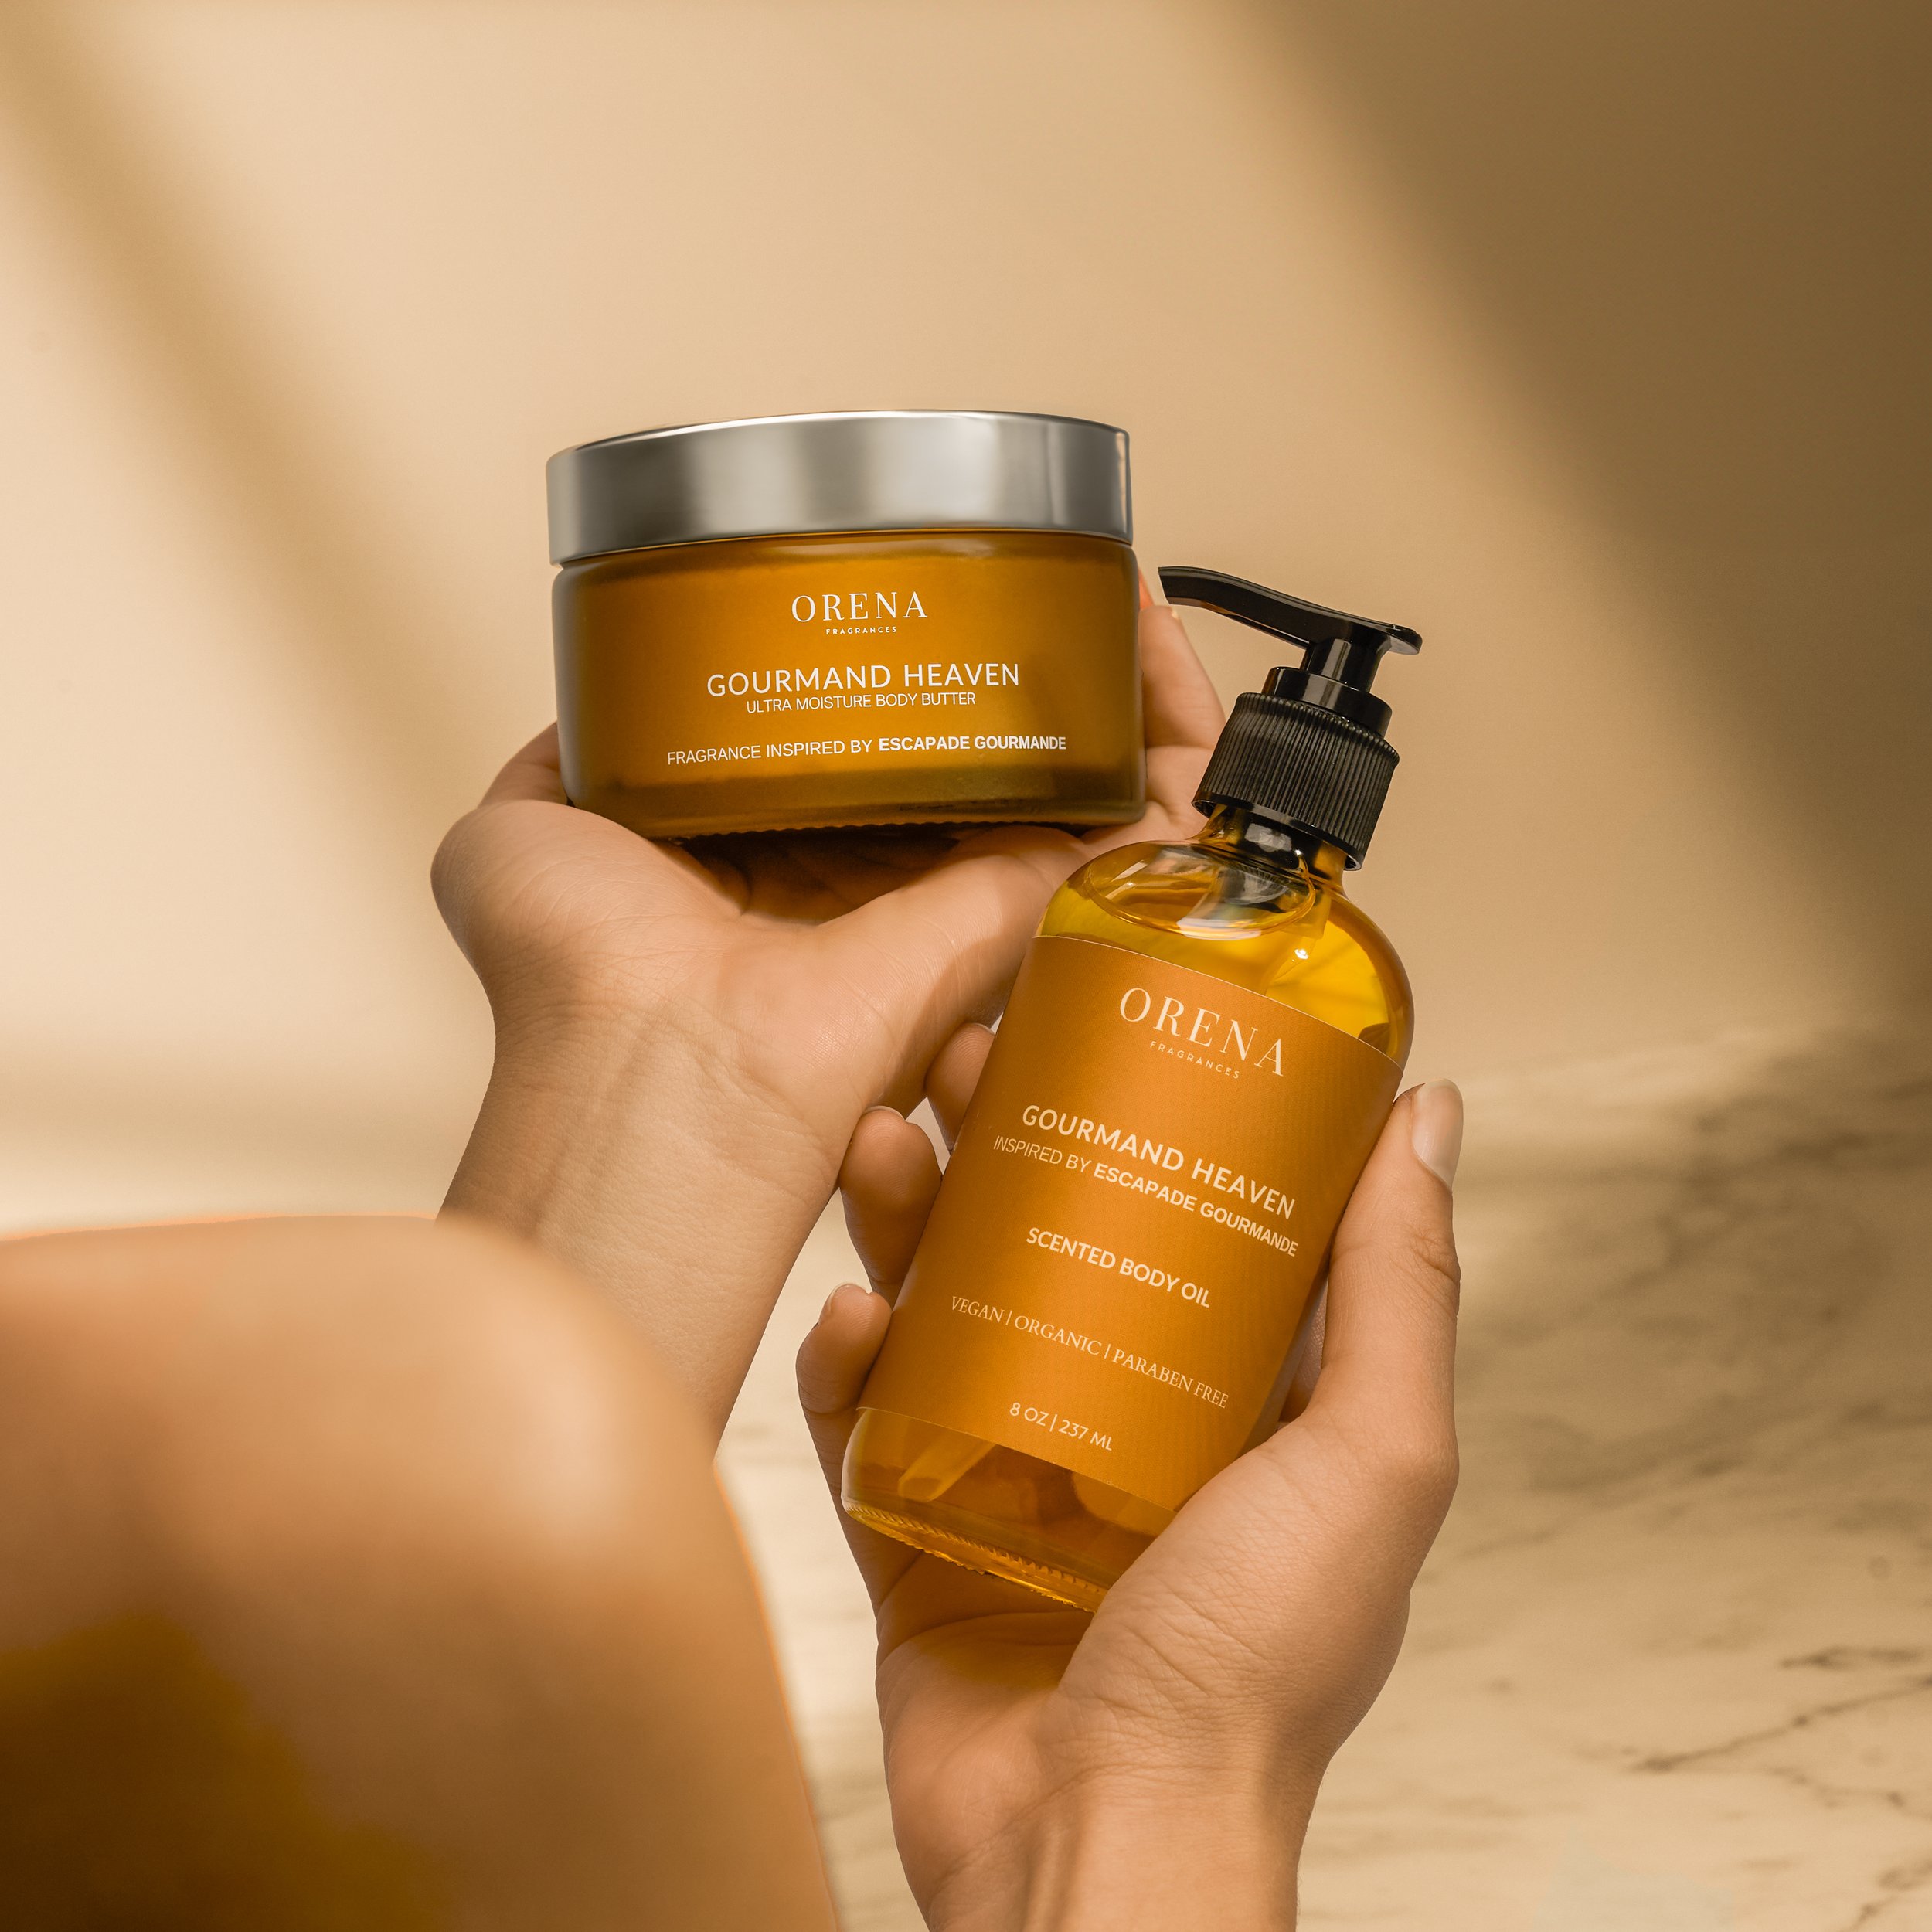
Lifestyle Product Photography:
These shots depict the product being used in a real-life setting. For example, a camera shown being used by a photographer or a piece of furniture in a living room setting. This style helps consumers visualize how the product fits into their daily lives.

Macro/Detail Shots:
Macro images highlight specific features, textures, or intricate details of the product. This type of photography is common for jewelry, watches, and high-end electronics.
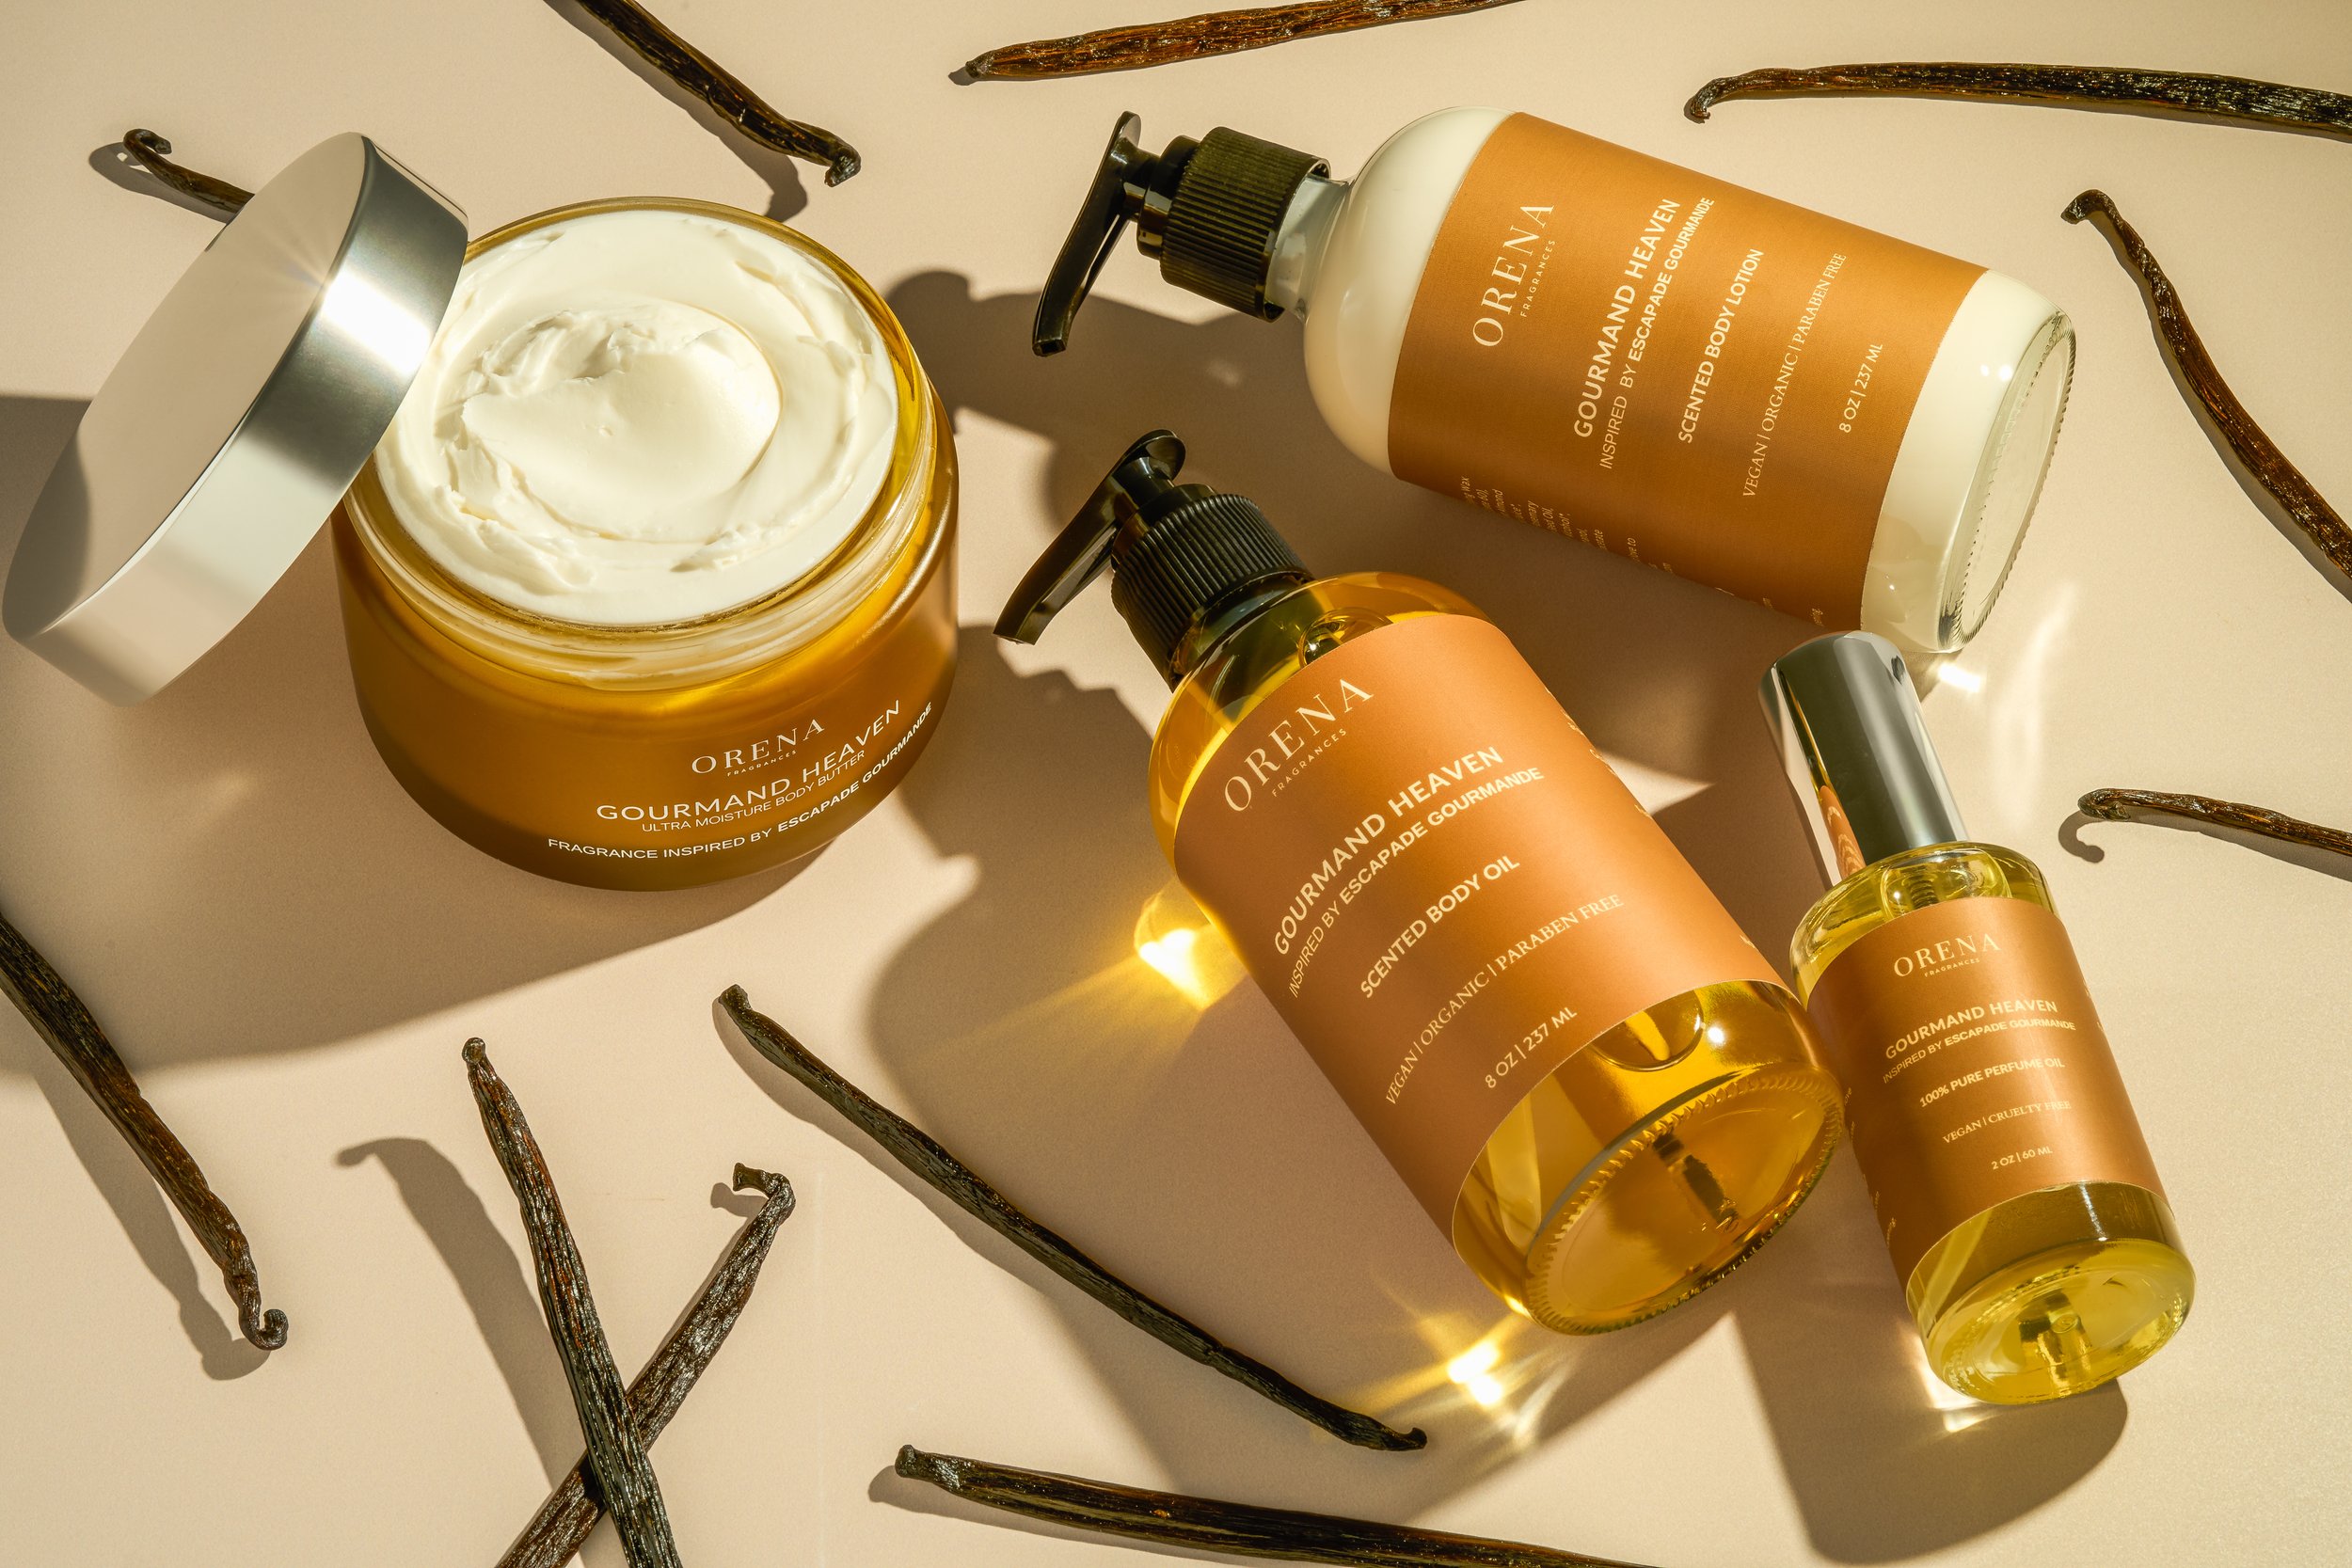
Flat Lay Photography:
Products are arranged flat on a surface and photographed from above. This style works well for showcasing multiple items together, such as accessories, cosmetics, or food items.

Creative Product Photography:
This type involves using artistic techniques, props, and creative compositions to showcase products in a unique and visually engaging way. It's often used for advertising campaigns or promotional materials.
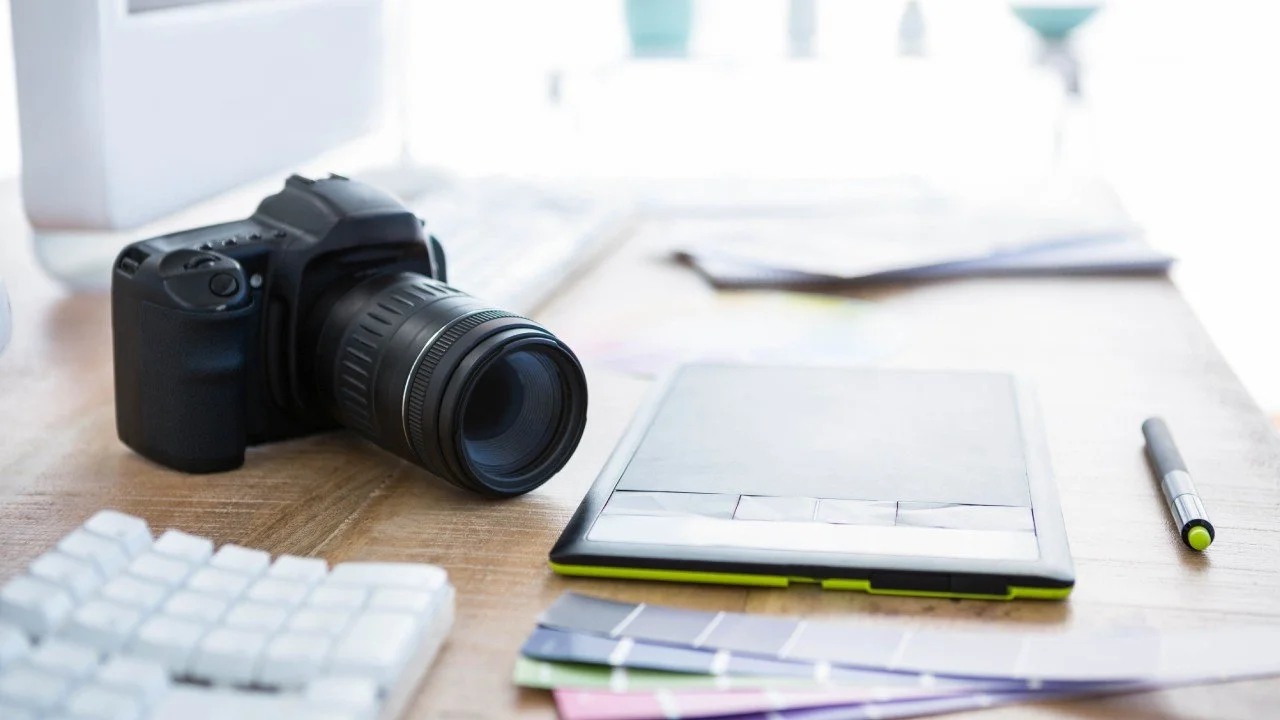
Step 2: Setting Up Your Home Studio
Tripod: A stable tripod is essential for ensuring sharp, blur-free images, especially when shooting products at close range or in low light conditions.
Professional Camera: A good DSLR or mirrorless camera is your ticket to capturing high-quality images. Look for one with manual controls so you can adjust settings like aperture and shutter speed—essential for product photography.
Studio Lights: Lighting is key! You have a couple of options here—continuous lights, strobe lights, or hybrid lights. Hybrid lights are a great option because they give you the best of both worlds. We recommend starting out with at least 2 lights for maximum flexibility when lighting your scene.
Backdrops: Start with basic colors like white, tan, and gray. They are the most versatile and keep the focus on your products without distractions!
Step 3: How to Build a Portfolio
Creating a strong portfolio is probably the most important part of landing your first client. Focus on capturing a variety of images that showcase your skills—product shots, lifestyle images, and anything else that highlights your ability to tell a brand’s story visually.
Once you have a few shoots under your belt, carefully select the best images that represent your style and versatility. Quality over quantity is key here. Your portfolio should be a curated collection that reflects your expertise and the type of work you want to attract in the future.
Start with Diverse Shots: be sure to capture a variety of angles so that your portfolio feels exciting to view. Aim for a range of styles and settings to showcase your ability to adapt to different products and client needs.
Focus on Quality: Emphasize quality over quantity! Select your best shots that exhibit excellent lighting, composition, and attention to detail. Each image should reflect your ability to capture the essence and appeal of products effectively.
Consider using a professional website platform to showcase your portfolio, and update it regularly as you complete new projects. This is your chance to make a strong first impression, so make sure your portfolio is polished and reflects the best of what you can offer.
Step 4: What to Charge for Brand Photography
Setting your rates as a brand photographer can be tricky, especially when you're starting out. A good place to begin is by understanding your costs—everything from your equipment and software to your time spent shooting and editing. Make sure your pricing covers these expenses, plus a margin that compensates you fairly for your work.
Next, research what other photographers in your area or niche are charging. While this gives you a ballpark figure, remember that your unique style and the value you bring to clients can justify higher rates. If you're just beginning, you might offer lower rates to build your portfolio, but as you gain experience, don’t hesitate to increase your prices.
Here are some pricing recommendations to help you get started:
Beginner photographers: $50-$100 per hour or $300-$500 for a basic package (a small set of images for social media).
Intermediate photographers: $100-$200 per hour or $500-$1,000 for a mid-tier package (more images, possibly including a short video).
Experienced photographers: $200+ per hour or $1,000+ for a premium package (extensive image sets, videos, and possibly licensing fees).
🎯 Ready to Turn Your Home Studio into a Thriving Business?
Building a home studio is step one — but landing consistent, high-paying clients is what turns your photography dream into a full-time business.
If you're serious about growing your studio into a real source of income, you need a strategy that goes beyond "post and pray."
That's exactly why we created the 5-Day Client Booking Blueprint — a fast-track system designed to help photographers like you:
✅ Start pitching yourself with confidence (without feeling awkward)
✅ Create a portfolio that actually attracts dream clients
✅ Set up simple systems that turn inquiries into paid bookings
✅ Understand the real steps to grow a profitable photography business
In just five days, you'll have a real plan — not just a hope.
👉🏼 Grab the 5-Day Client Booking Blueprint Here and start building the business (and freedom) you want.

Frequently Asked Questions
What camera is best for studio photography?
We favor using a Sony A7III with a 90MM Macro lens
What is the best lighting setup for studio photography?
While professional lighting setups offer versatility, you can start with natural light and gradually invest in affordable lighting solutions.
What software should I use for photo editing?
Adobe Lightroom and Photoshop are industry-standard tools for editing and retouching photos.
How do I find clients for studio photography?
Check out this Free Mini-Course to learn how to land and retain clients!
What is Studio Photography?
Product photography is the art of capturing appealing and attractive images of products to showcase their features and qualities to potential customers.
More Articles

Product videos are a powerful tool for brands looking to engage their audience and drive conversions. From studio shots to lifestyle moments, the right video can make all the difference. This article explores the key types of product videos that help brands connect with their customers and elevate their marketing strategies.