10 Tips for Perfect Product Photography Lighting
In the world of product photography, lighting is one of the most crucial factors in creating eye-catching images. It can create mood, depth, and texture in your photos. There are two types of lighting to consider - natural and artificial. While natural lighting can provide a warm and organic look, it can also be unpredictable and challenging to control. In this article, we'll explore some tips for perfecting your product photography lighting, whether you choose to work with natural lighting, artificial lighting, or a combination of the two. By following these tips, you'll be able to create images that showcase your product in the best possible light.

Product Picture Created for Treo Home by Mainstream Multi-Media
Understanding Lighting
Before diving into the tips, it's important to understand the basics of lighting. Lighting has a significant impact on the look and feel of your product photos. Lighting can create mood, depth, and texture. There are two types of lighting - natural and artificial.
Natural Lighting
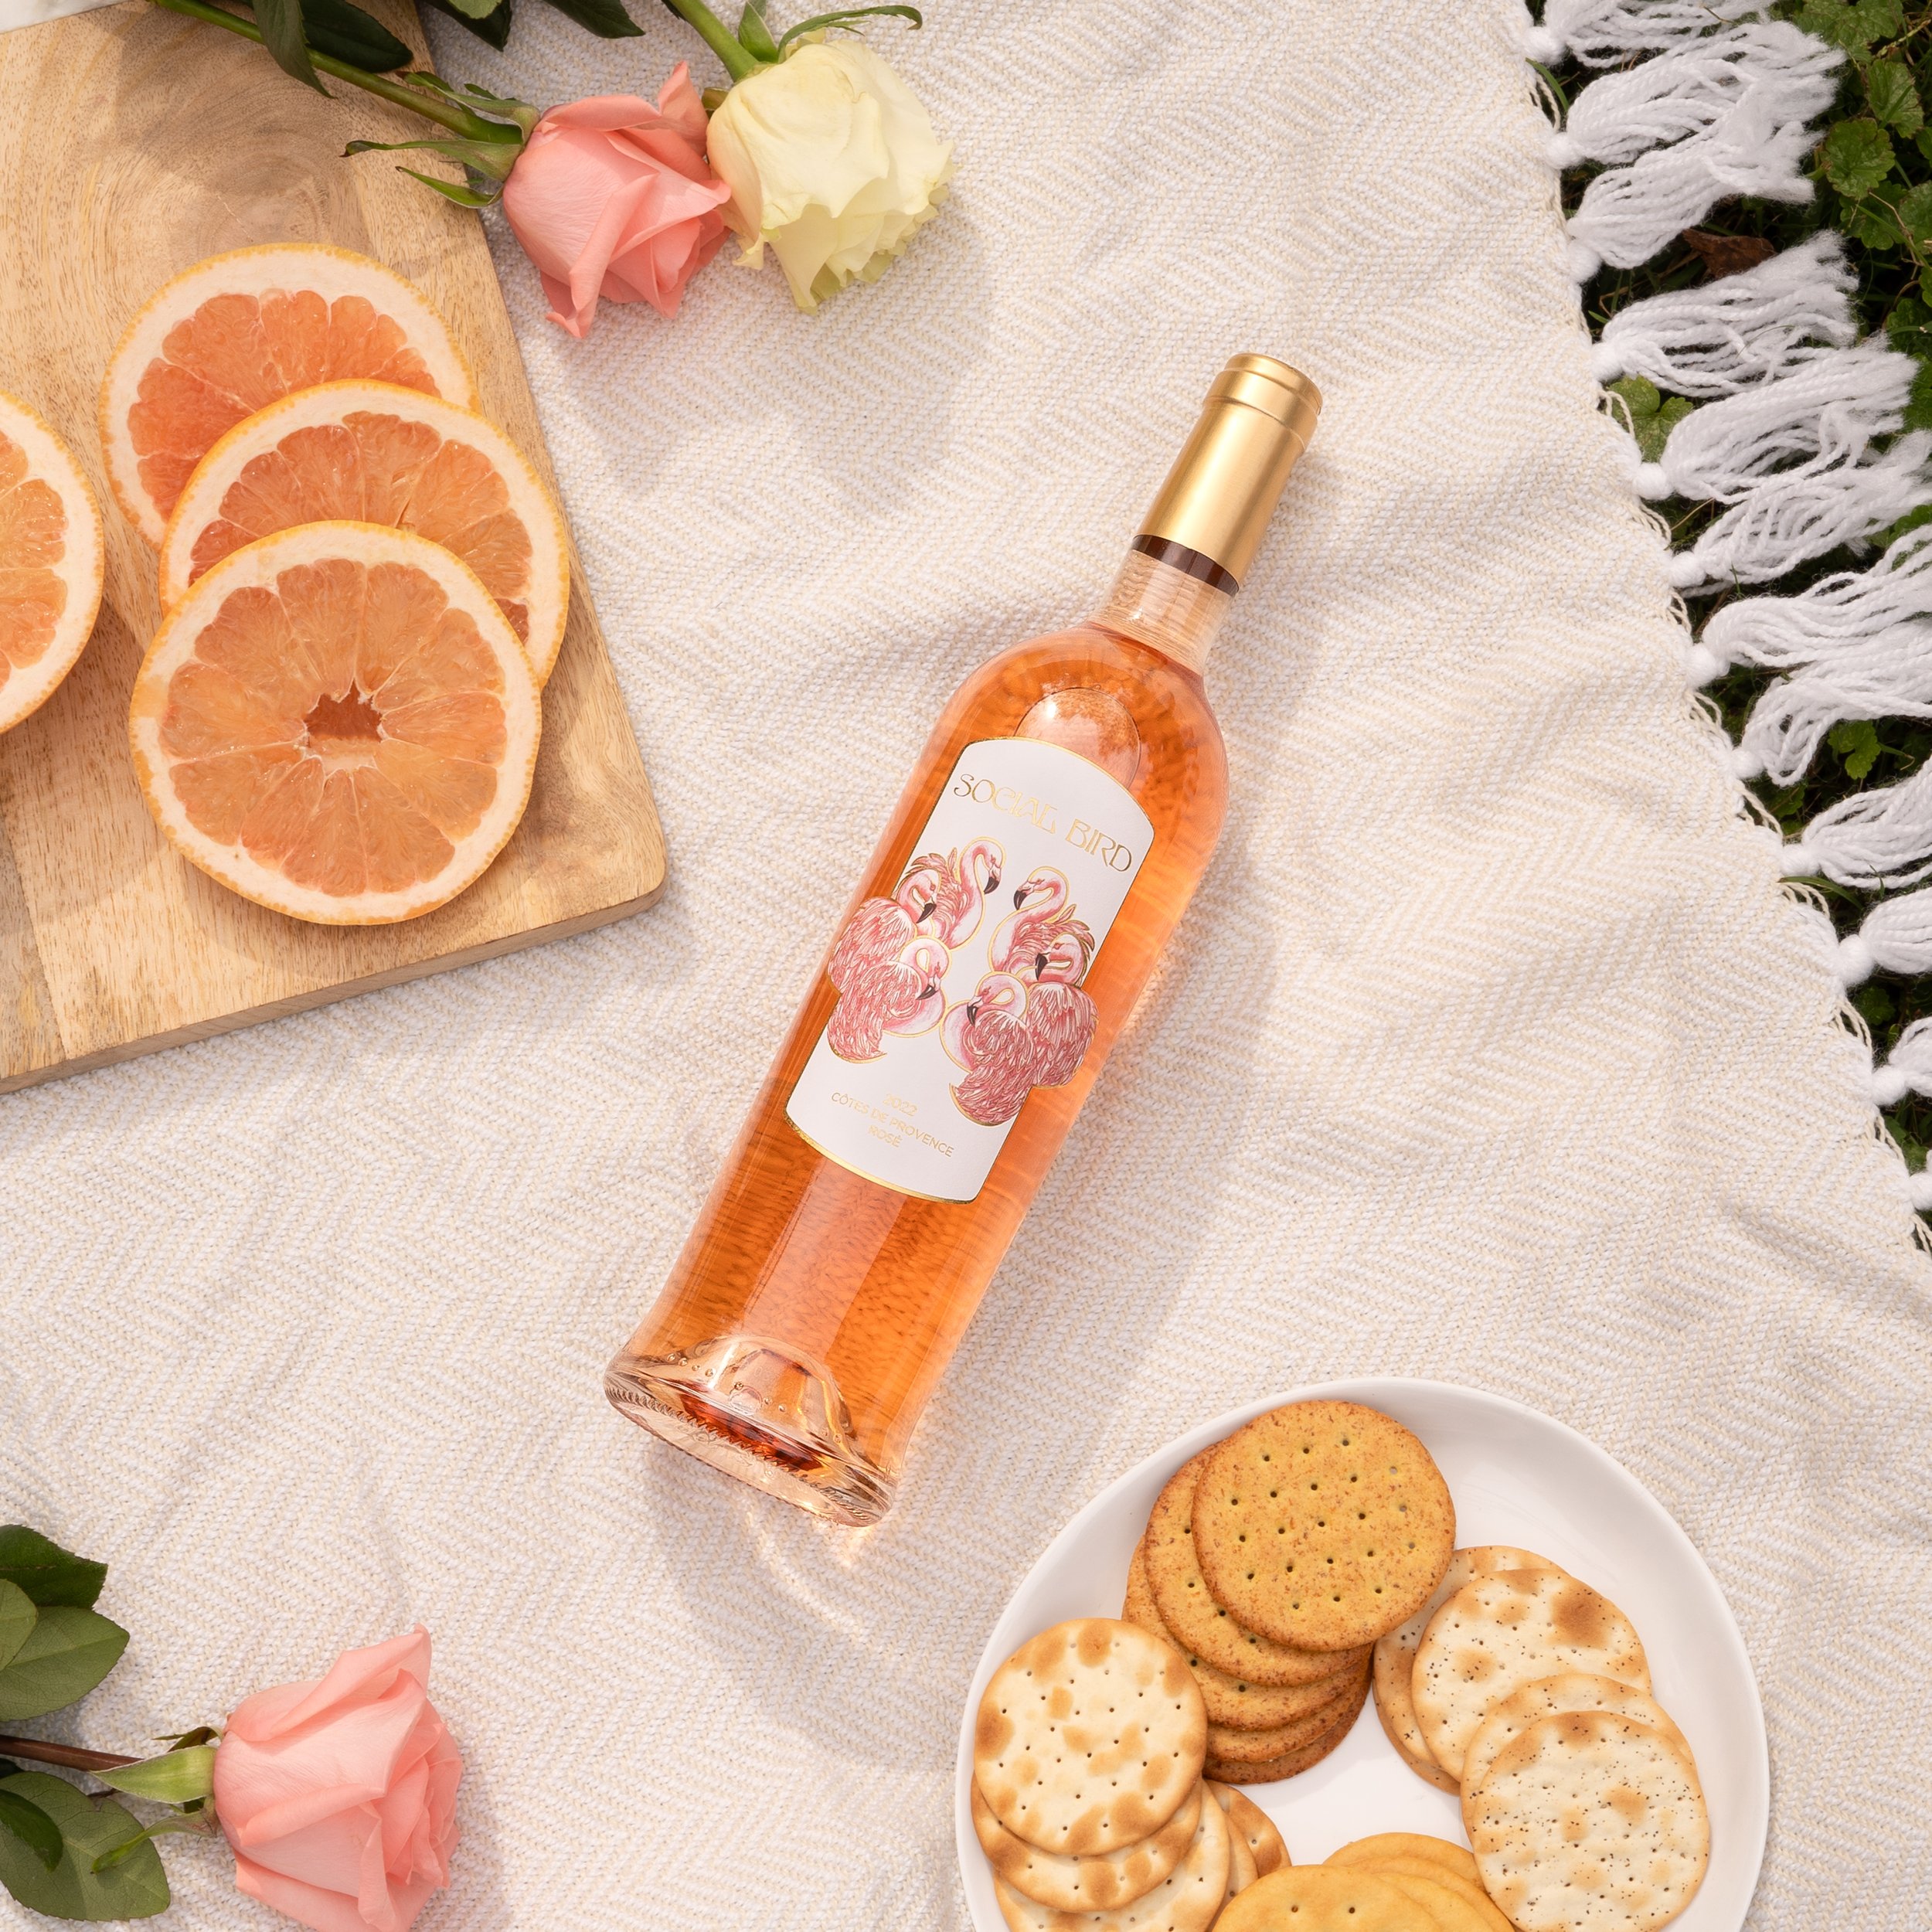
Natural daylight can be a fantastic option for creating an organic and natural look in your photography. It can help to bring out the natural colors and textures of a product. However, natural lighting can also be unpredictable and difficult to control, making it challenging to achieve consistent results. For this reason, some photographers may choose to use artificial lighting in combination with natural lighting to create a more controlled and consistent lighting environment. Whether using natural lighting alone or in combination with artificial lighting, you must carefully consider the lighting conditions to achieve the best results for your product photography.

Folding Light Reflector
Another way to gain more control when using natural light is to use a pop-up diffuser. These are used to soften or bounce light from your light source onto your scene. You can then control the direction and intensity of the light being filtered or bounced into your scene by moving the panel around your subject. This tool can be used to fill shadows, soften the intensity of direct light, or simply better balance reflections on the packaging.
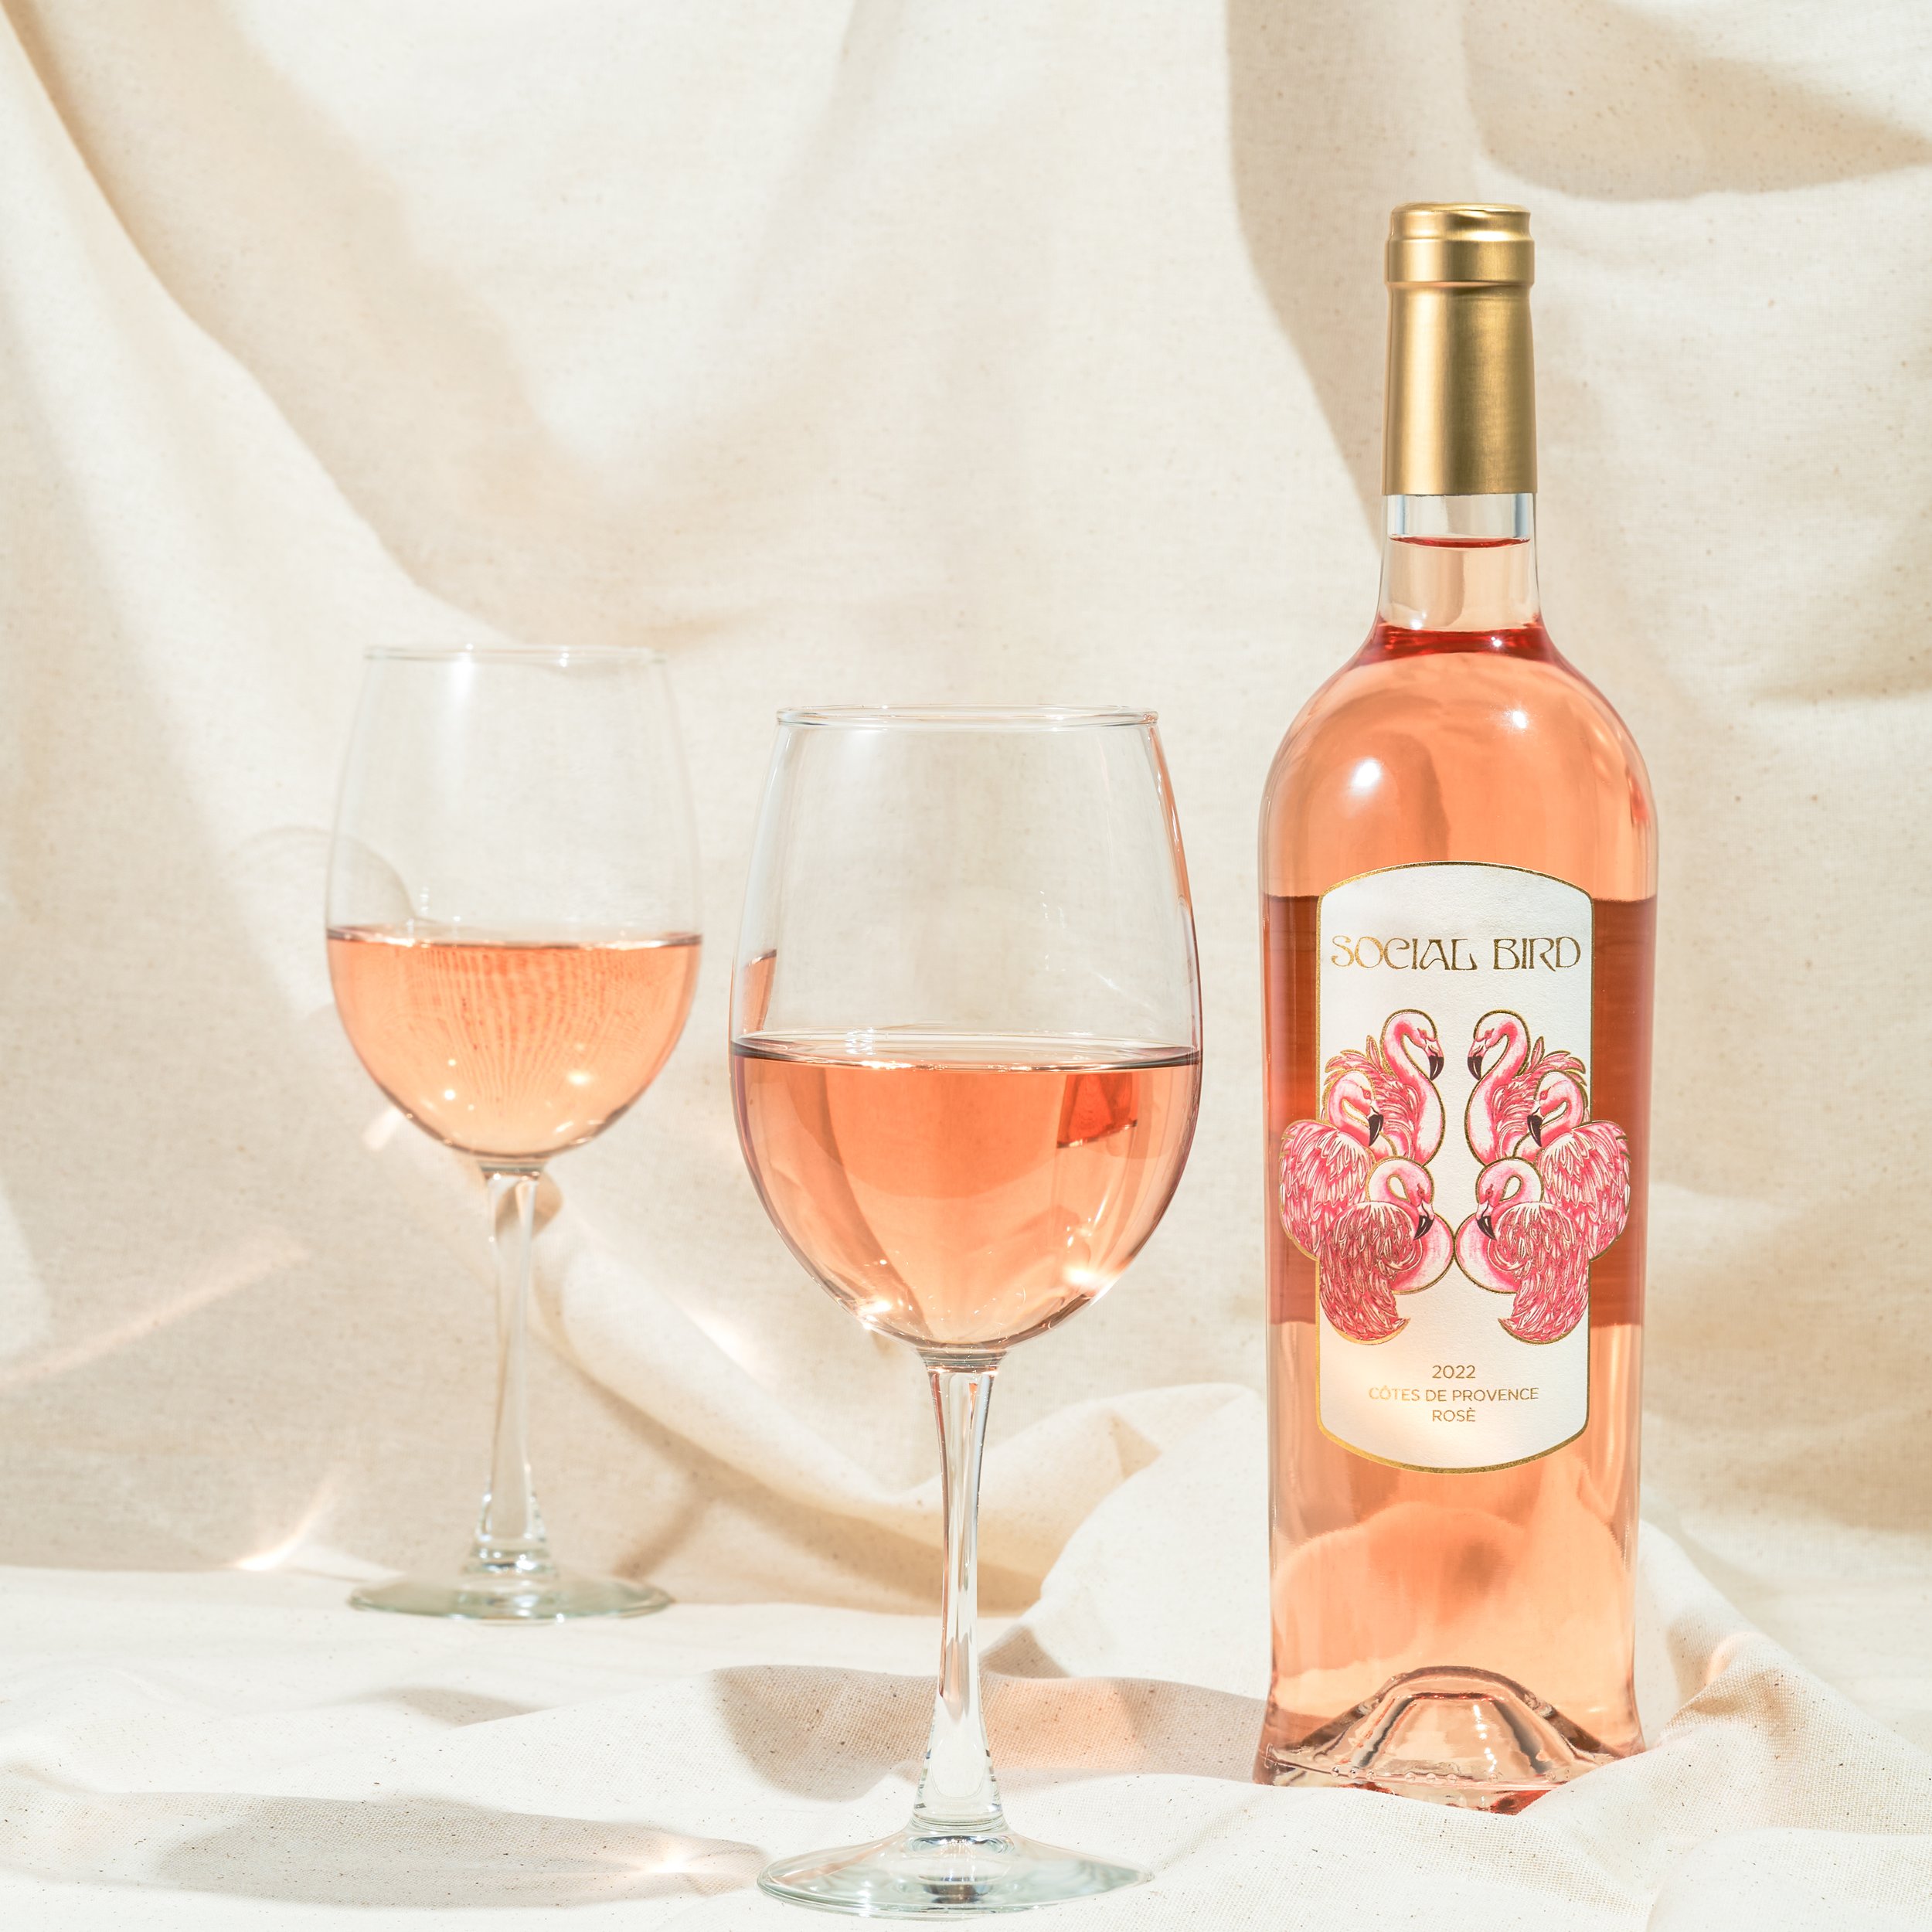
Artificial Lighting
In product photography, artificial lighting is often used to create a consistent and controlled lighting environment that can help to highlight the product's features and make it look more appealing to potential customers. By using artificial lighting, photographers can adjust the color temperature, intensity, and direction of the light to create a range of effects, from soft and warm to bright and bold. There are 2 types of artificial lighting options: continuous lights and strobe lights. Often times continuous lights are more affordable however, strobe lights yield a stronger light output. There is also the option to purchase a hybrid light that can perform both functions.
One popular technique for product photography is to use a lightbox, which provides even and diffuse lighting that helps to eliminate shadows and create consistent results. Artificial lighting also allows photographers to shoot in low light conditions or indoors, where natural lighting may not be available or suitable. With careful experimentation and attention to detail, photographers can use artificial lighting to create stunning product photos.
10 Tips for Perfect Product Photography Lighting
Use a lightbox for consistent lighting
A lightbox is a small box with a diffused light source. It helps to create even lighting and eliminates shadows.
Use a softbox for softer lighting
A softbox is a type of studio light that diffuses light and creates a soft and even look. It's perfect for product photography.
Use a reflector to bounce light
A reflector is a tool that bounces light back onto your product. It helps to create even lighting and eliminates shadows.
Use a tripod for stability
A tripod helps to keep your camera steady and reduces the risk of blur. It's essential for product photography as it allows you to take long-exposure shots.
Use natural lighting for a warm and inviting look
Natural lighting creates a warm and inviting look for your product photos. It's perfect for products that need to look natural, like food.
Use artificial lighting for a dramatic look
Artificial lighting can create a dramatic look for your product photos. It's perfect for products that need to look edgy, like electronics.
Use a diffuser for harsh lighting
A diffuser is a tool that softens harsh lighting. It's perfect for outdoor shoots or shoots with bright artificial lighting.
Use multiple light sources for depth
Multiple light sources create depth and texture in your product photos. It's perfect for products that need to look 3D, like jewelry.
Use a color checker for accurate colors
A color checker is a tool that helps you to get accurate colors in your product photos. It's perfect for products that need to look true to life, like clothing.
Experiment with lighting angles
Lighting angles can create different moods and look for your product photos. Experiment with different angles to find the perfect one for your product.
Conclusion
In conclusion, lighting is one of the most important factors in creating high-quality product photography. By following these tips, you can take your product photography to the next level. Remember to experiment with different lighting setups and angles to find the perfect look for your product.