How to Create a Shot List for Your Product Photoshoot
Product photography plays a crucial role in showcasing your brand and products. A well-executed photo effectively communicates your product’s value, appeals to your target audience, and reinforces your brand's identity. However, capturing the right image requires careful planning and execution.
A shot list acts as a strategic guide to highlight every important detail of your product. From close-ups that showcase key features to wide shots that display the product’s scale, a clear shot list ensures you don’t miss any essential shots. This planning helps create impactful visuals that engage potential customers.
In this article, we’ll guide you through the process of creating a shot list for your product photoshoot. You’ll learn how to align the shoot with your goals, organize your shots efficiently, and capture every important aspect of your product. With proper preparation, your photoshoot will run smoothly, leaving you with stunning images that tell a compelling story.

1. Understand Your Product
Before you begin creating a shot list, take the time to thoroughly understand your product. This foundational step ensures that you capture the most important aspects of the product and present it in the best possible light.
Product Features
To create an effective shot list, start by identifying the key characteristics of the product that must be highlighted. Consider the following elements:
Size: How large or small is the product? Consider capturing both wide shots to show the product in context and close-ups to emphasize its scale.
Color: What colors define the product? Ensure the lighting and background complement these colors, helping the product stand out without clashing. You need to have a great sense of color psychology in product photography.
Shape: Focus on the unique shapes or contours of the product. Highlighting the shape can help showcase its design and functionality.
Texture: For products with interesting textures (like fabrics, metal finishes, or organic materials), capture close-ups that convey these tactile qualities. Here are a few tools discussed to create various product textures.
Special Features: If the product has any standout features, such as buttons, logos, or accessories, make sure to include detailed shots to show how these elements work and what makes the product unique.
Target Audience
Your target audience plays a significant role in determining how the product is presented. Tailor your shot list to resonate with the preferences and needs of the people you aim to reach:
Lifestyle Shots:
If your product appeals to a specific lifestyle or demographic, use in-context shots. For example, if you’re photographing athletic wear, showcase the product being used in a relevant setting (like a gym or outdoors). Lifestyle photography helps potential customers visualize how the product fits into their lives.
Contextual Relevance:
Consider the environment in which your product is typically used. For luxury products, focus on elegance and quality in your shots, while for practical items, emphasize functionality and ease of use.
Brand Identity
Your product images should align with the overall aesthetic and values of your brand. Keep your brand's style in mind when crafting your shot list:
Visual Consistency:
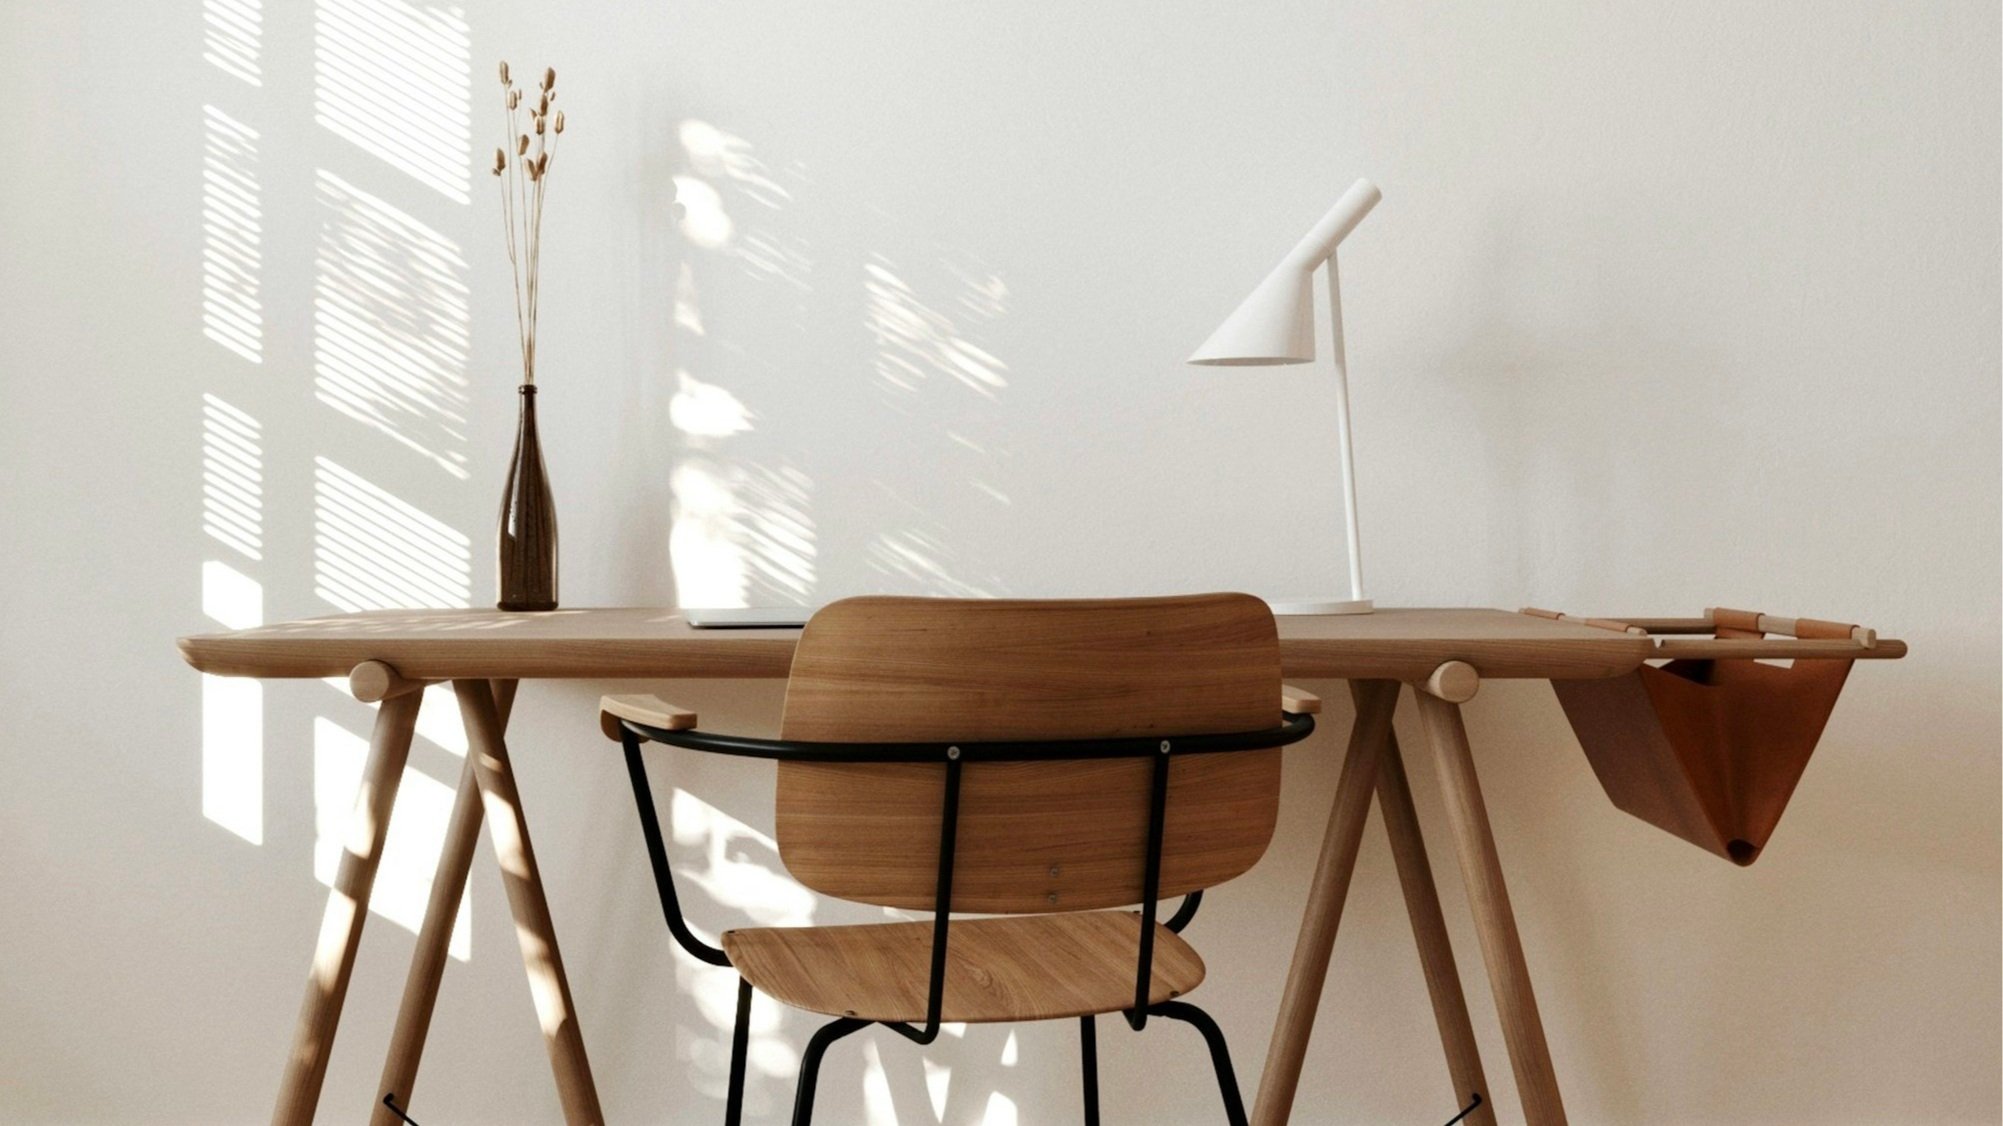
Whether your brand is minimalist, bold, or rustic, ensure that the shots match the tone and style of your existing visual identity. For example, if your brand is known for clean and modern designs, your product shots should reflect that with simple backgrounds, neutral colors, and minimal props.
Mood and Message:
Think about the emotions or messages you want your customers to associate with your brand. Do you want your product to feel inviting, luxurious, or innovative? The lighting, composition, and even the setting of your photos should reflect these brand values.
2. Define the Photoshoot Goals
A well-defined set of goals will shape the direction of your photoshoot and ensure that the resulting images meet your specific needs. By clearly outlining the purpose of the shoot and the types of shots you need, you can ensure your photos are both effective and aligned with your brand objectives.
Purpose of the Photoshoot
First, identify the purpose behind the photoshoot. The goal will heavily influence the style, composition, and content of your images. Here are a few common purposes and how they might impact your shot list
Online Store:
If the photos are for an e-commerce site, focus on clear and detailed shots that highlight the product’s features. Customers need to see the product from multiple angles to make informed purchasing decisions. Think about high-quality close-ups of materials, texture, and special features, with neutral backgrounds to keep the focus on the product.
Advertisements:
For ads, you may want to emphasize the product in a more visually striking way. These shots can be more stylized, using bold compositions, creative lighting, or props that align with your campaign's theme. Determine which specific elements or benefits of the product you want to highlight to capture attention and drive interest.
Social Media:
Photos for social media should be eye-catching and shareable. They often require more lifestyle-focused images, showcasing how the product fits into real-life situations. Consider how the shot will look within your social feed and how it will engage your audience with striking visuals or emotional appeal. Check out this guide on promoting your photography business on social media for additional insights.
Catalogs:
Catalog photos require a balance between clarity and creativity. Product shots need to be informative yet visually appealing. You might want to include both technical product shots and images that tell a story or convey the product's benefits.
Once you’ve established the purpose, make sure you have a clear understanding of the specific elements you want your audience to focus on. For instance, if you’re shooting a fashion item, the fabric texture, fit, and style might be key areas to emphasize. For tech products, showcasing the functionality and design features could be your priority.
Shot Types
Once you’ve defined your goals, decide on the types of shots that will best showcase your product. The mix of shot types will depend on the product and the photoshoot’s objectives.
Close-up Shots:
These are essential for highlighting details such as texture, stitching, buttons, or unique features. Close-ups help show off the finer aspects of the product that customers may want to examine before making a purchase.
Wide Shots:
Wide shots are great for giving a sense of scale, context, or how the product fits into a larger environment. For example, a wide shot of a piece of furniture in a living room setting can help customers visualize how it will look in their homes.
360-Degree Views:
Some products, like electronics or fashion items, benefit from a 360-degree view that shows the product from every angle. This is particularly important for online stores where customers can’t physically interact with the product.
Lifestyle Shots:
These shots show the product in use and can help potential buyers visualize how it fits into their lives. For instance, showing someone wearing a jacket or using a kitchen appliance in a real-life setting can connect with the audience on an emotional level. Gaining a deeper understanding of lifestyle product photography can improve your ability to create authentic and engaging visuals that resonate with your target audience.
Product-Only Shots:
These are essential for product listings where clarity and simplicity are key. These shots focus solely on the product, usually on a neutral background, ensuring the product is presented in the most straightforward and unambiguous way possible.
3. Choose the Right Style and Lighting
Lighting and background play a vital role in product photography, helping to highlight key features and create the desired mood.
Lighting Setup
Natural Lighting: Ideal for soft and natural-looking shots. Best for products like clothing or food, but can be inconsistent.
Artificial Lighting: Offers full control over light intensity and direction, perfect for studio environments.
Softboxes: Create soft and even light, reducing shadows and reflections. Great for reflective products like jewelry or electronics.
High-Key Lighting: Bright and even light with minimal shadows, ideal for fresh, clean looks.
Low-Key Lighting: Darker, more dramatic lighting with strong shadows, perfect for luxury or sophisticated products.
For more tips on achieving the perfect lighting for your product photos, explore this guide on product photography lighting.
Background Choices
Studio Backgrounds: Simple and neutral product photography backdrops keep the focus on the product, ideal for catalog or e-commerce shots.
Environmental Contexts: Show the product in use or in a natural setting. This works well for lifestyle shots but ensure the background complements, rather than distracts, from the product.
Choose lighting and backgrounds that align with your product's features and the mood you want to convey to your audience.
4. Plan the Shot Composition
A well-planned shot composition ensures that your product is presented in the most flattering and informative way. Thoughtful framing, strategic angles, and attention to details will make your product shine.
Framing and Angles
Start by deciding the best angles for each shot to showcase your product effectively. Consider the following:
Top-Down: A direct overhead shot is ideal for showing the product from above, especially useful for flatlay compositions like fashion accessories, stationery, or food items.
Side View: A side angle can highlight the product's shape and proportions, particularly useful for shoes, furniture, and products with depth.
Angled Shots: Slightly tilted or diagonal angles can add dynamism and help avoid flat, lifeless images. This works well for products with unique shapes or features that benefit from depth.
When planning your shot composition, it's also important to consider the orientation of your images. For guidance on whether it's better to shoot vertical or horizontal, check out this article on choosing the right orientation for your photos.
Close-ups and Details
To emphasize your product’s quality, focus on its finer details. Close-up shots are essential for:
Texture: Capture the feel of the product, especially for items with tactile qualities like fabrics, wood finishes, or embossed logos.
Branding: Show off logos, labels, and any distinguishing marks that help define the product.
Special Features: For products with intricate details (e.g., zippers, buttons, or stitching), ensure these features are prominently showcased.
Props and Accessories
Props can elevate the product’s appeal by creating context or highlighting its use. Consider the following:
Complementary Styling: Use props that complement the product without overshadowing it. For example, place a watch next to a leather wallet or a coffee mug with a saucer to enhance the scene.
Engaging Setups: Position the product in a way that’s visually interesting and inviting. Use styling elements like textures, fabrics, or decor to create an environment that enhances the product’s story.
Thoughtful styling while incorporating props can make a significant difference in how your product is perceived.
5. Create Your Shot List
A well-structured shot list is essential for an organized and efficient photoshoot. It helps ensure that you capture all necessary angles and product variations, while also maintaining a smooth workflow throughout the session.
Pre-Shoot Planning
Begin by carefully planning the shots you need:
Product Variations:
List all variations of the product that need to be photographed. For example, if you’re shooting clothing, ensure you account for different colors, sizes, and any other distinguishing features (e.g., patterns, styles). This way, you won’t overlook any necessary shots during the shoot.
Organize the Shots:
Arrange the shots in a logical sequence to streamline the photoshoot. Start with wide shots that show the product in full view, followed by medium shots and detailed close-ups. This allows the photographer to set up the scene and lighting more efficiently, without constantly changing the setup.
Shot List Format
To ensure clarity and completeness, format your shot list in a simple, easy-to-follow template. Include the following details for each shot:
Shot Description: Briefly describe what each shot should focus on (e.g., “side view of the jacket” or “close-up of the product's logo”).
Angle: Specify the angle from which the shot should be taken (e.g., top-down, side view, 45-degree angle).
Lighting Type: Indicate the lighting setup (e.g., “softbox lighting,” “natural light,” or “high-key lighting”).
Background: Mention the type of background to be used (e.g., plain white, lifestyle setting, or product-on-a-flat-surface).
Props: Note any props that should be included in the shot (e.g., “add a coffee mug beside the watch” or “place a pair of sunglasses on the table”).
Product Focus: Highlight any specific features to emphasize (e.g., “focus on the stitching” or “showcase the logo”).
To streamline your photoshoot and ensure no important shots are missed, consider using a professional Shot List Template. This ready-to-use template will help you organize your shots with ease, making your photoshoot more efficient and productive. Check out the Shot List Template to get started today!
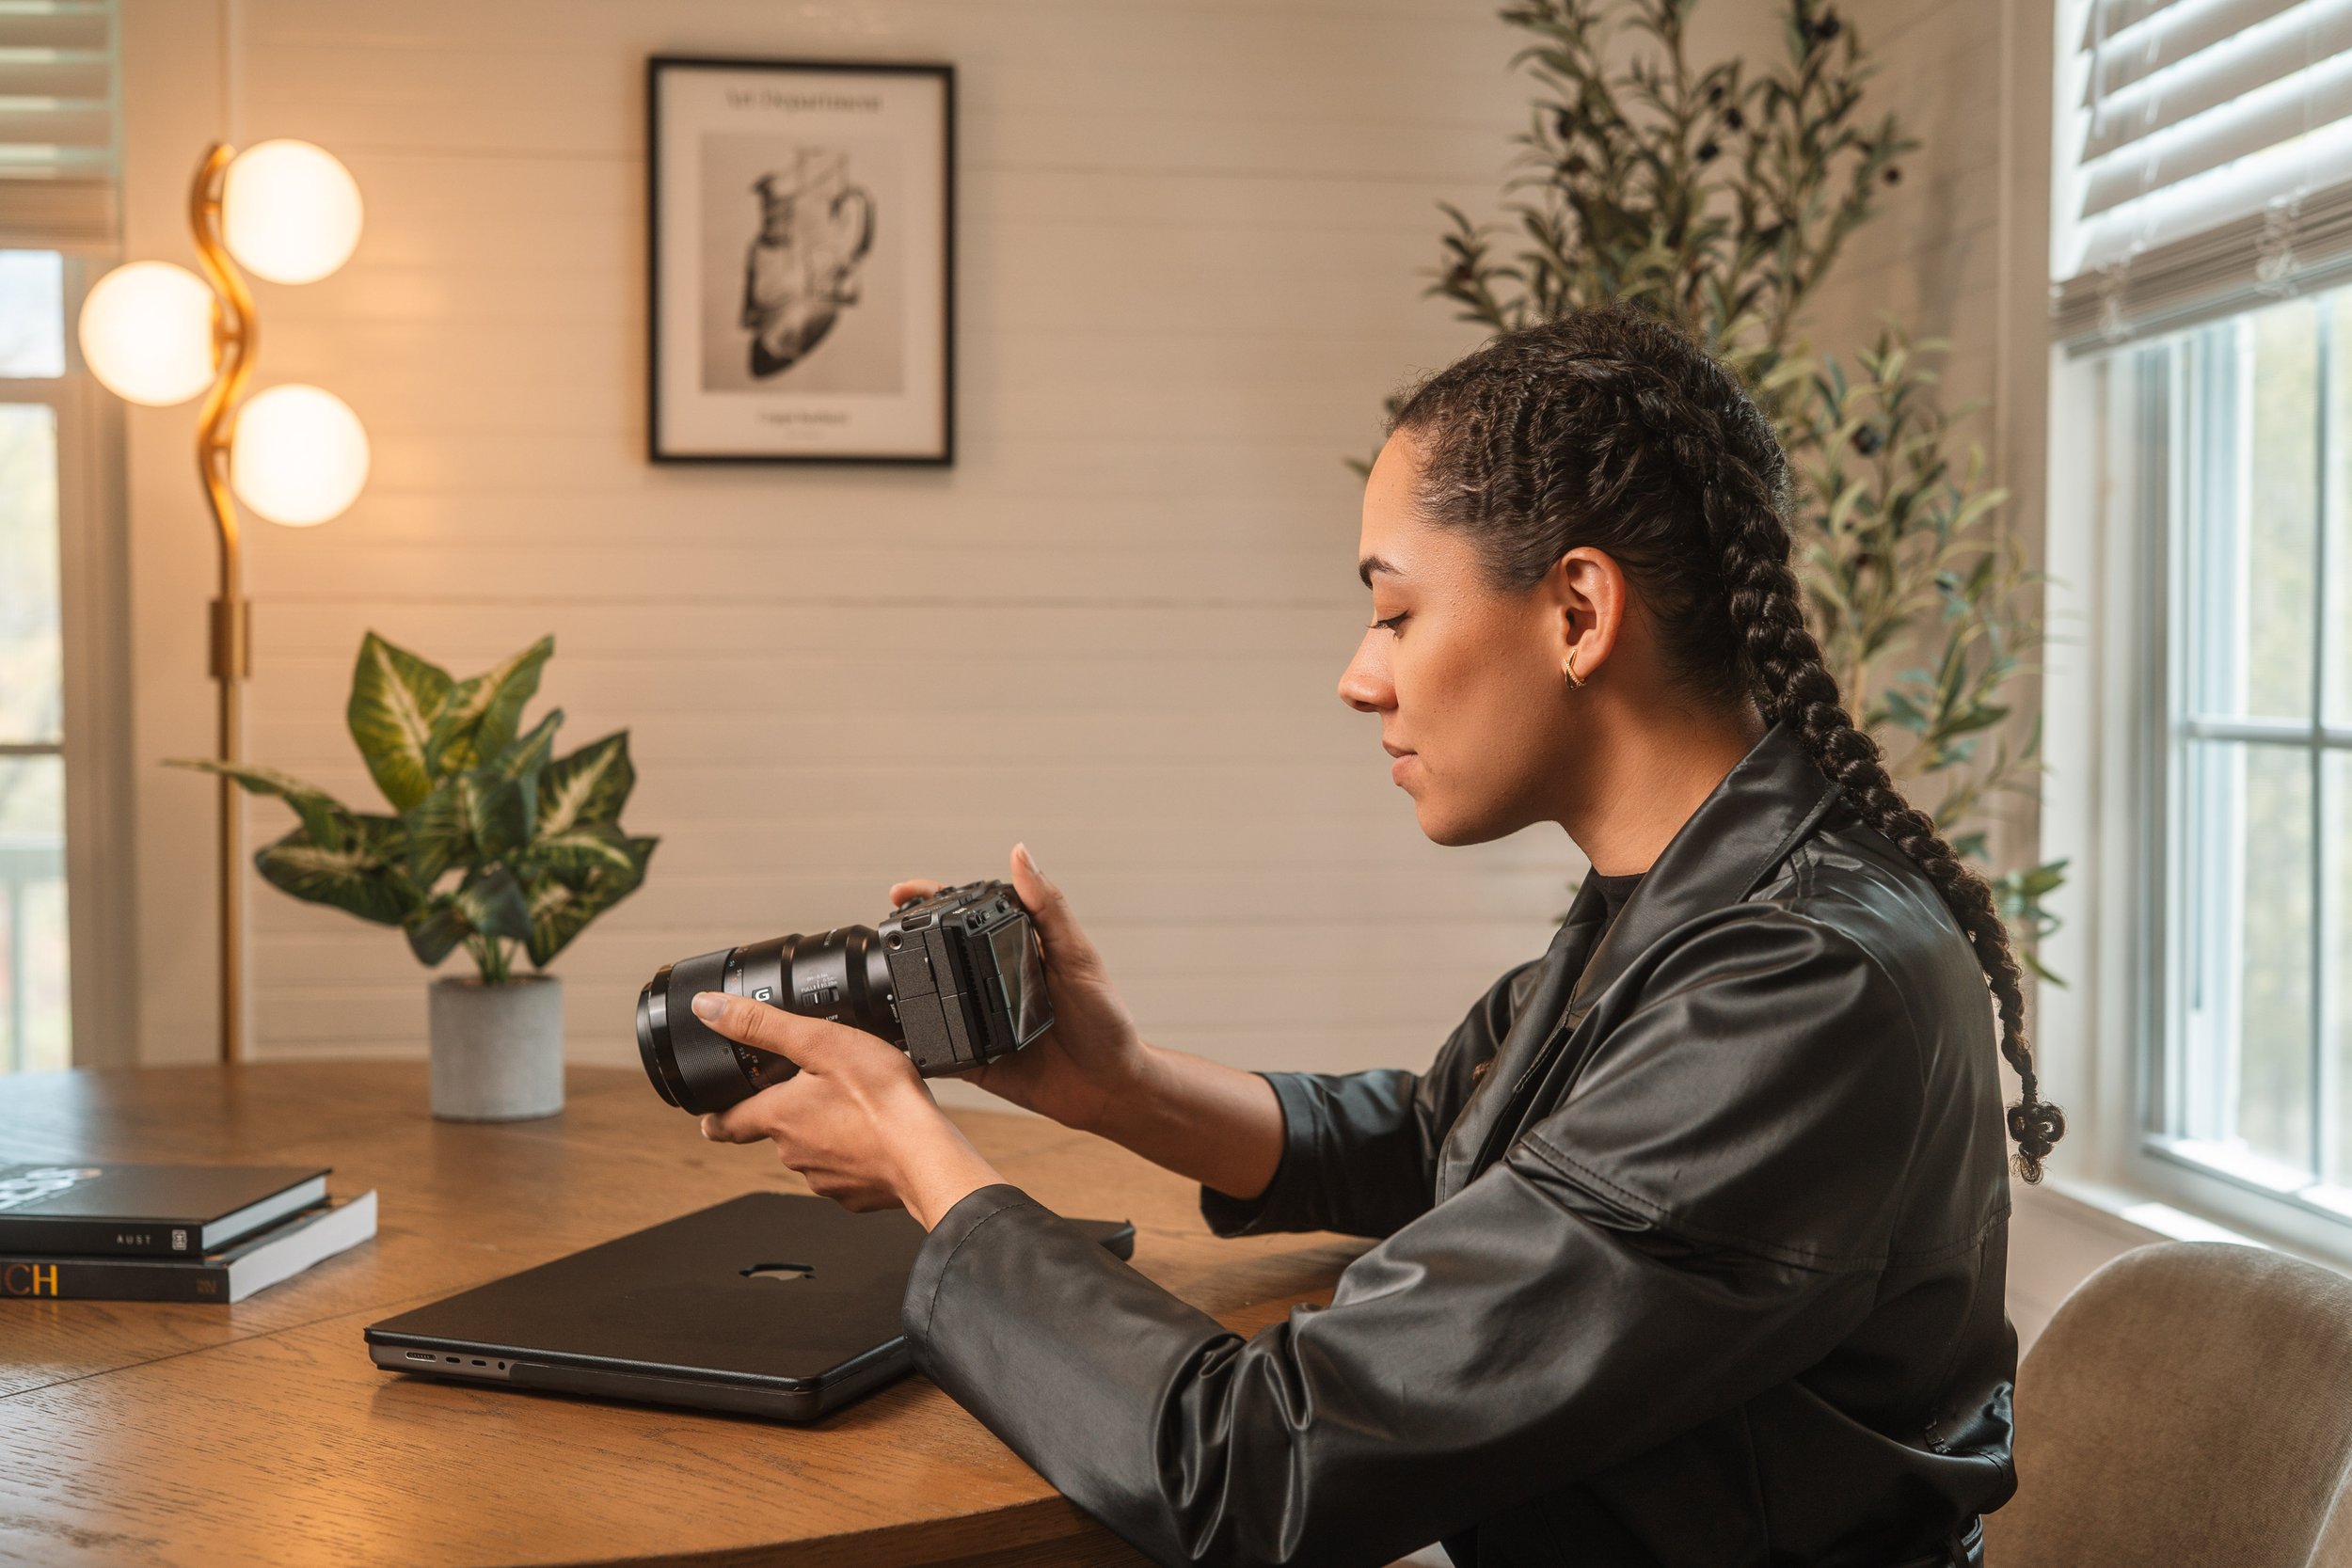
6. Collaborate with Your Photographer and Team
Effective collaboration with your photographer and team ensures that your photoshoot runs smoothly and produces high-quality images. Communication, flexibility, and proper scheduling are key to a successful shoot.
Share the shot list with your photographer, assistants, and anyone else involved in the shoot. Make sure everyone is on the same page regarding the shot descriptions, angles, lighting setups, and any special requirements. This will ensure the team is prepared and that the shoot runs efficiently without confusion.
While a shot list helps guide the shoot, it’s important to remain flexible. Be open to adjusting the plan based on the shoot's flow, lighting conditions, or creative inspiration that might emerge during the session. Sometimes, unexpected ideas or angles may work better than initially planned, and flexibility can lead to more dynamic and engaging shots.
7. Make Adjustments Based on Feedback
As you progress through the shoot, take the time to review test shots. Check whether the images align with your vision and shot list. Look for any issues with lighting, angles, or product details, and make adjustments as needed. This allows you to catch any problems early on and make necessary corrections to ensure the final shots are perfect.
Once the shoot is complete, assess the photos to ensure all necessary shots have been captured. Review your shot list and evaluate whether any key elements were missed or if additional shots are needed. This is the time to decide if there are any final adjustments to make before finalizing the images, such as capturing close-ups or alternative angles that may have been overlooked during the shoot.
Conclusion
Creating a comprehensive shot list is essential for a successful product photoshoot. It ensures that you capture all the necessary angles, details, and variations while maintaining a smooth workflow. By planning your shots, collaborating with your team, and making adjustments based on feedback, you can achieve high-quality images that effectively showcase your product.
Ready to take your product photography to the next level? Learn more about how to streamline your client booking process with the 5-Day Client Booking Blueprint. Start booking more clients and growing your business today!