Fantasy Product Photography: Concepts, Setup, and Execution
Fantasy product photography combines artistic styling with commercial photography to create visually engaging and emotionally resonant images. This approach places products in imaginative settings, using elements like dramatic lighting, creative props, and thoughtful editing to build a cohesive visual story around the subject.
In modern marketing and digital commerce, brands use fantasy product photography to stand out and connect with their audience on a deeper level. Social media platforms, online shops, and visual advertising channels increasingly favor content that offers more than just a functional view of a product.

Fantasy imagery invites viewers to experience a mood or theme, making the product part of a larger visual narrative. This technique proves especially effective for industries such as handmade goods, skincare, jewelry, and boutique lifestyle products.
This article outlines the core concepts behind fantasy product photography, explains how to plan an effective shoot, and details the techniques that bring a fantasy-inspired scene to life. You will gain clear, actionable guidance on executing this style professionally while aligning it with brand goals.
Core Concepts Behind Fantasy Product Photography
1. Visual Storytelling
Fantasy product photography centers around creating a visual story that connects the product with a specific mood, concept, or theme. Instead of isolating the item against a neutral background, this approach places it in a carefully styled environment that evokes atmosphere and emotion.
These narratives often reflect themes such as magic, elegance, mystery, or whimsy. For example, a handcrafted candle may appear in a moonlit forest setting, while a skincare product might glow within a soft, ethereal light. Here we got you more skincare product photo ideas.
Storytelling enhances the viewer's experience by encouraging emotional association and imagination. It helps transform a simple product into something more memorable and meaningful within the context of the brand’s message.
2. Aesthetic Themes
A strong fantasy image relies on visual consistency and atmosphere. Common elements include glow effects, soft haze, enchanted forest scenes, and surreal textures. These components work together to build a dreamlike or otherworldly feel.
Color palettes often vary by theme, soft pastels suggest serenity, while deep jewel tones add richness and mystery. Fantasy visuals can also enhance niche applications such as fruit product photography, where vibrant colors and natural textures pair well with stylized and storytelling-driven compositions.
3. Target Industries
This style serves a variety of product-based industries that benefit from emotional engagement and visual distinction. It is especially popular in sectors like handmade goods, beauty and skincare, jewelry, home decor, candles, books, and spiritual items. A well-executed skincare product photoshoot using fantasy elements can elevate the perceived value of the brand and highlight texture, purity, and purpose in a visually compelling way.
4. Psychology of Fantasy Imagery
Fantasy imagery engages viewers by triggering emotional responses. Studies in marketing and consumer behavior have shown that emotionally driven content increases engagement, memorability, and purchase intent. Fantasy visuals tap into feelings of curiosity, nostalgia, wonder, or escapism, making the viewer more likely to pause, explore, and remember the product.
By presenting the product in a magical or imaginative setting, the imagery encourages the audience to connect with a deeper narrative. This approach increases the perceived value of the product and strengthens brand differentiation in a competitive visual market.
Pre-Production Planning
A successful fantasy product photoshoot begins with detailed planning. Before picking up a camera, photographers and brand teams should define the creative approach, select suitable products, and gather the right props. Each decision made in pre-production lays the foundation for consistent and compelling visuals that reflect both artistic intent and commercial goals.
Creative Direction
Establishing a clear creative direction ensures that the final images align with the intended mood, brand tone, and audience expectations. One of the most effective ways to begin is by developing concept boards or mood boards. These visual tools compile inspiration images, color palettes, textures, and scene ideas that help guide the overall aesthetic of the shoot.
In the context of fantasy product photography, the creative direction should reflect elements such as whimsy, enchantment, or surrealism, while staying grounded in the brand’s identity. For example, a luxury skincare brand may pair soft glows and floral accents with minimalist props to maintain elegance, while a bohemian home decor brand may embrace richer tones and layered textures. Aligning fantasy visuals with brand values helps maintain cohesion across marketing platforms and ensures the imagery supports brand storytelling.
Product Suitability
Not every product benefits equally from fantasy styling. Selecting the right items for this visual approach depends on how well the product’s concept and purpose align with emotional or story-driven presentation. Products that evoke a sense of craftsmanship, purity, or symbolic meaning often work best.
Items like handmade candles, jewelry, organic skincare, artisan foods, and spiritual objects are ideal candidates. These products often carry an inherent story or emotional resonance that can be enhanced through fantasy themes. Additionally, the product should have visual qualities, such as texture, transparency, or color, that can respond well to lighting and post-processing. We got a case study for you as well where we found a winning formula for body oil product shoot.
Prop Selection
Props play a central role in building the fantasy environment around the product. Choosing the right mix of natural and artificial elements helps establish a believable and engaging visual scene.
Natural elements may include:
Moss, leaves, and branches to suggest forest or nature-inspired settings
Dried or fresh flowers to add color, softness, or romantic symbolism
Crystals, stones, or feathers to introduce spiritual or mystical motifs
Light fabrics such as tulle or linen for movement and layering
Artificial elements offer greater control and flexibility, especially in indoor studio setups:
Colored gels or custom backdrops to shift mood and tone
Fairy lights to create a soft and magical glow
Fog machines for atmospheric depth
The key to effective prop selection is balance. Each item should support the story and draw attention to the product, not distract from it. Well-chosen props enhance the visual layers of the scene and contribute to the overall fantasy theme without overwhelming the composition.
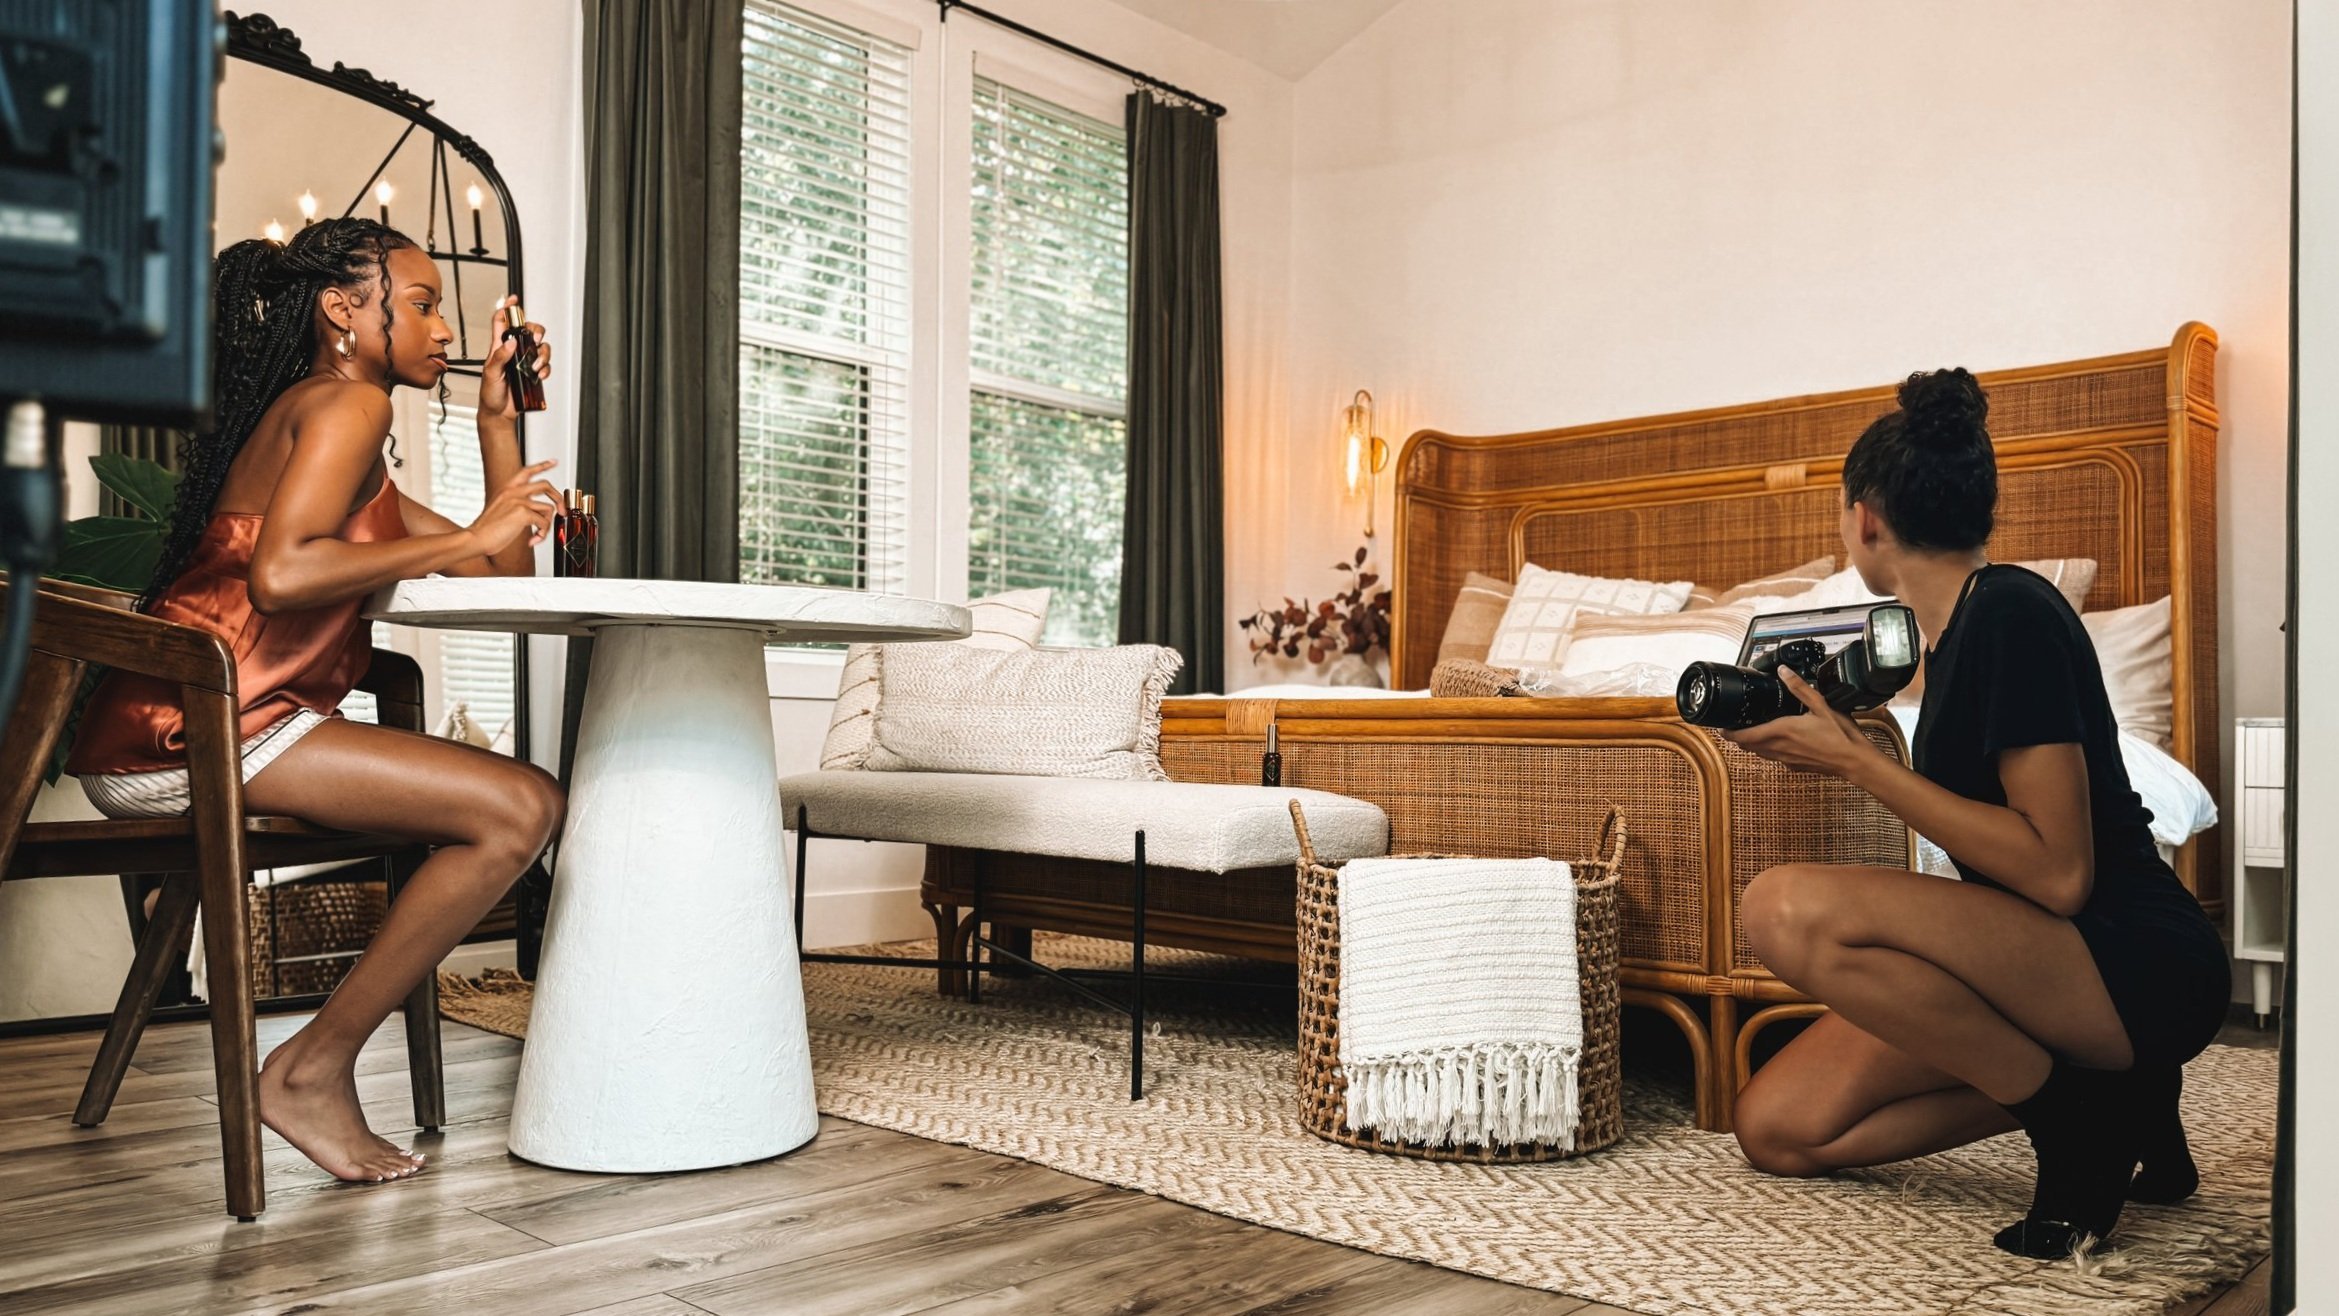
Setting Up the Shoot
With the creative direction established and props prepared, the next step is to bring the vision to life through thoughtful setup. Fantasy product photography requires careful attention to set design, lighting, camera configuration, and subject positioning to ensure the final images achieve both visual impact and technical quality.
1. Background and Set Design
The background sets the stage for the entire image and contributes heavily to the mood. Creators can choose between professional and DIY set designs, depending on budget, resources, and project scope.
DIY setups are effective for smaller shoots or brands looking to maintain a handmade and intimate aesthetic. Using materials like fabric, painted boards, paper textures, or natural items such as wood and moss, photographers can craft a custom environment without requiring large-scale infrastructure.
Professional sets offer greater control and scalability, especially when working on campaign shoots or with multiple product lines. These setups might include studio-grade backdrops, controlled lighting environments, and more elaborate scene construction.
Regardless of the approach, the goal is to layer elements to build depth. Position props in the foreground, midground, and background to create a sense of space. Use varying textures and heights to keep the composition dynamic. This layered effect enhances the realism and visual richness of the fantasy scene.
2. Lighting Techniques
Lighting plays a crucial role in fantasy photography, as it influences the mood, directs focus, and introduces magical effects. Three common techniques include:
Backlighting: Placing a light source behind the subject creates a halo effect or glow that adds depth and drama. This works well with translucent products or props like glass, leaves, or fabric.
Diffused Light: Softening harsh light through diffusers or reflectors helps create a dreamy and gentle look that suits fairytale or romantic themes.
Colored Gels: Adding gels to artificial lights changes the color temperature and adds atmosphere. Warm tones can create a golden-hour effect, while cooler tones suggest moonlight or mystery.
Use lighting to emphasize textures, control shadows, and guide the viewer's attention. Adjust intensity and direction based on how the product and props respond to the light. Balancing creativity with technical precision is essential. For additional guidance on achieving professional results, explore these product photography lighting tips, which cover essential principles that apply across both standard and fantasy-themed shoots.
3. Camera Setup
Choosing the right camera and lens setup ensures that all visual elements are captured clearly and with depth. Selecting the best lens for product photography depends on the product size, desired framing, and the level of detail required.
Generally, a DSLR or mirrorless product photography camera paired with a prime lens between 50mm and 85mm offers excellent sharpness and pleasing background blur. Macro lenses are highly recommended for capturing fine details in small products such as jewelry.
Recommended camera settings include:
Aperture: Use a wide aperture (e.g., f/1.8 to f/3.5) to achieve a shallow depth of field, which helps isolate the product from the background.
ISO: Keep ISO low (100–400) to reduce noise, especially important in controlled lighting environments.
Shutter Speed: Adjust based on light conditions and stability, with a tripod used to maintain sharpness during slower exposures.
Focusing precisely on the product ensures it remains the sharpest element in the frame while the surrounding scene enhances its presence. For detailed advice on optimizing your camera controls, review the guide on camera settings for product photography to ensure the best technical outcomes.
4. Working with Models or Still-Life
Fantasy product photography may feature still-life arrangements or models, depending on the product type and creative concept.
For still-life compositions, position the product thoughtfully within the scene to support the narrative. Use surrounding props and lighting to lead the eye toward the product. Avoid clutter and maintain balance in the composition.
When incorporating models, focus on positioning for narrative impact. The model's expression, pose, and interaction with the product should reflect the theme while keeping the product in focus.
For example, a model holding a glowing potion bottle should draw attention to the item, not pull focus away from it. You can check out our lifestyle product photography portfolio to see such examples of product focus.
Post-Production Execution
Post-production is a critical phase in fantasy product photography where the initial images transform into captivating and polished visuals. Careful editing enhances the mood, highlights key product features, and brings the creative vision to life. This process requires both technical skill and artistic judgment to balance fantasy effects with brand coherence.
Editing Workflow
Most fantasy product photographers use a combination of professional tools such as Adobe Lightroom, Photoshop, and Capture One. Lightroom excels at overall color correction, exposure adjustment, and applying presets that set a cohesive tone across multiple images.
Photoshop offers more advanced capabilities for layering, retouching, and creative compositing, while Capture One provides high-end raw processing and color grading tools favored by professionals.
A common workflow starts by importing images into Lightroom for global adjustments like white balance, contrast, and sharpening. Applying carefully crafted presets helps establish the fantasy color palette and mood efficiently. Afterward, select images move into Photoshop for detailed work such as adding overlays, refining edges, or compositing multiple elements.
Advanced Effects
To reinforce the fantasy aesthetic, photographers often add glow, mist, or bokeh overlays during post-production. These effects create softness, depth, and a sense of magic around the product.
Applying subtle glow enhances highlights and gives the image an ethereal quality. Mist or fog overlays introduce atmosphere, while bokeh effects mimic out-of-focus light orbs that contribute to visual interest.
Brushwork techniques also play a vital role in fantasy edits. Artists use custom brushes to paint light rays, sparkles, or magic trails around or interacting with the product. These additions should be applied thoughtfully to maintain realism within the fantasy context and avoid oversaturation.
Many photographers rely on specialized editing resources to speed up and refine this process. For example, the Fantasy Editing Pack offers presets and overlays designed specifically to create mystical and magical effects, while the Natural Editing Pack provides subtle enhancements that retain realism but can be combined to complement fantasy effects. Using these packs can help maintain consistency and efficiency in post-production while achieving the desired artistic impact.
Maintaining Brand Consistency
While fantasy editing encourages creativity, it is essential to ensure that the final images remain consistent with the brand’s identity and marketing goals. Edited photos should highlight the product clearly without losing focus amid decorative effects.
Maintaining a consistent style, through color grading, mood, and visual elements, across all product images strengthens brand recognition and trust. It also facilitates smoother integration into websites, social media, and advertising materials. Always review edited images within the broader brand framework to ensure they reinforce the intended message and appeal to the target audience.
For a comprehensive approach, following a detailed product photography checklist can help ensure every stage from shoot planning to post-production meets professional standards.
Conclusion
Fantasy product photography provides a powerful way to enhance brand imagery by combining creativity with strategic storytelling. Through careful pre-production planning, precise shoot setup, and effective post-production work, photographers create captivating visuals that engage audiences and help products stand out in competitive markets.
Balancing artistic expression with brand consistency ensures these images inspire and support marketing goals. By applying the concepts and techniques covered in this guide, brands can present their products with a magical and memorable appeal.
And guess what, we have a 5-day challenge for you as an aspiring product photographer. Here, check it out: 5 Day Client Booking Blueprint.