Ultimate Skincare Photography Guide: Master Lighting, Styling & More!
Mastering the art of lighting for skincare product photography is a journey of experimentation and continuous learning. It requires a thoughtful approach to lighting, which plays a huge role in highlighting the textures, colors, and details that make each product unique.
All Images Created & Captured By Mainstream Multi-Media
Understanding Your Products
Before diving into lighting techniques, it's crucial to familiarize yourself with the products you're photographing. Different skincare items come with distinct characteristics, from the transparency of serums to the reflective surfaces of packaging. Before your shoot, we recommend examining your products in front of a window. See how the packaging interacts with light and what angles may highlight it the best. Tilt the product back and forth to get a good feel of the texture and consistency. Once you have an understanding of what you are working with, it’s time to see which of these tips will work best for your shoot.
Tip 1: Use Proper Lighting
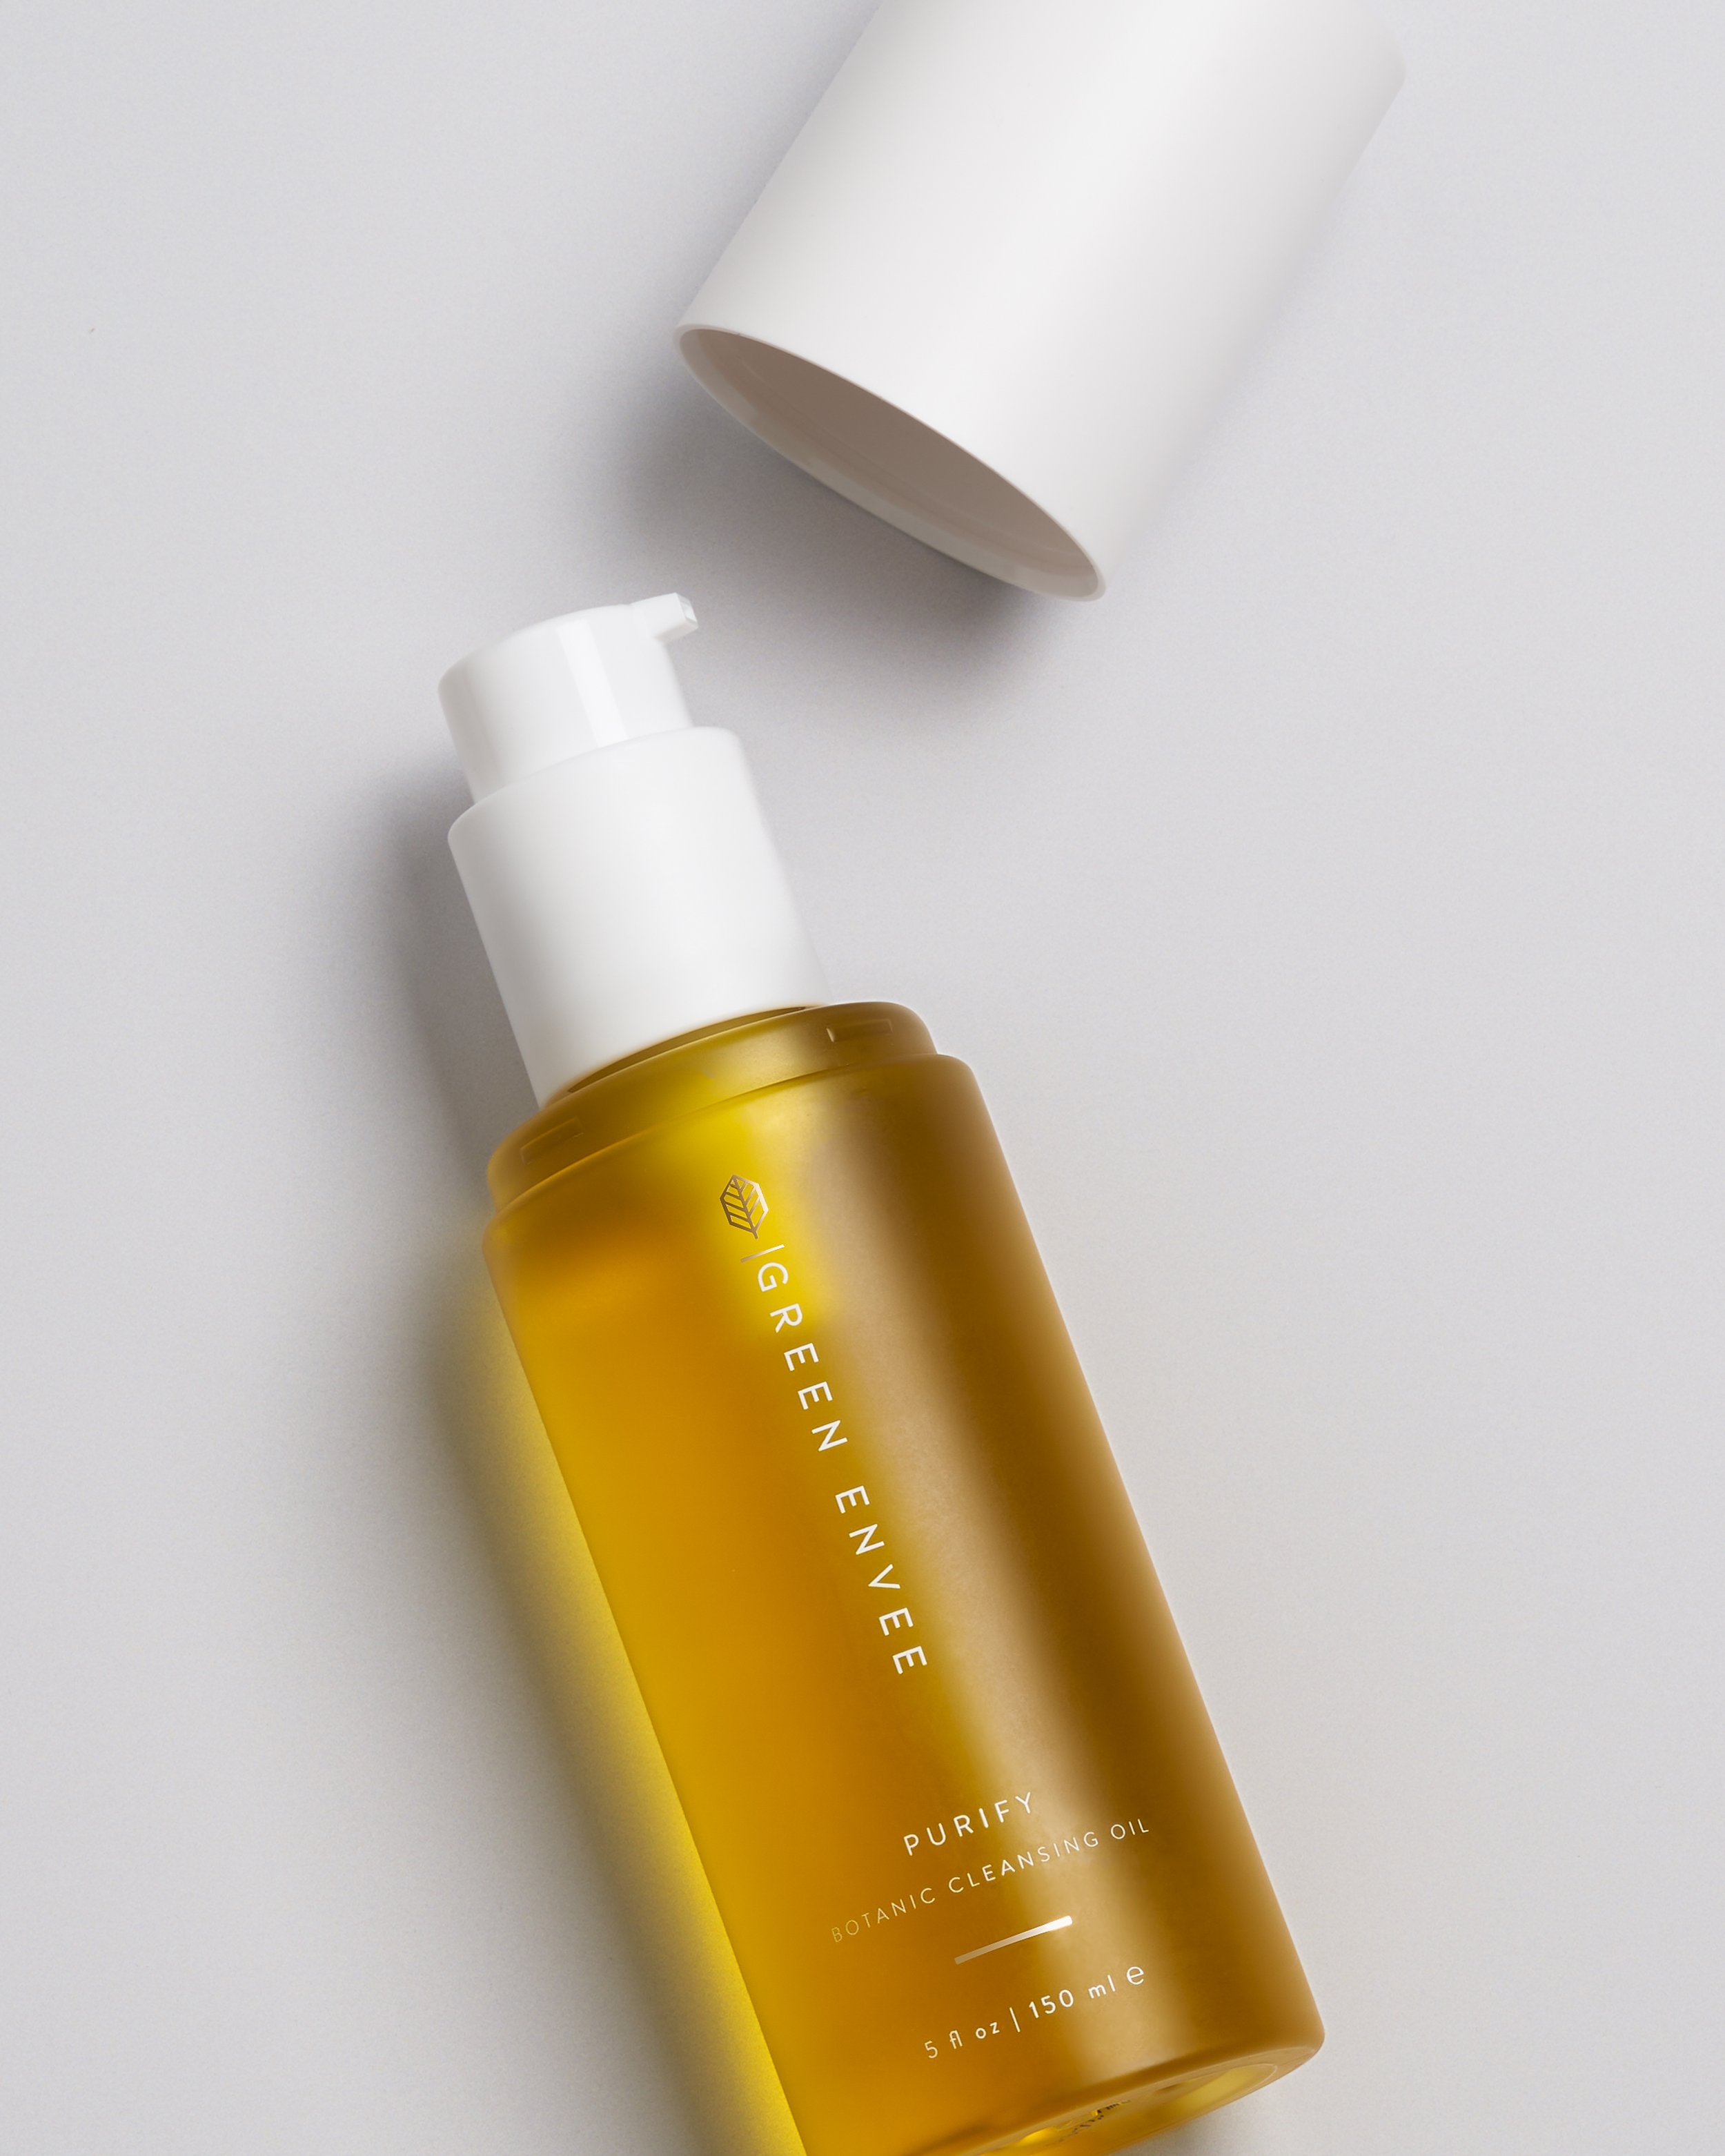
Invest in quality lighting equipment, including softboxes and adjustable lights, to have precise control over the illumination of your skincare products. In this image, we used a Godox FV150 with a newer diffuser panel.
Tip 2: Softbox for Texture Emphasis
Softboxes are invaluable for emphasizing the texture of skincare items. The diffused light minimizes harsh shadows, resulting in a smoother and juicier texture image. If you want an edgy look with a lot of contrast, then you should experiment with using no diffusers on your primary light source.
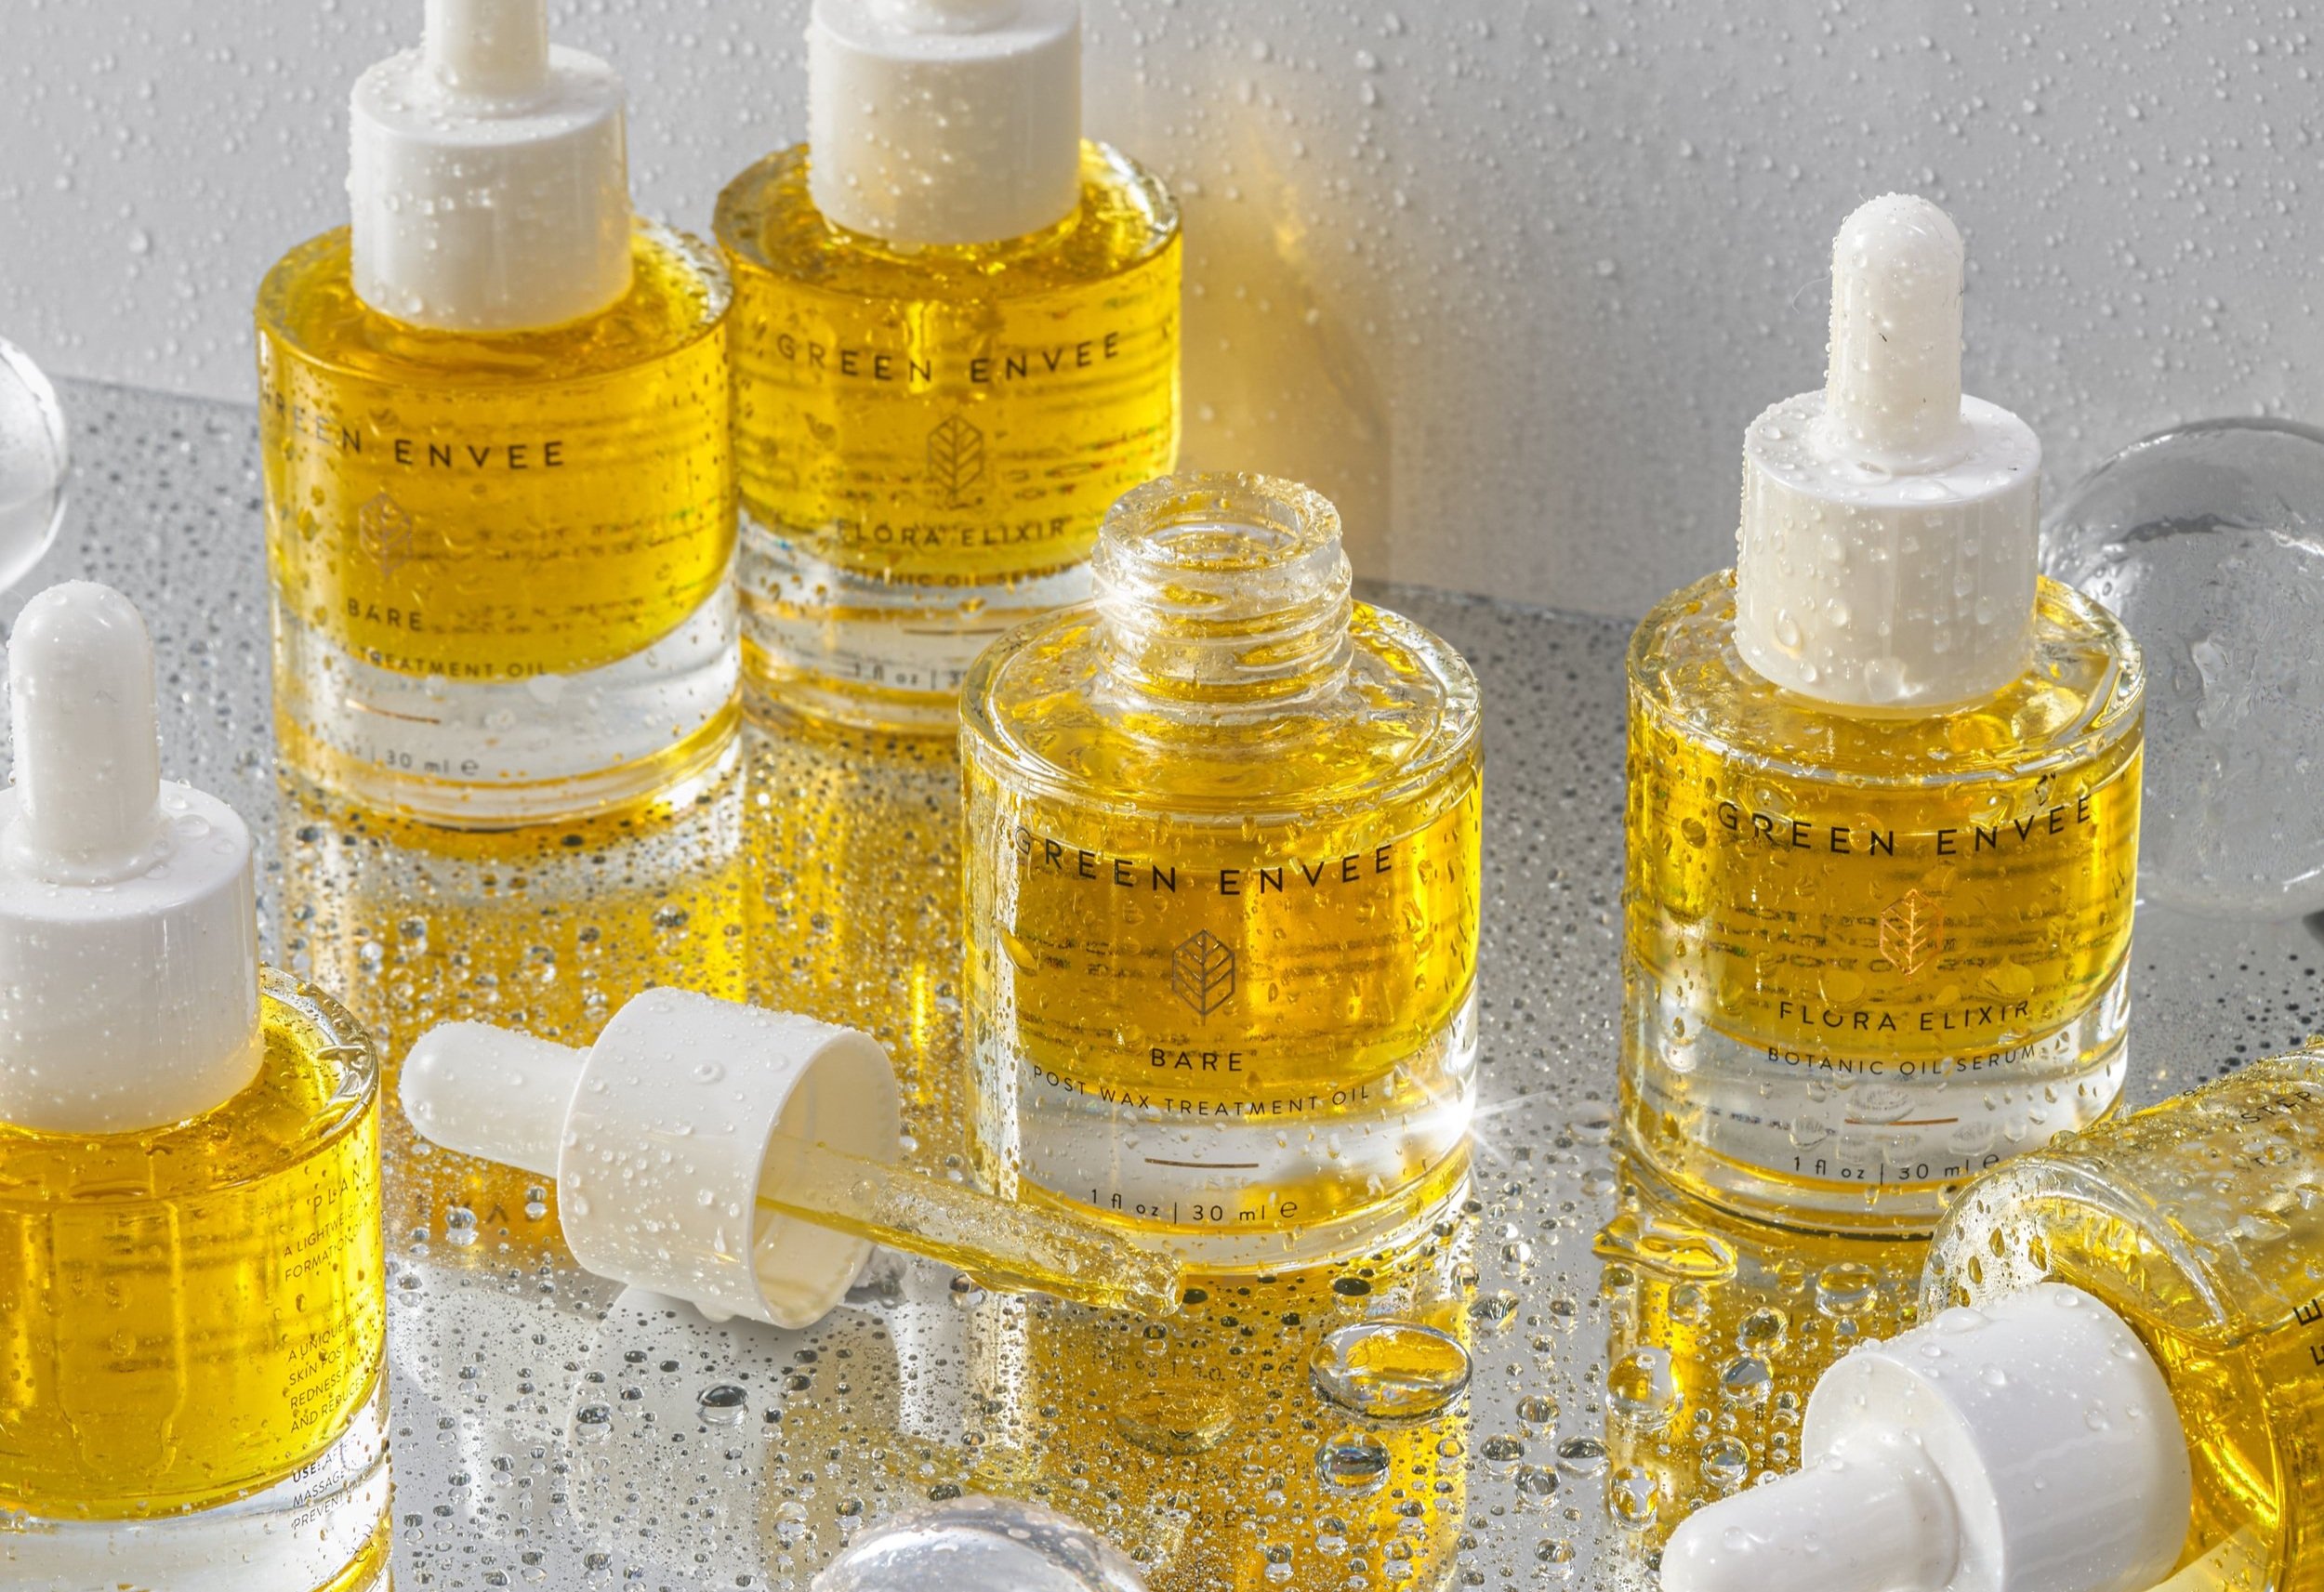
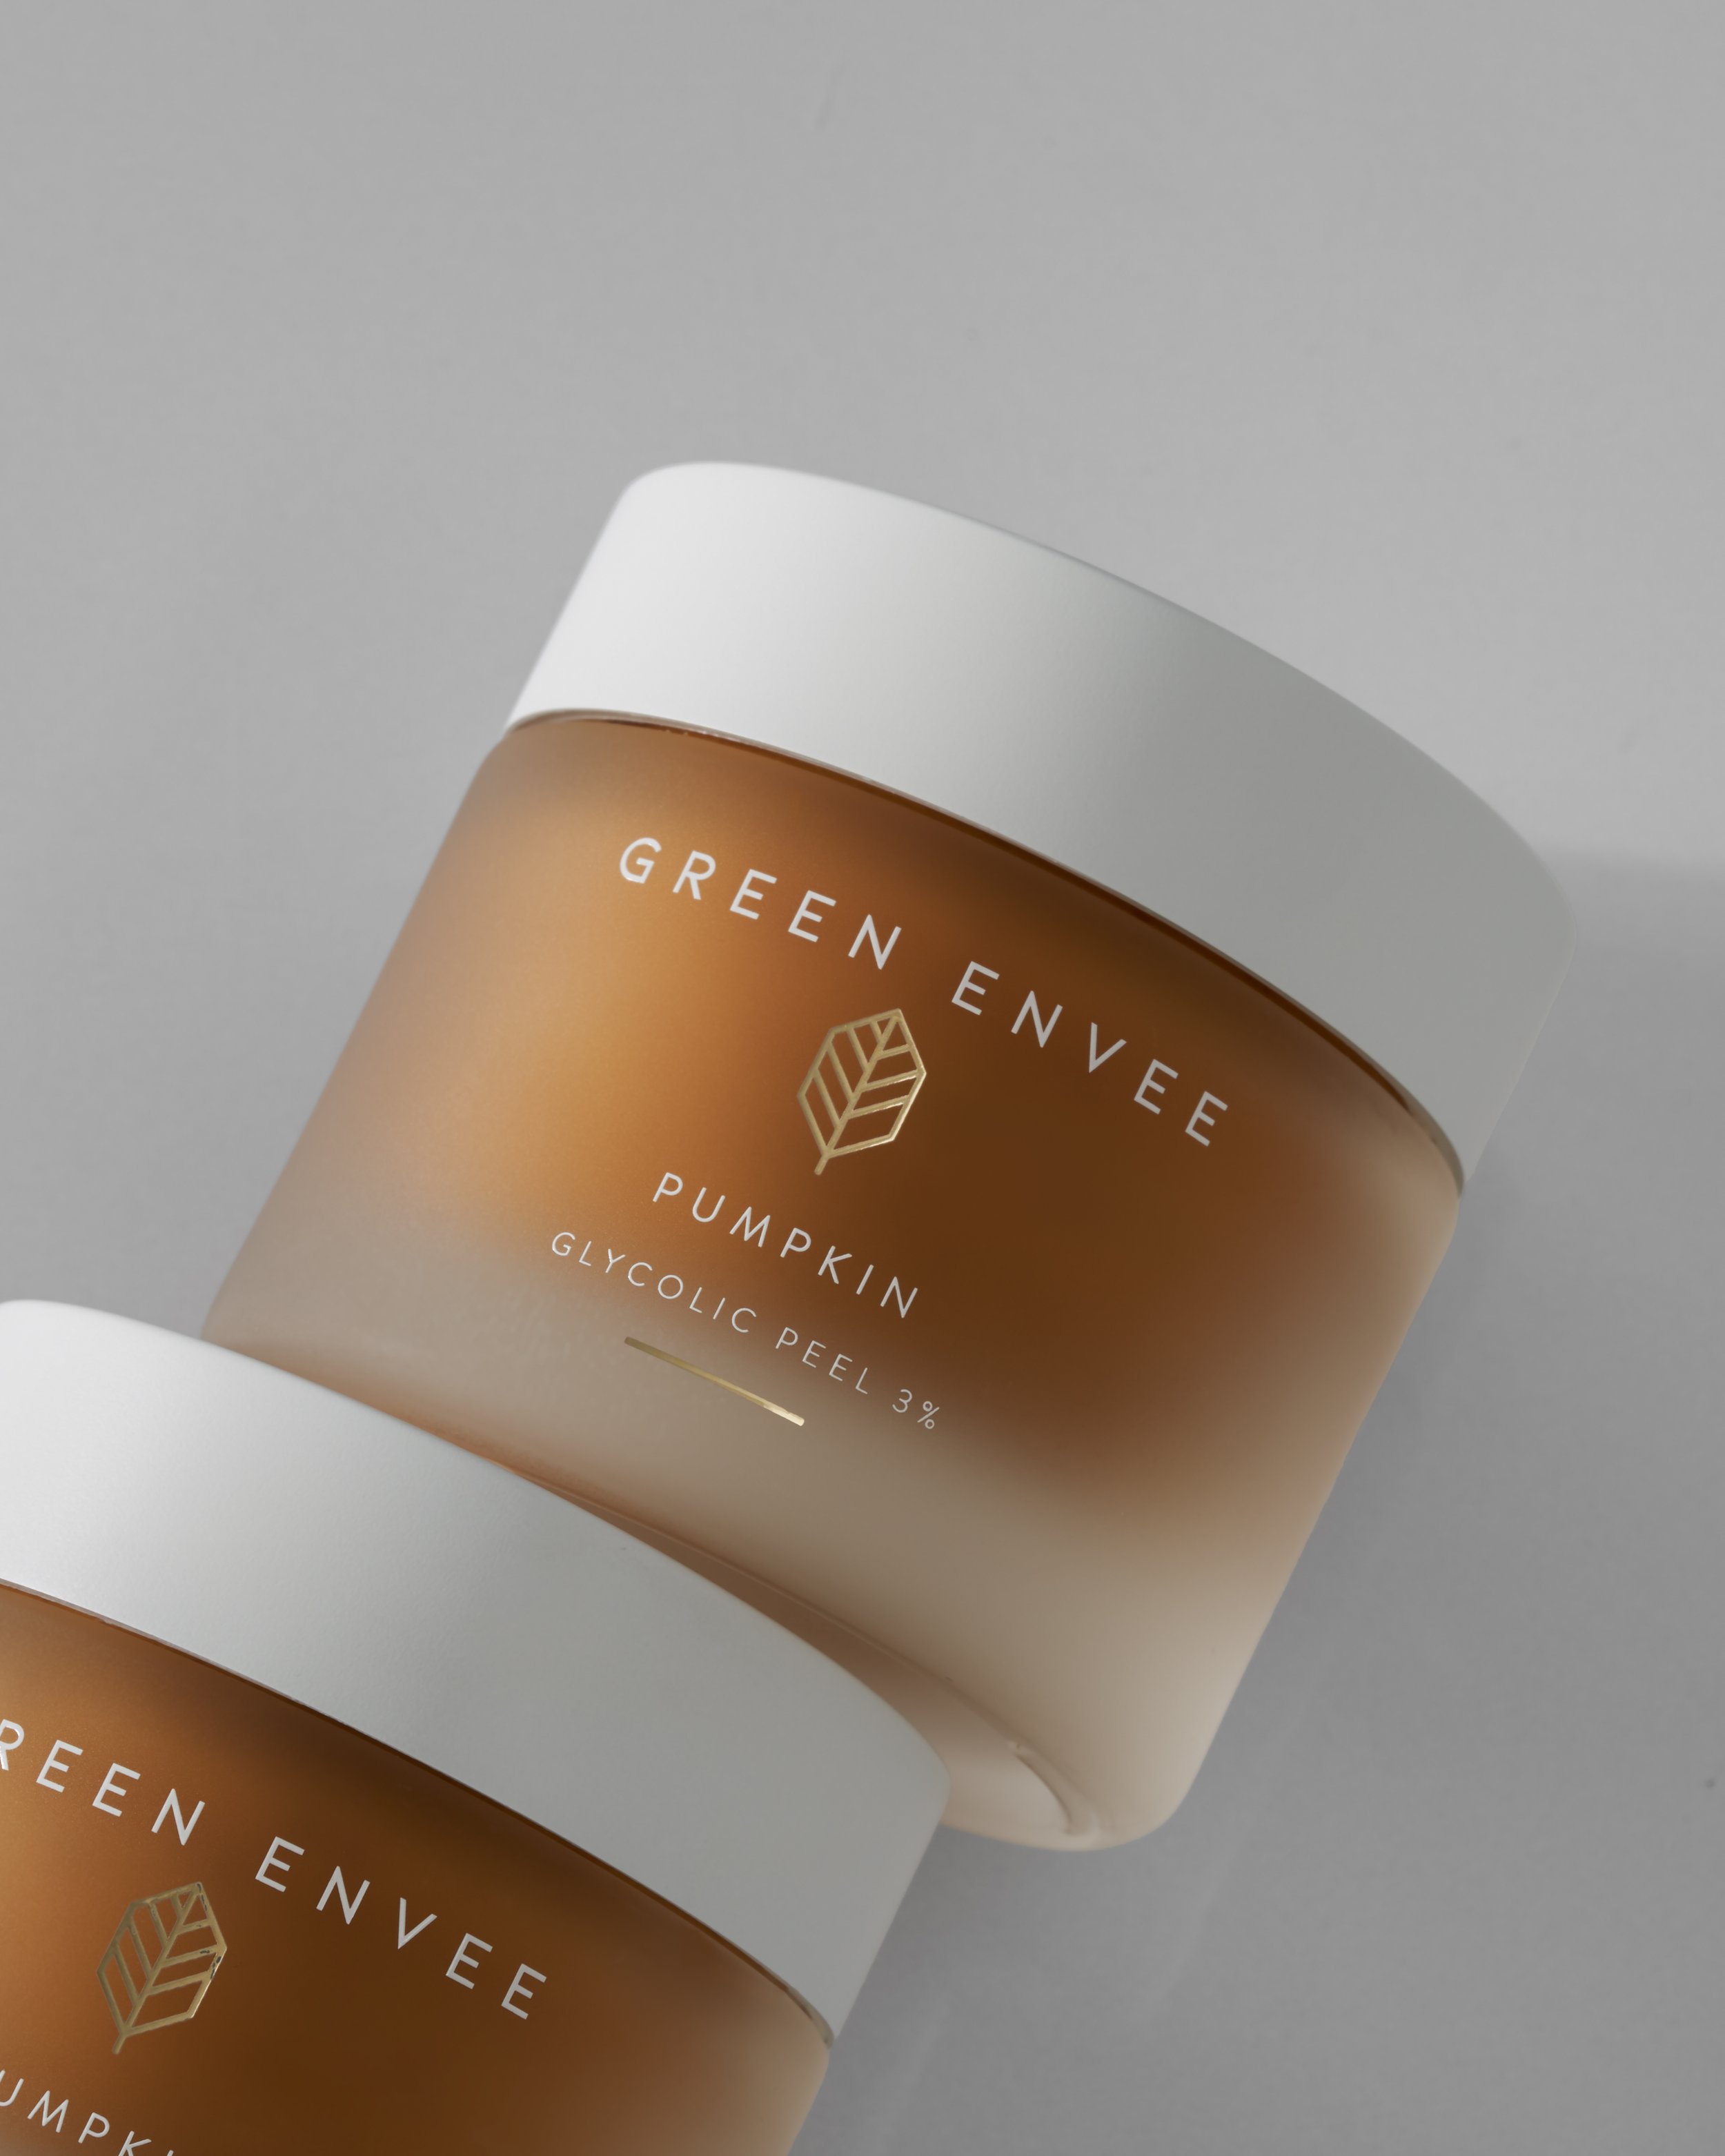
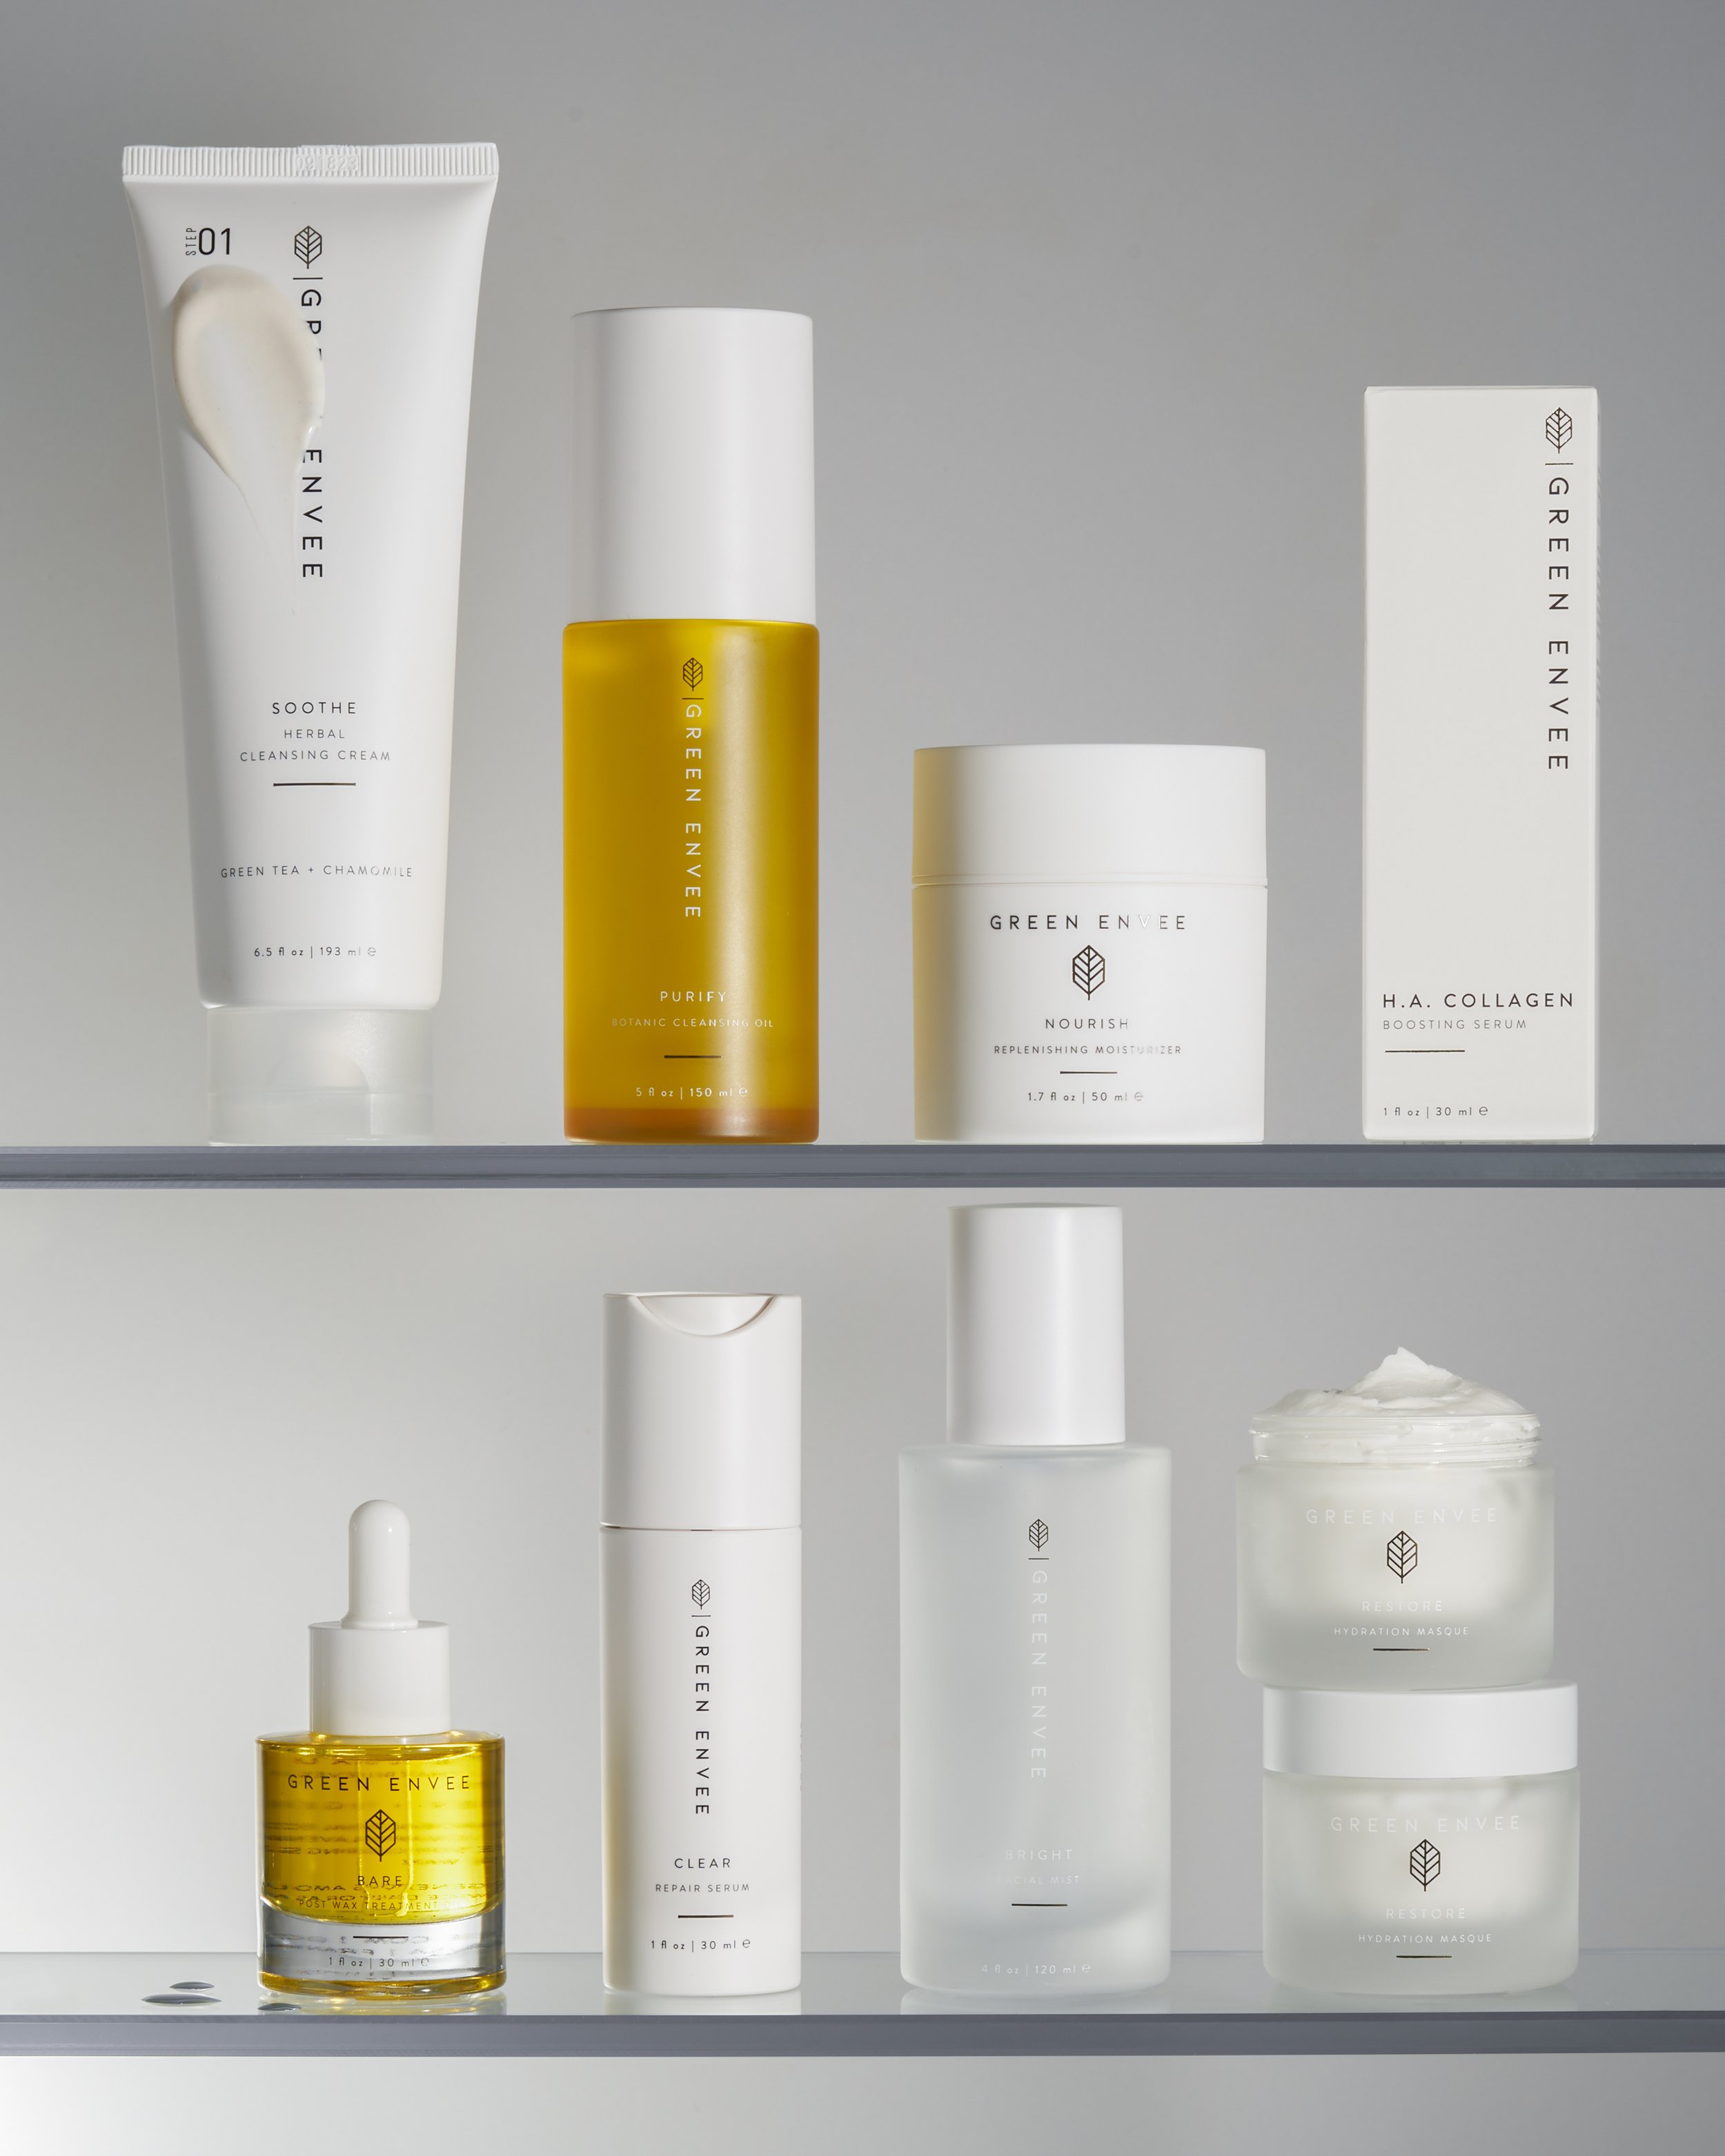
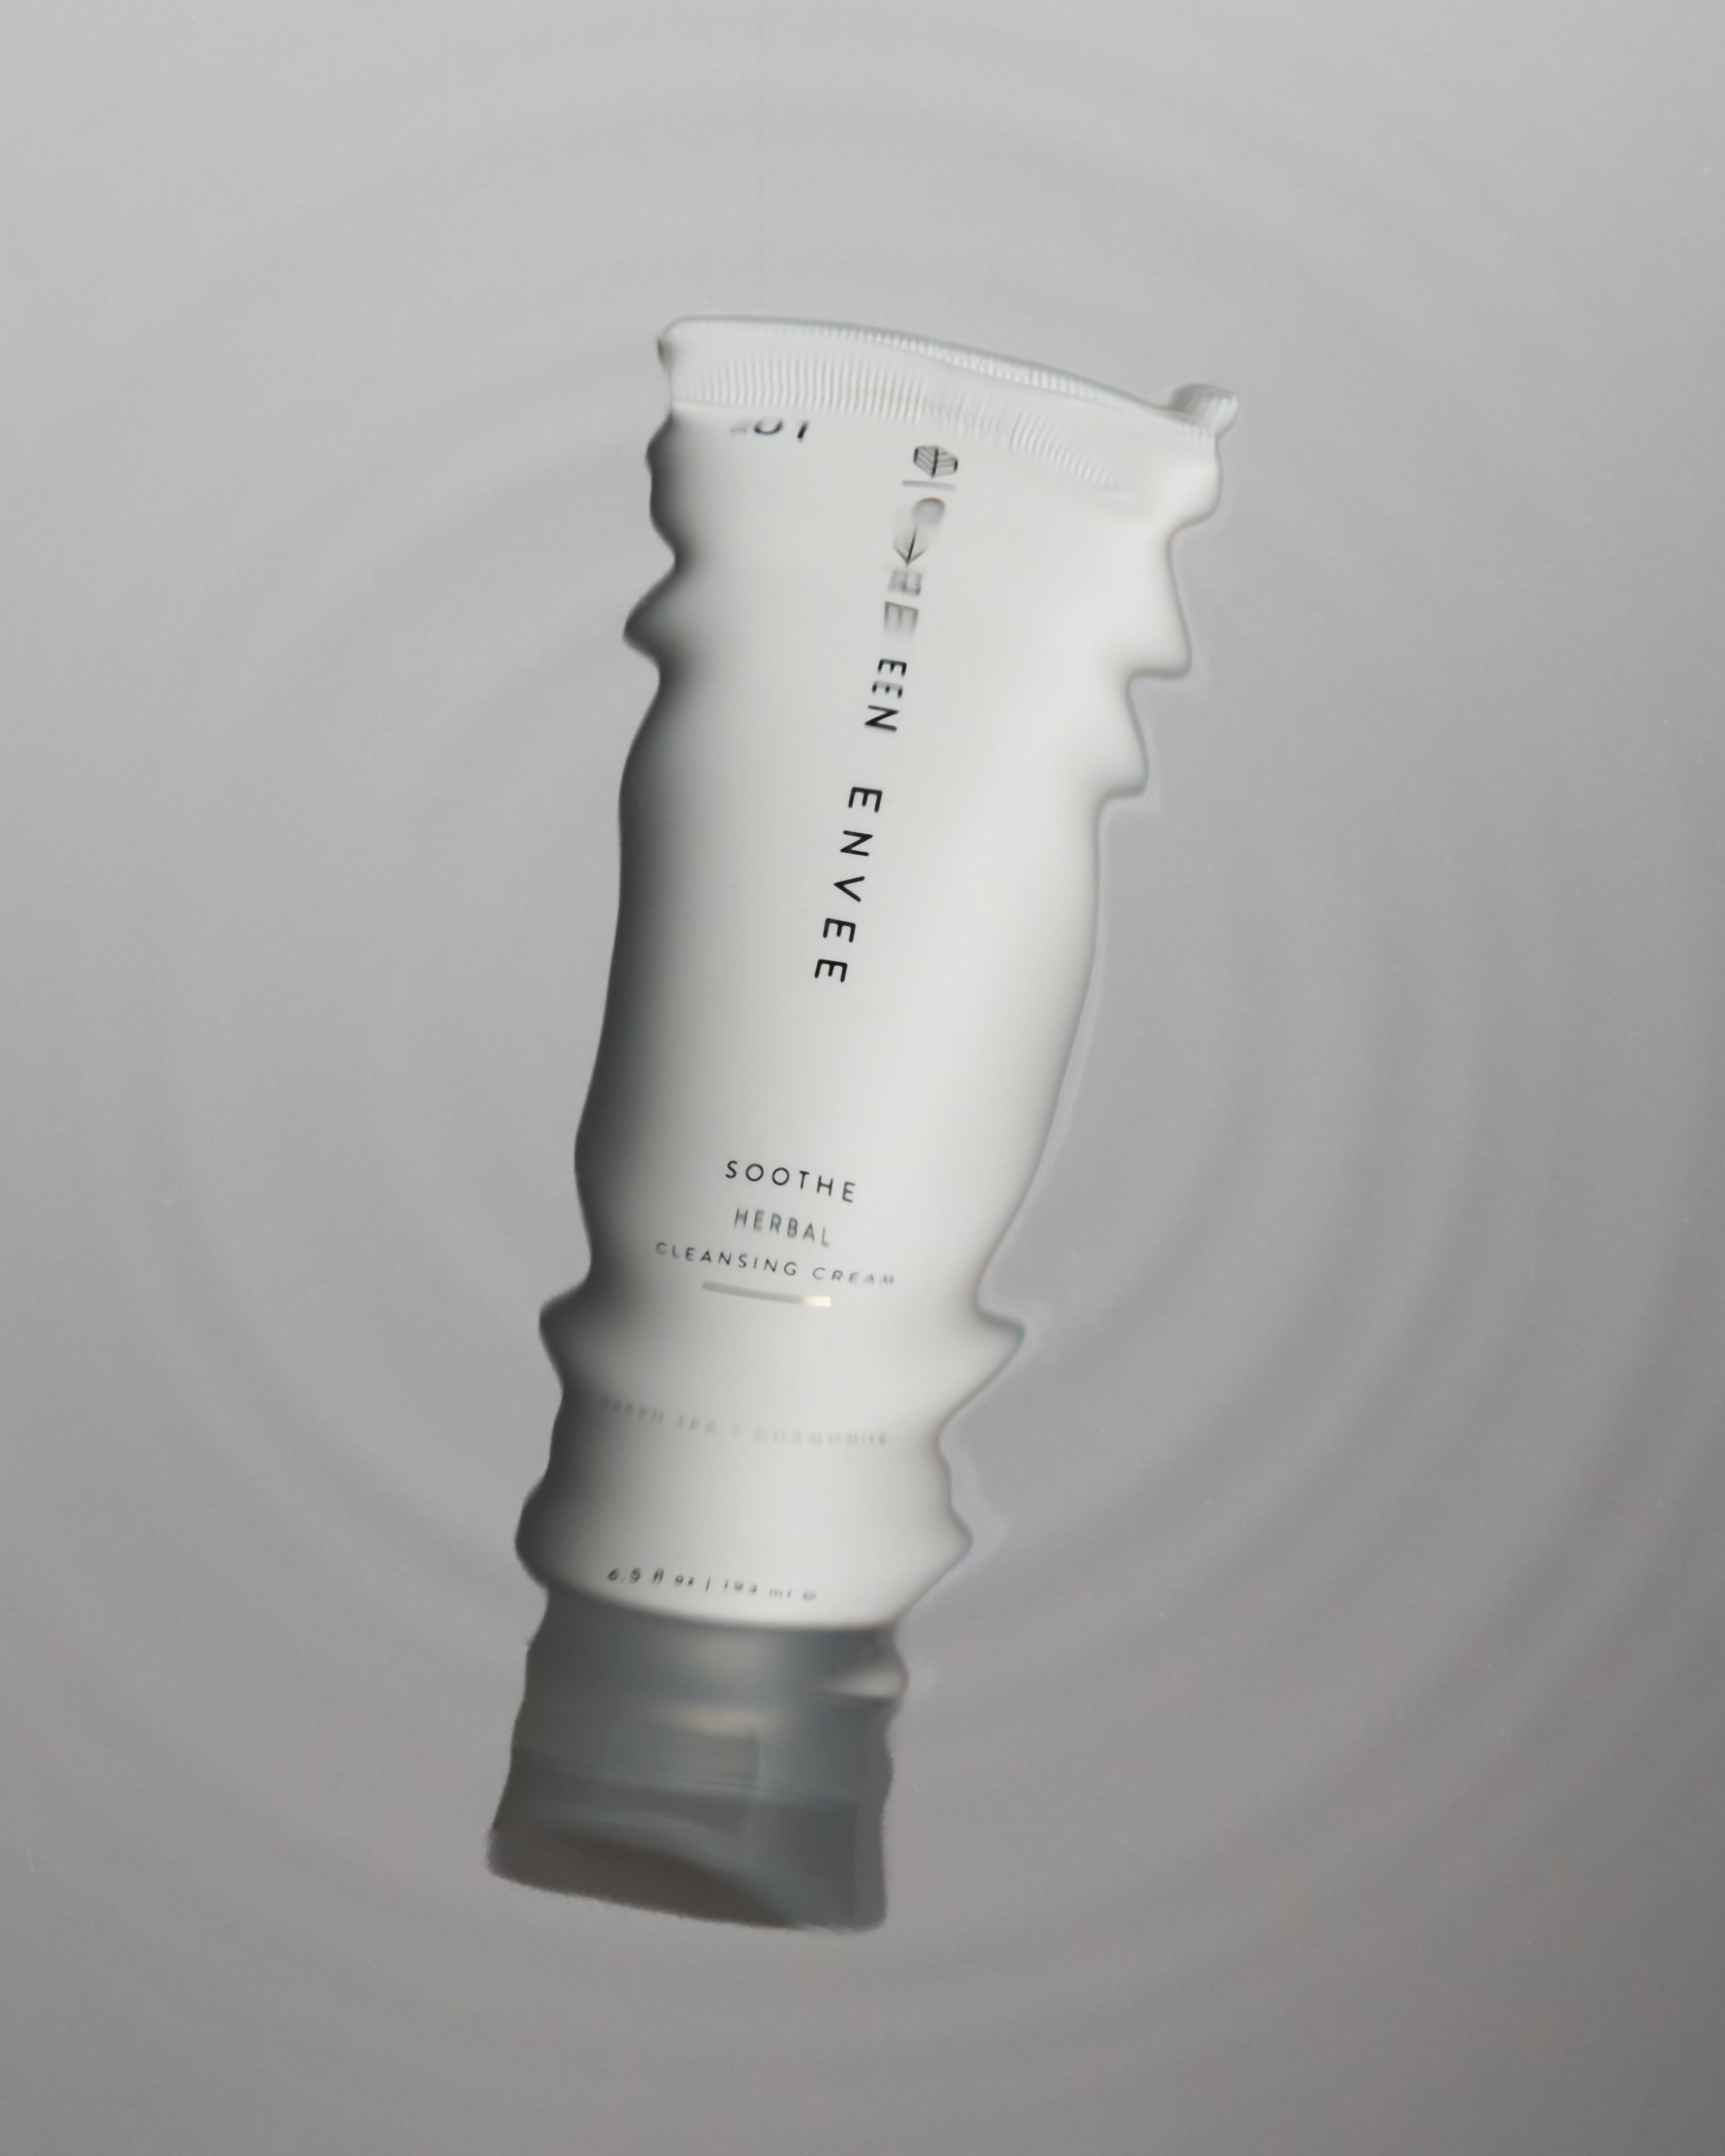
Tip 3: Rim Lighting for Definition
To add definition and depth, experiment with rim lighting. This involves placing lights behind the product to create a subtle outline, separating it from the background, and adding a three-dimensional quality. This lighting technique is especially important when shooting white products on a white background.

Free Workshop
Learn how to style, light, and edit professional images!

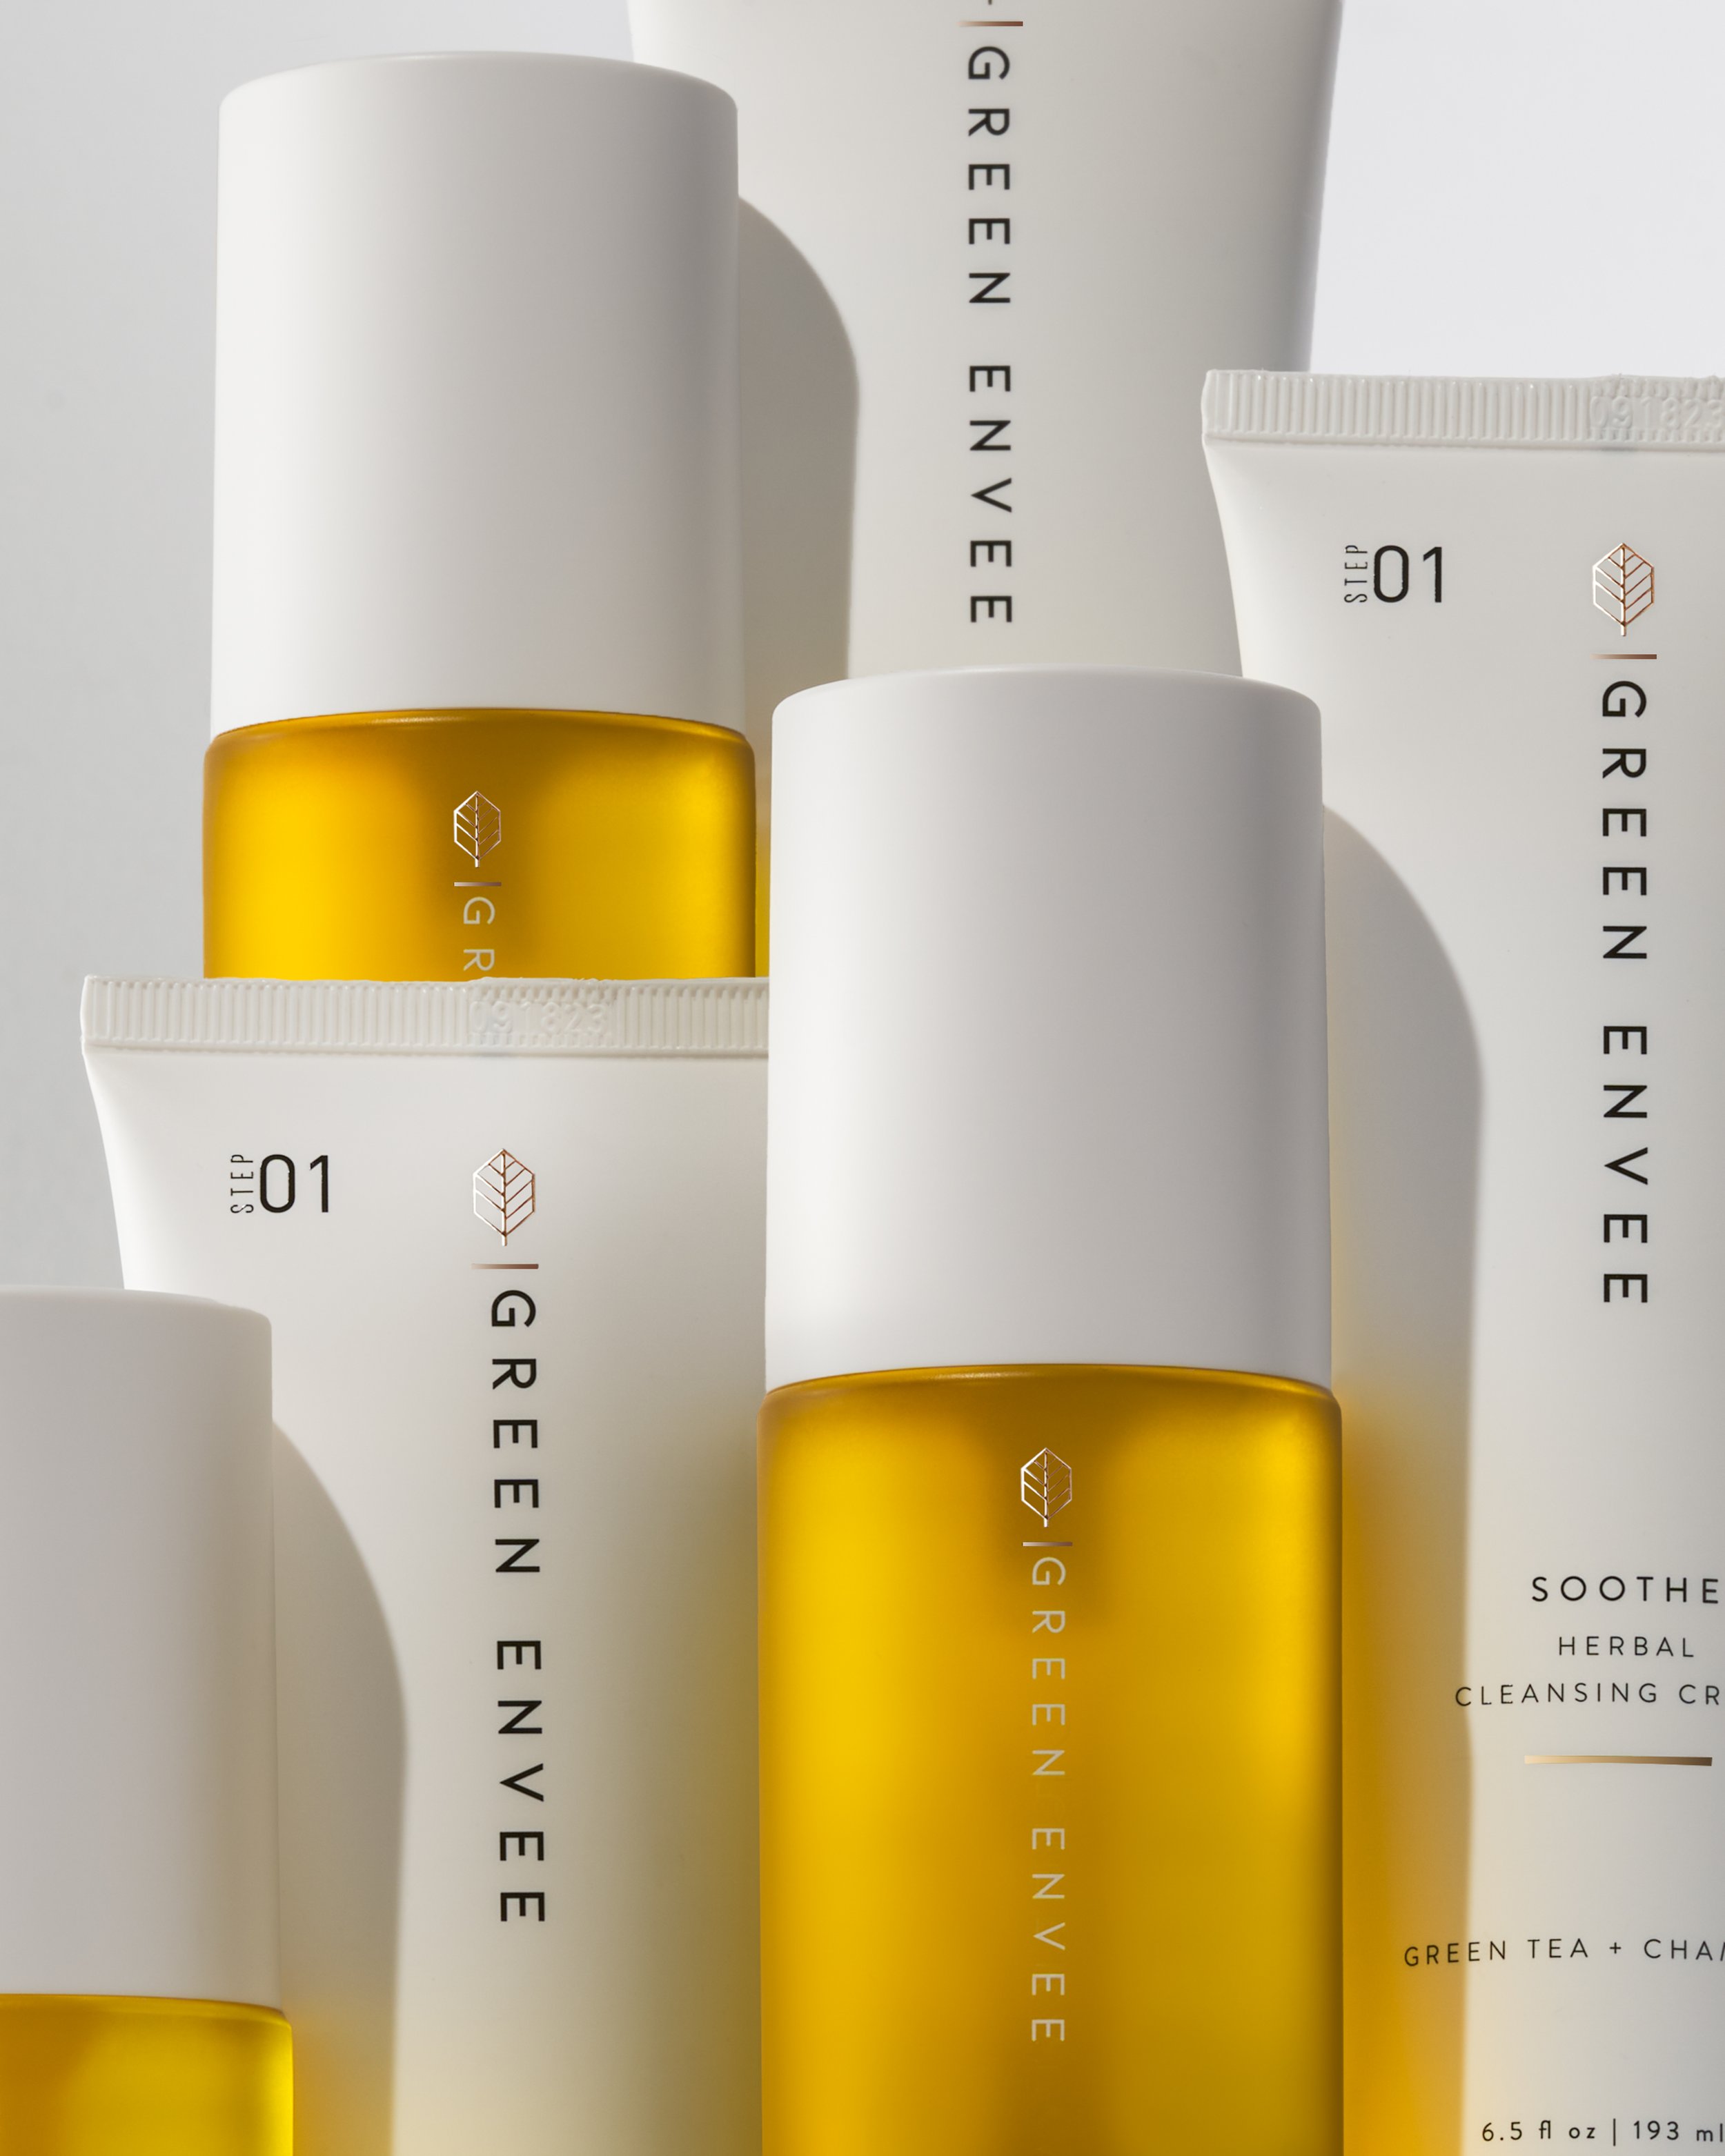
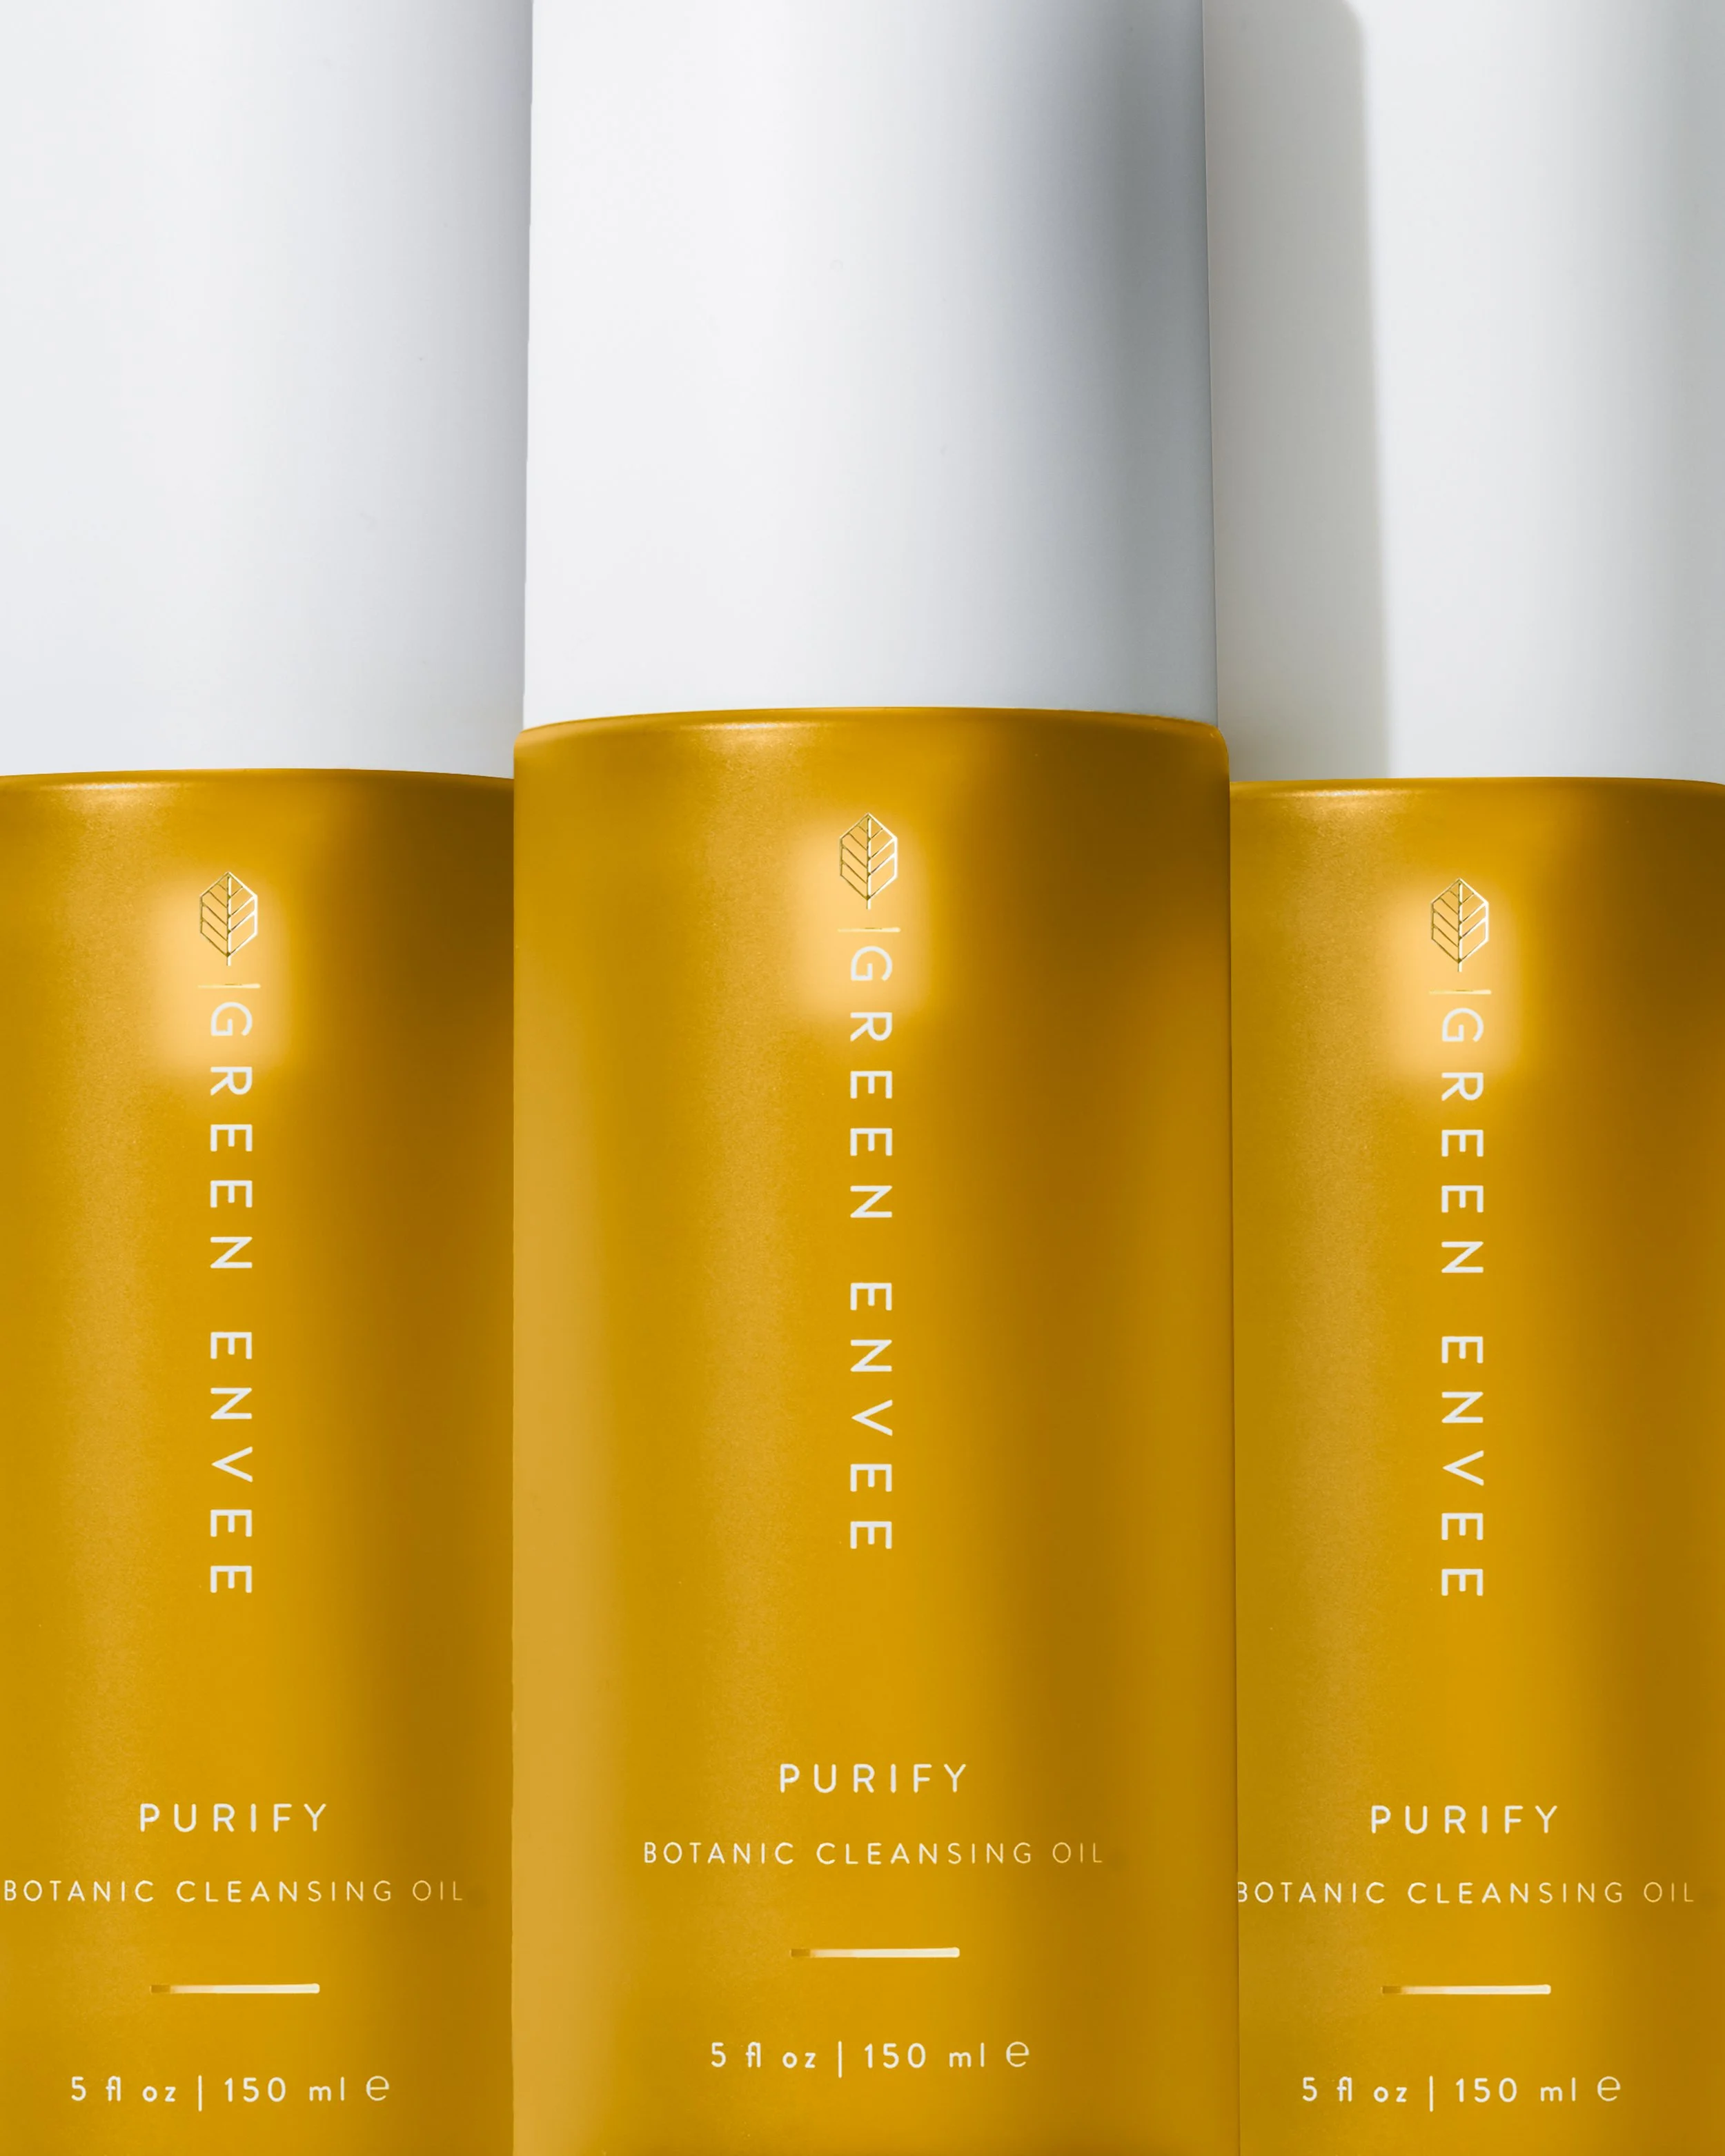
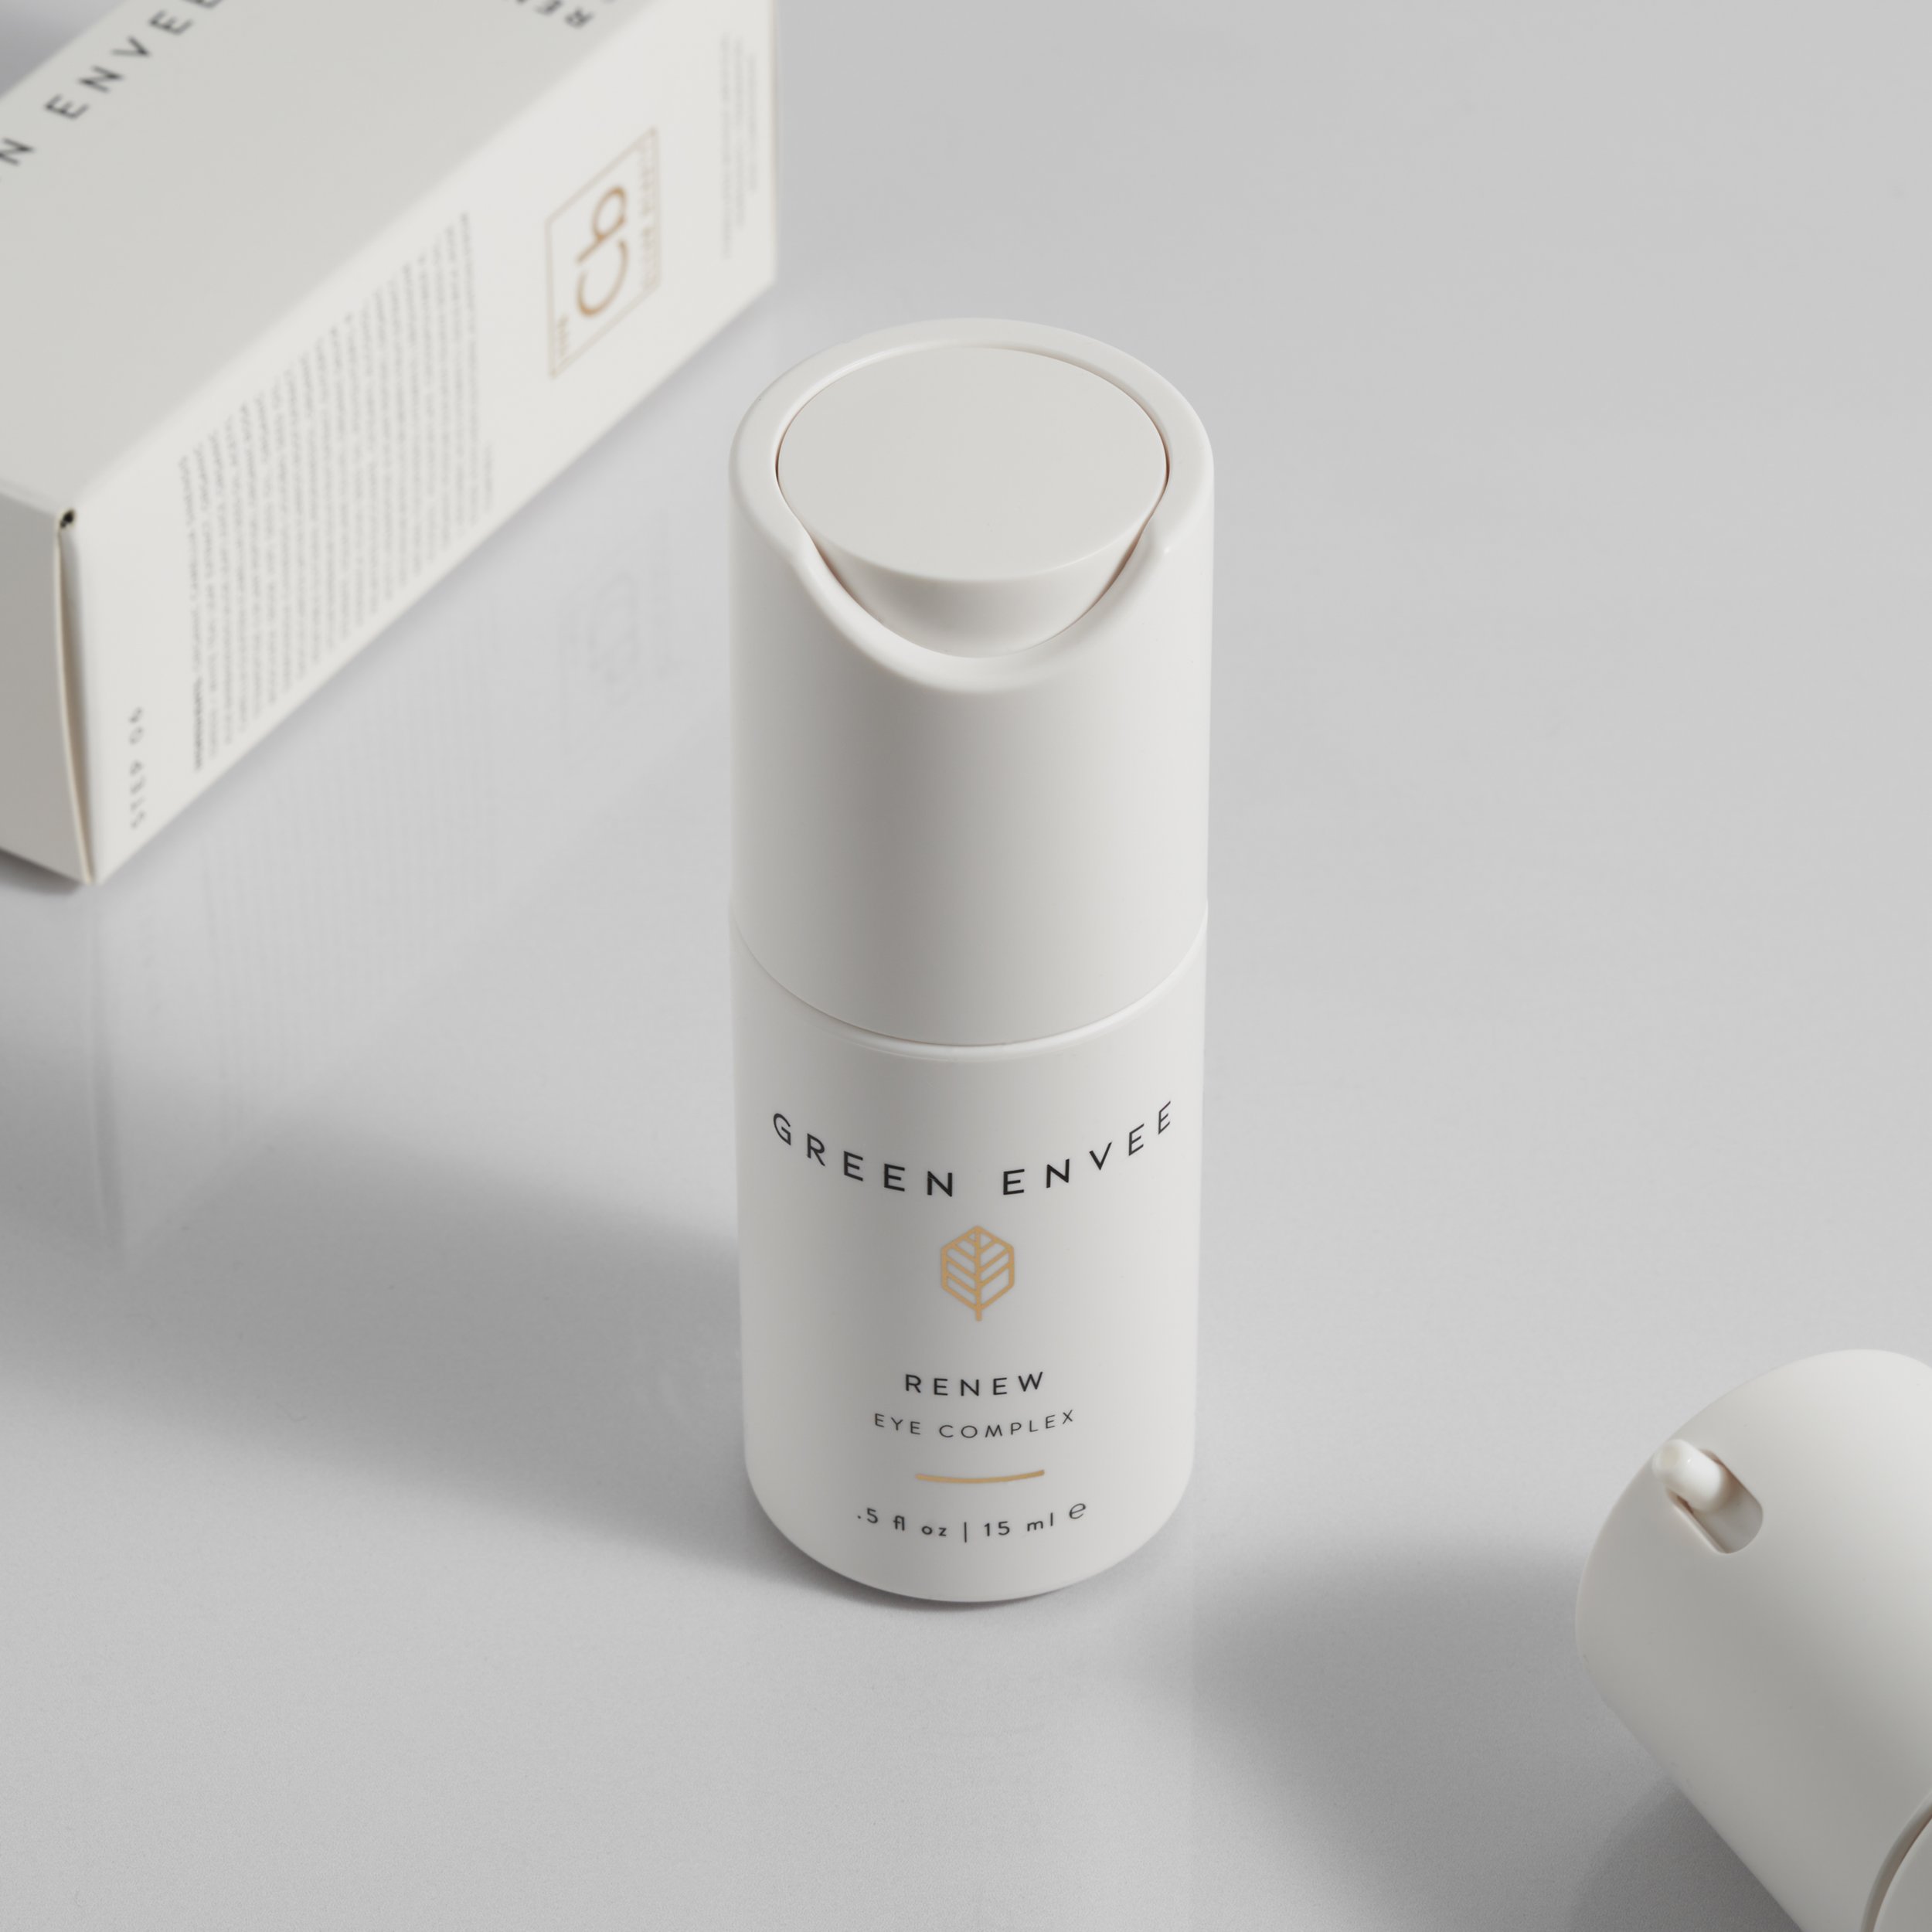
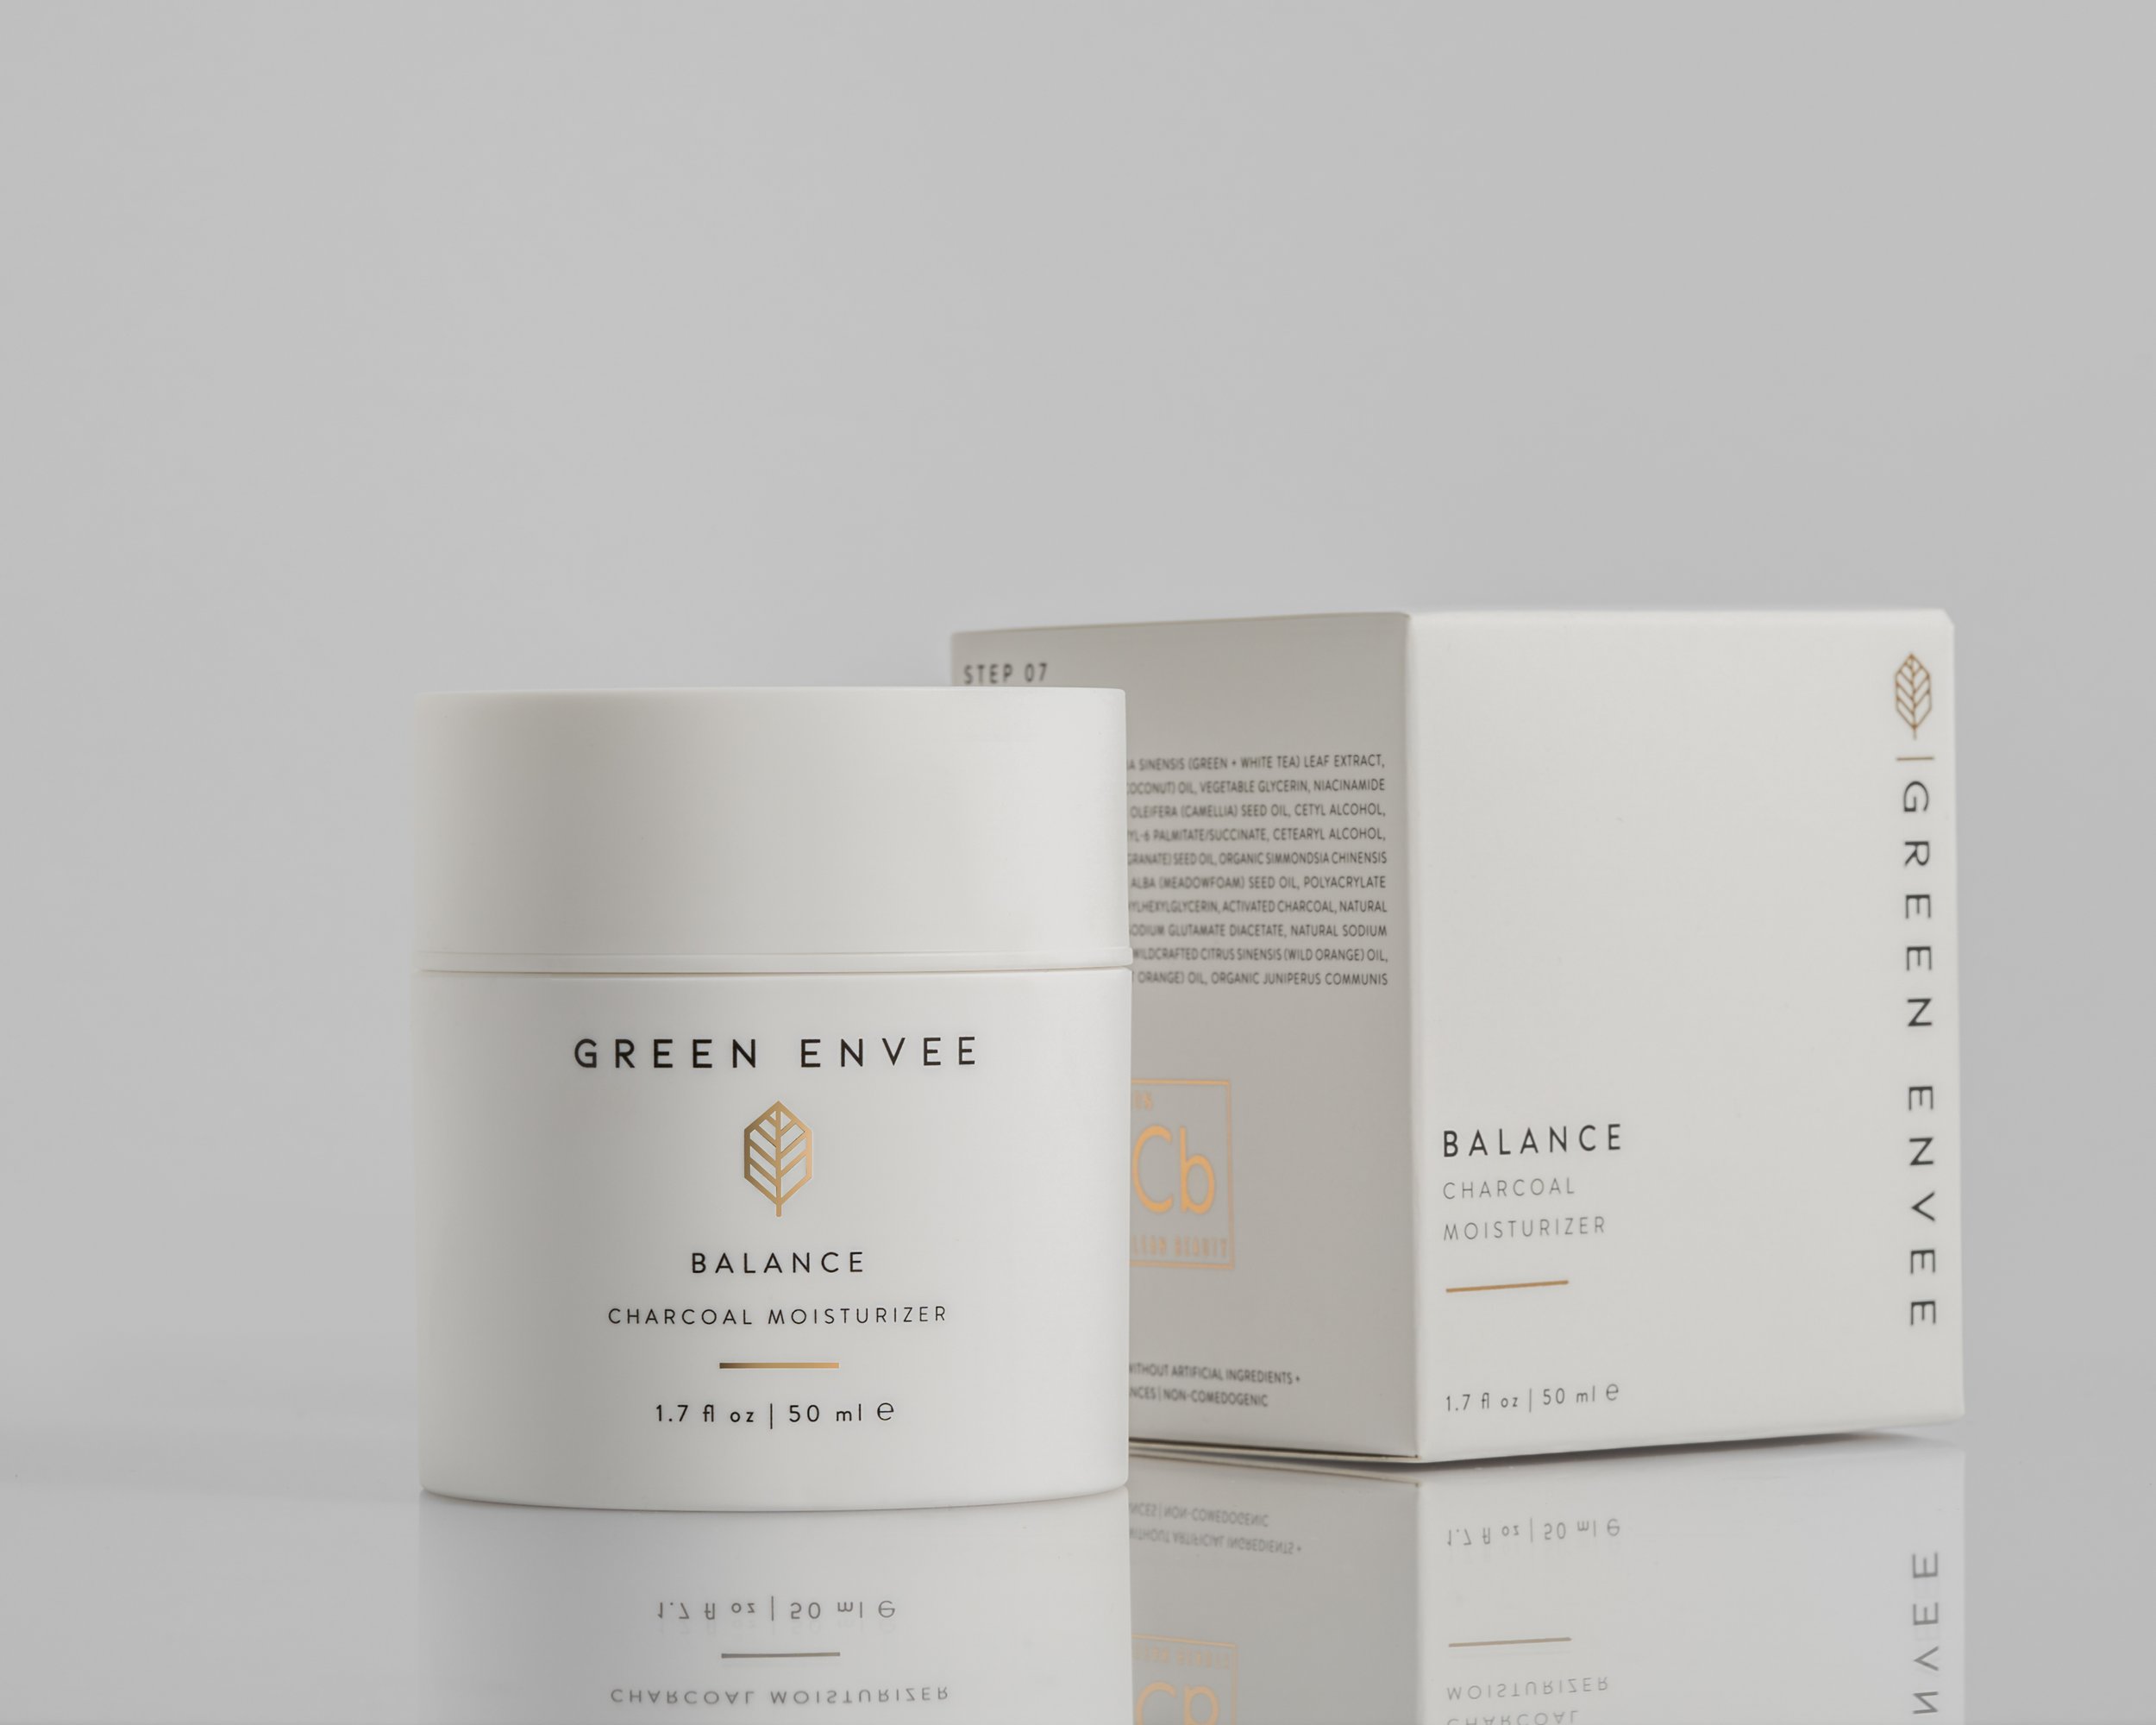
Tip 4: Avoiding Glare and Reflections
Glossy skincare product packaging can be a challenge due to glare and reflections. Tackle this by adjusting the angle of your lights and utilizing diffuser panels. Light diffusers force the lights to stretch and blur across the product surface acting as a silhouette.
PRO TIP: In this image, our main light source is to the left back side of the products and a white bounce board is in front of the product to illuminate the labels.
Tip 5: Color Temperature Considerations
Be mindful of the color temperature of your lights. You want the color of your skincare products to remain true to real life. You should set your white balance using a grey card before capturing any images.

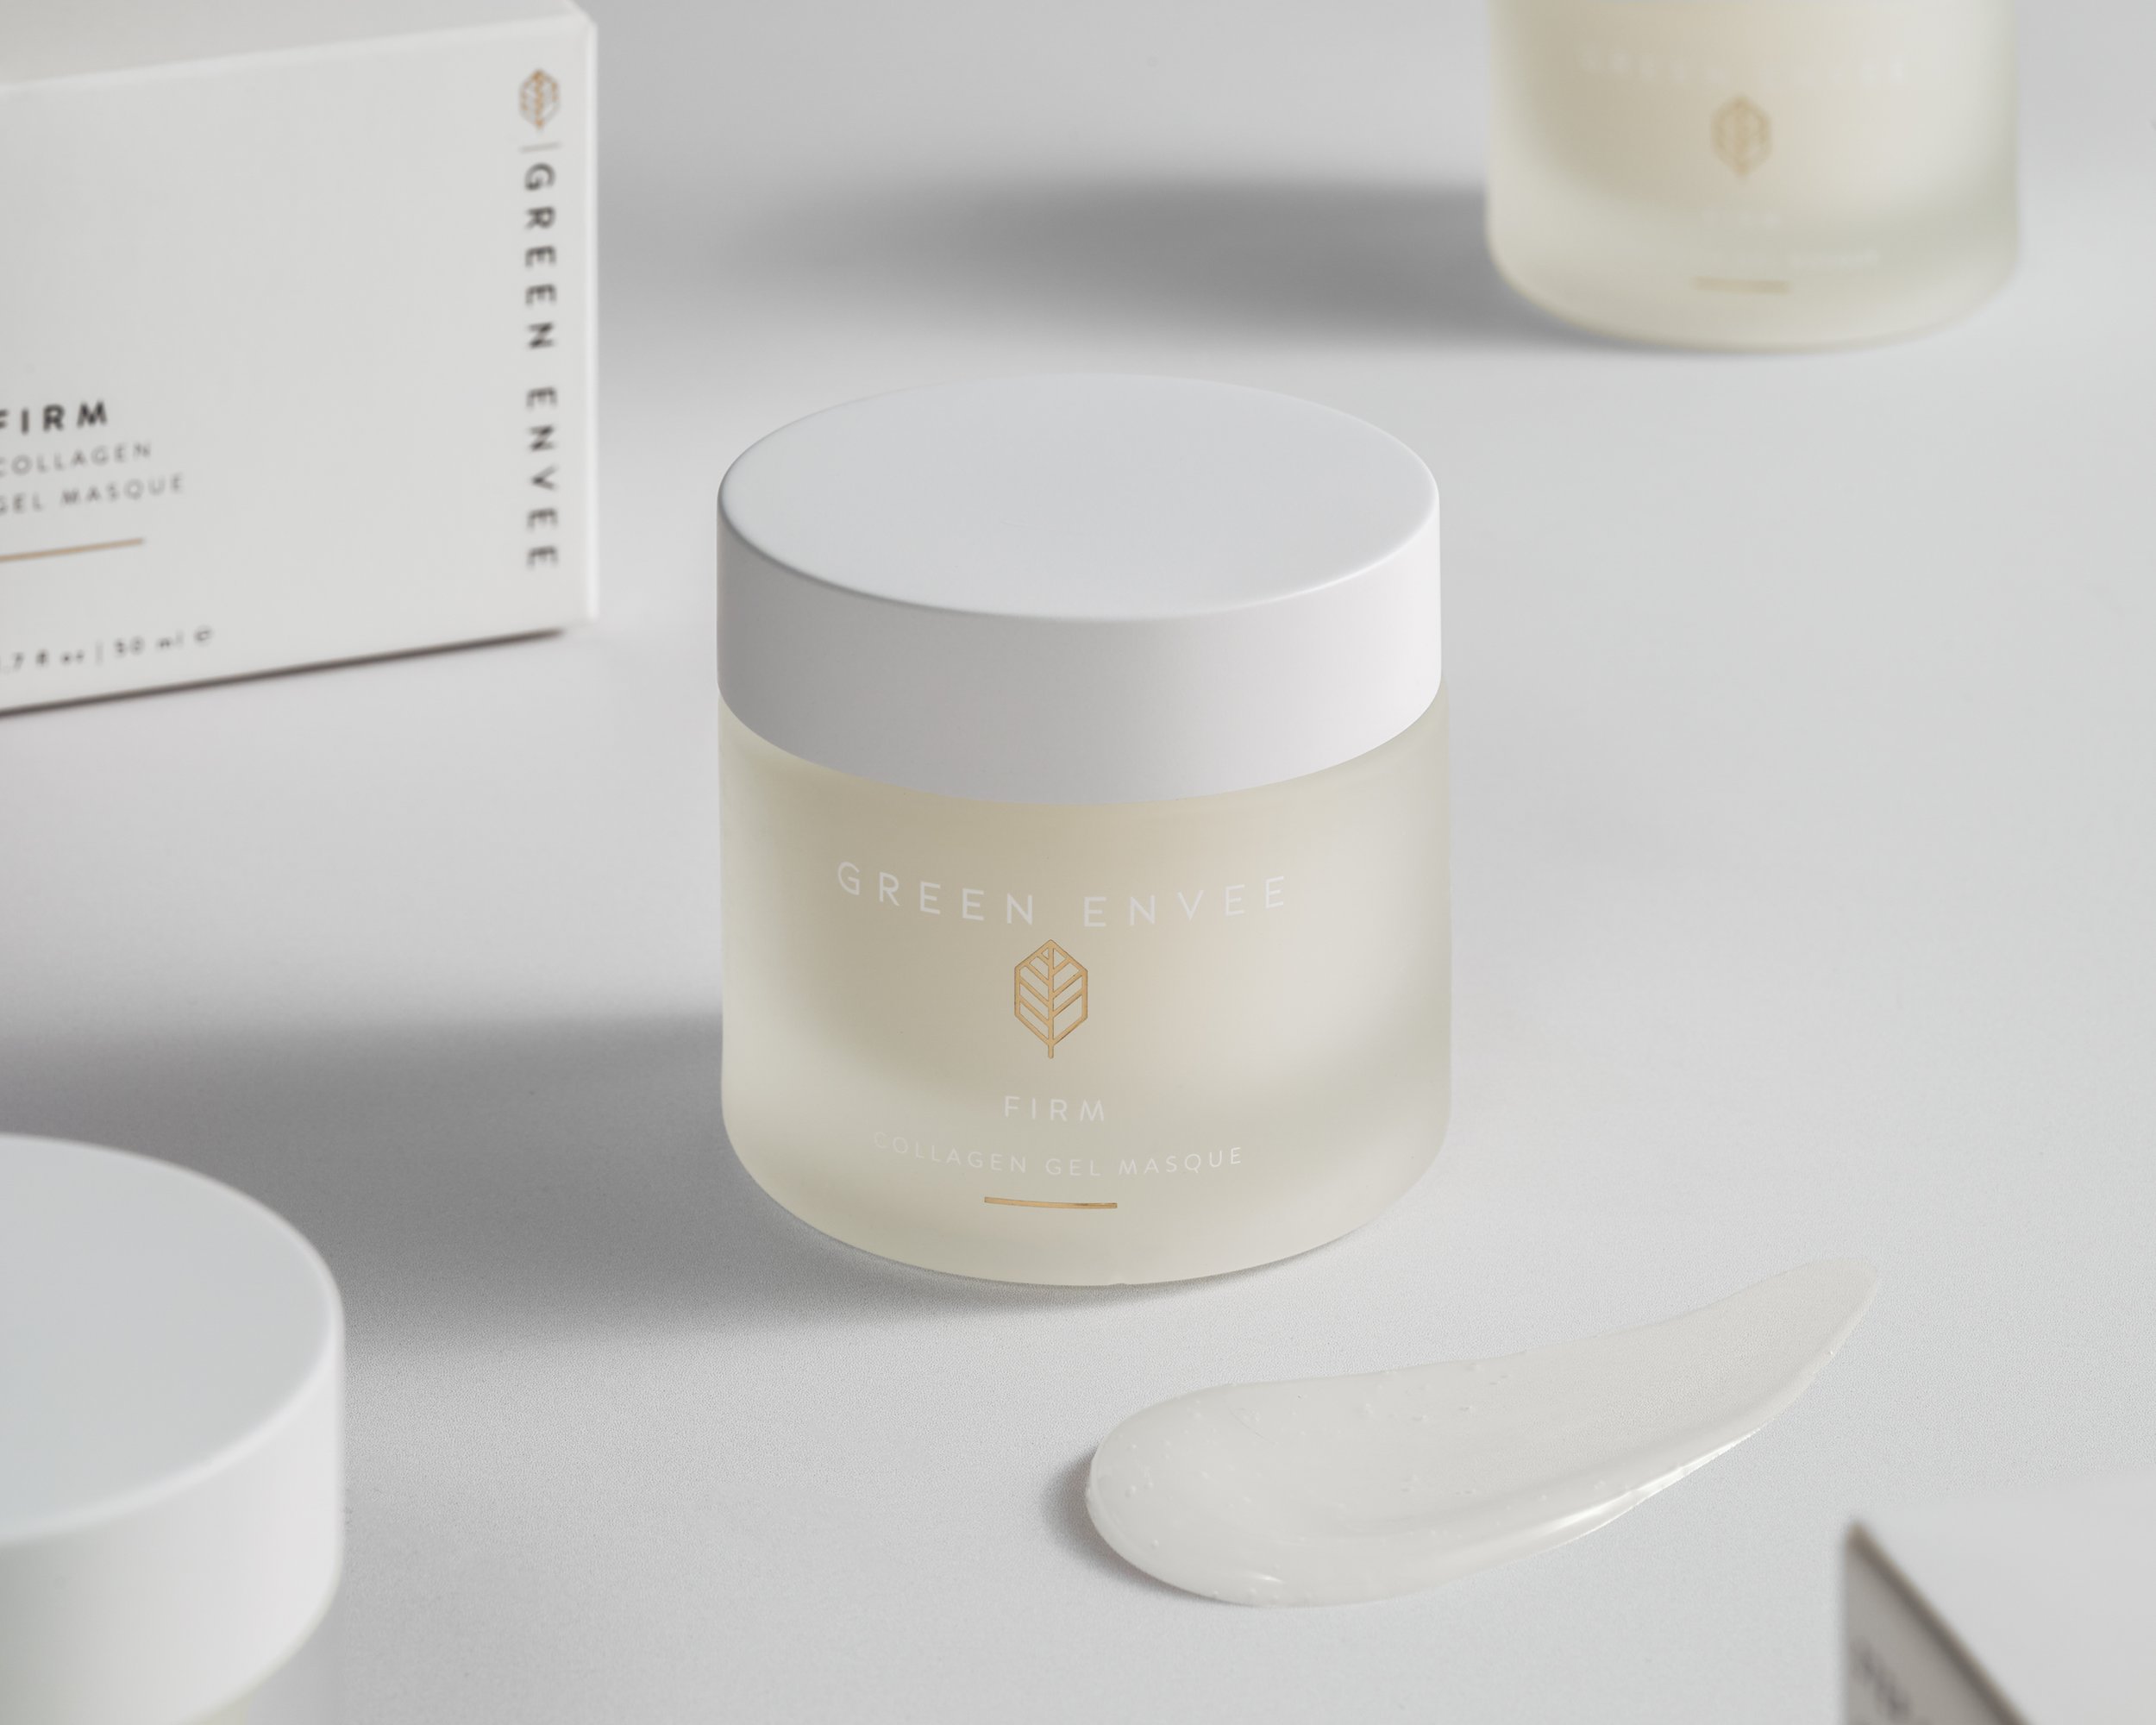
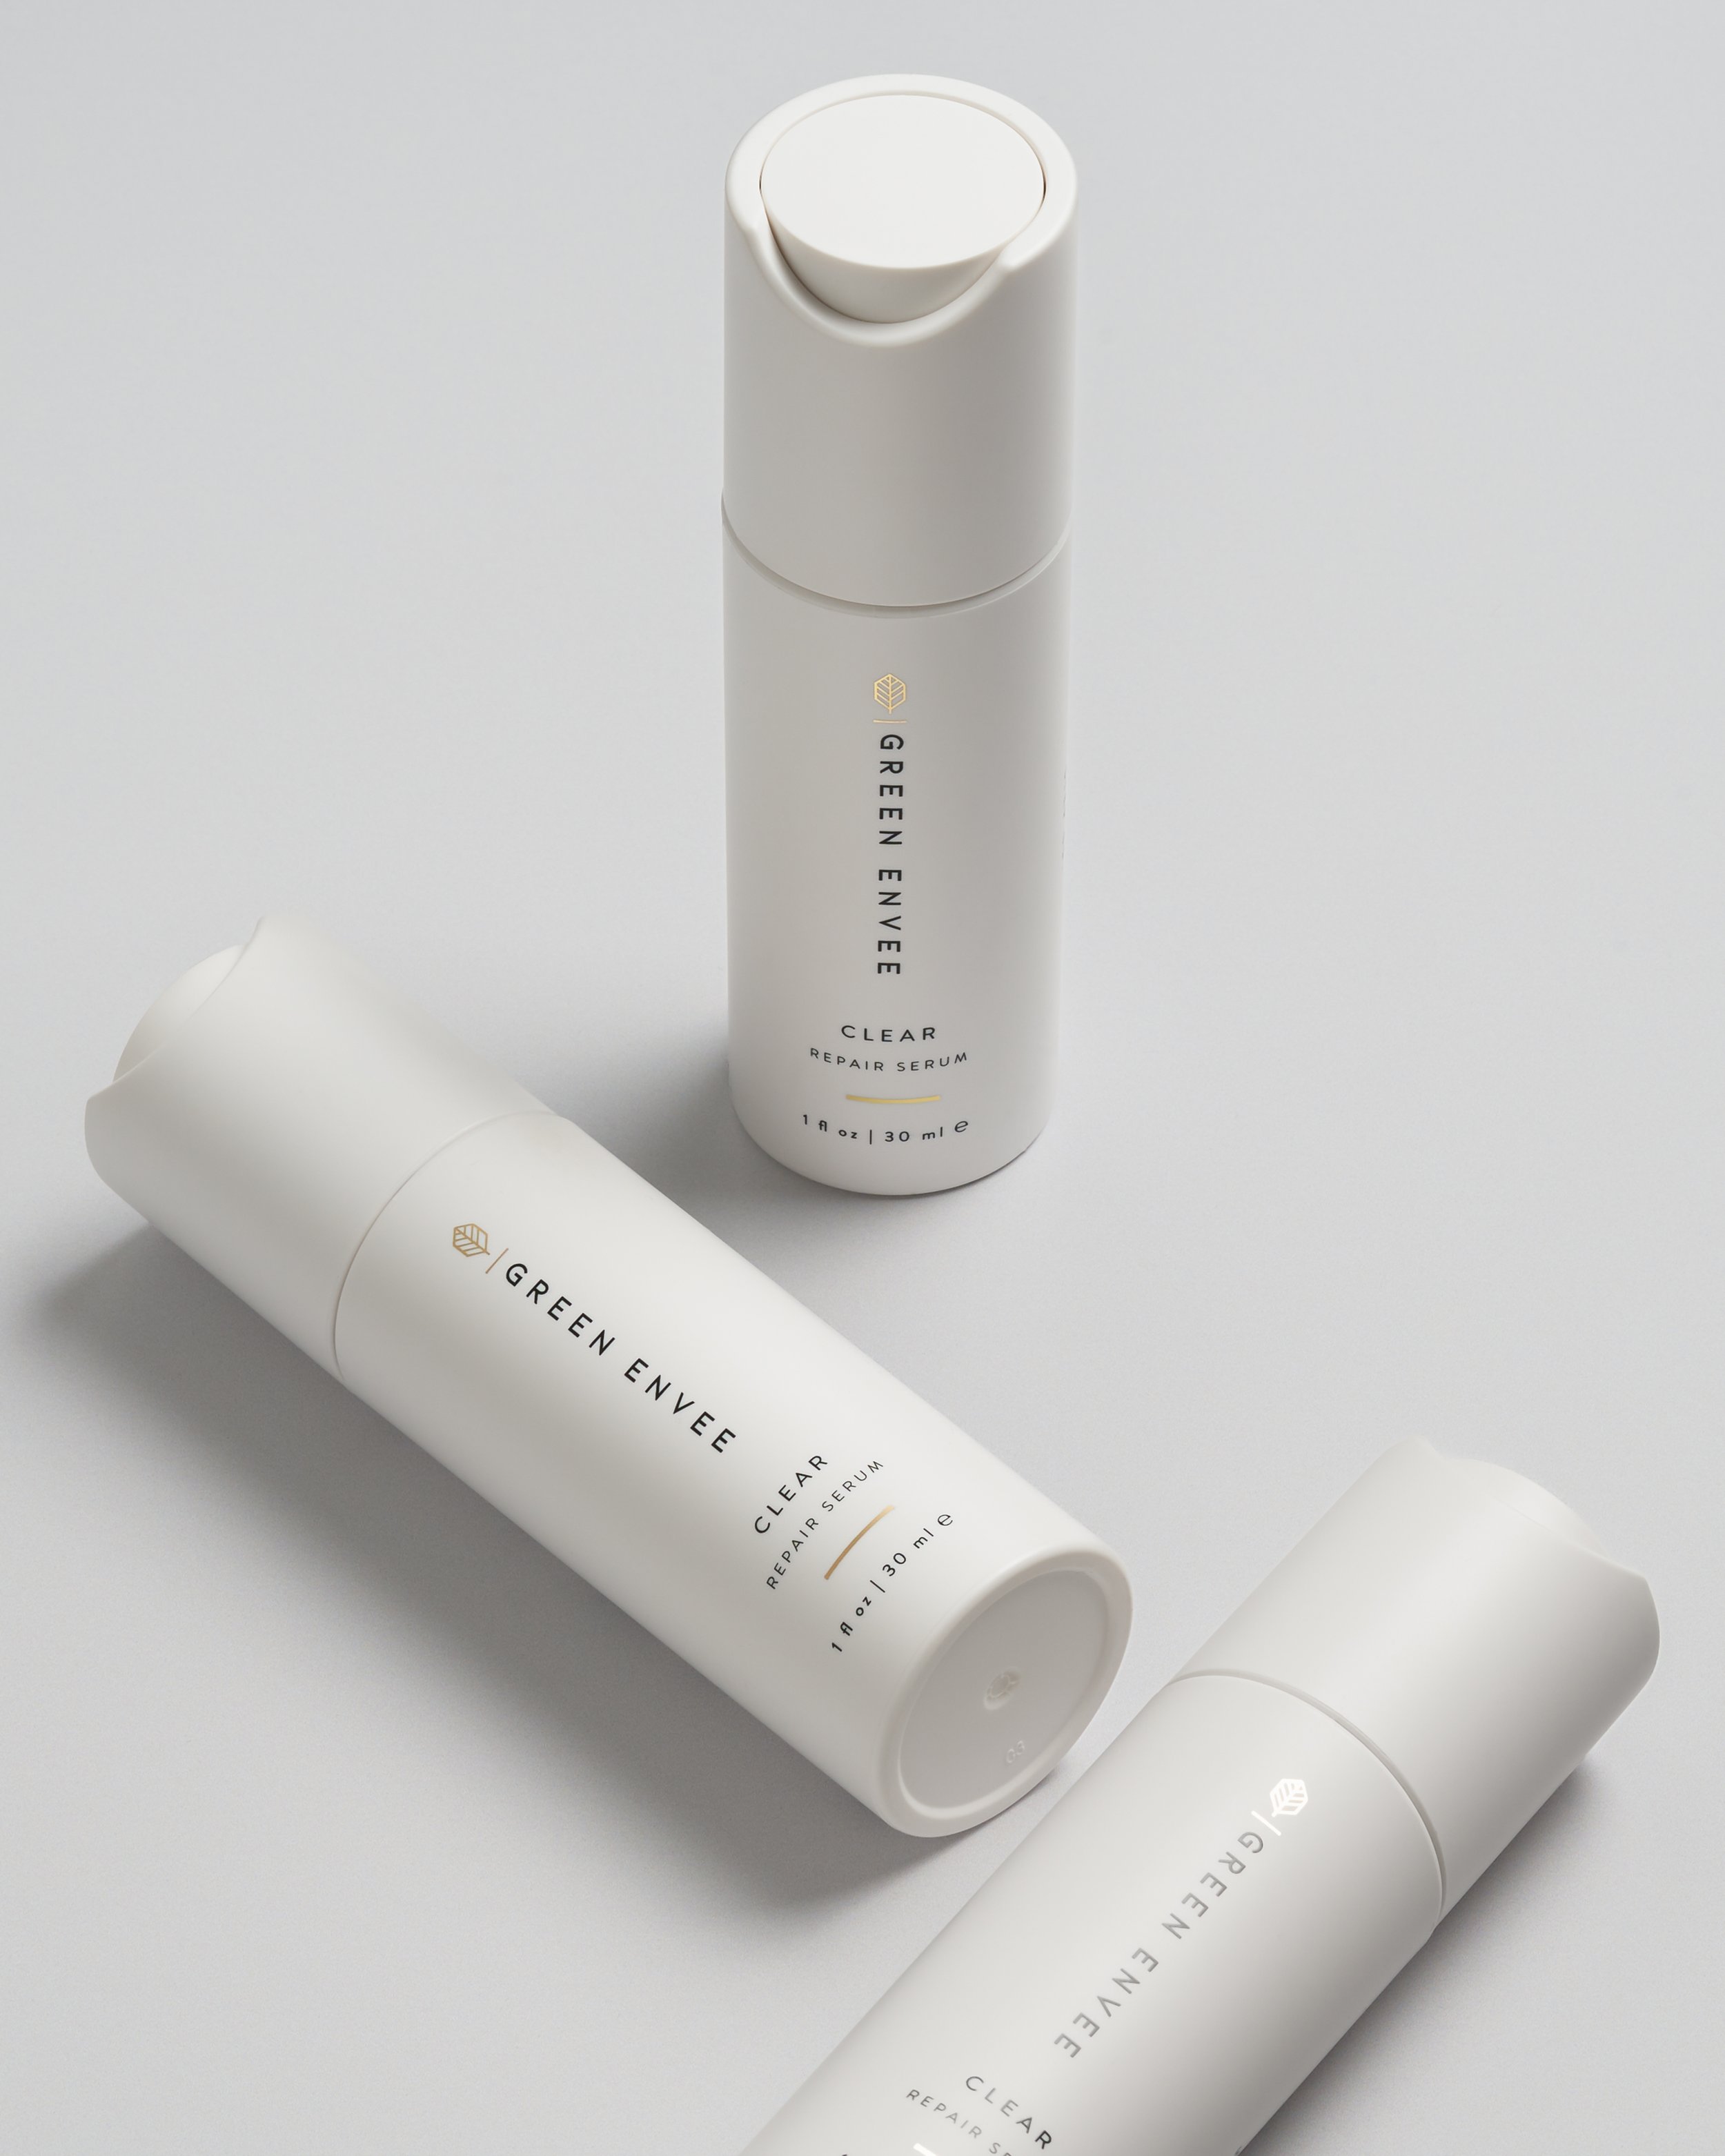
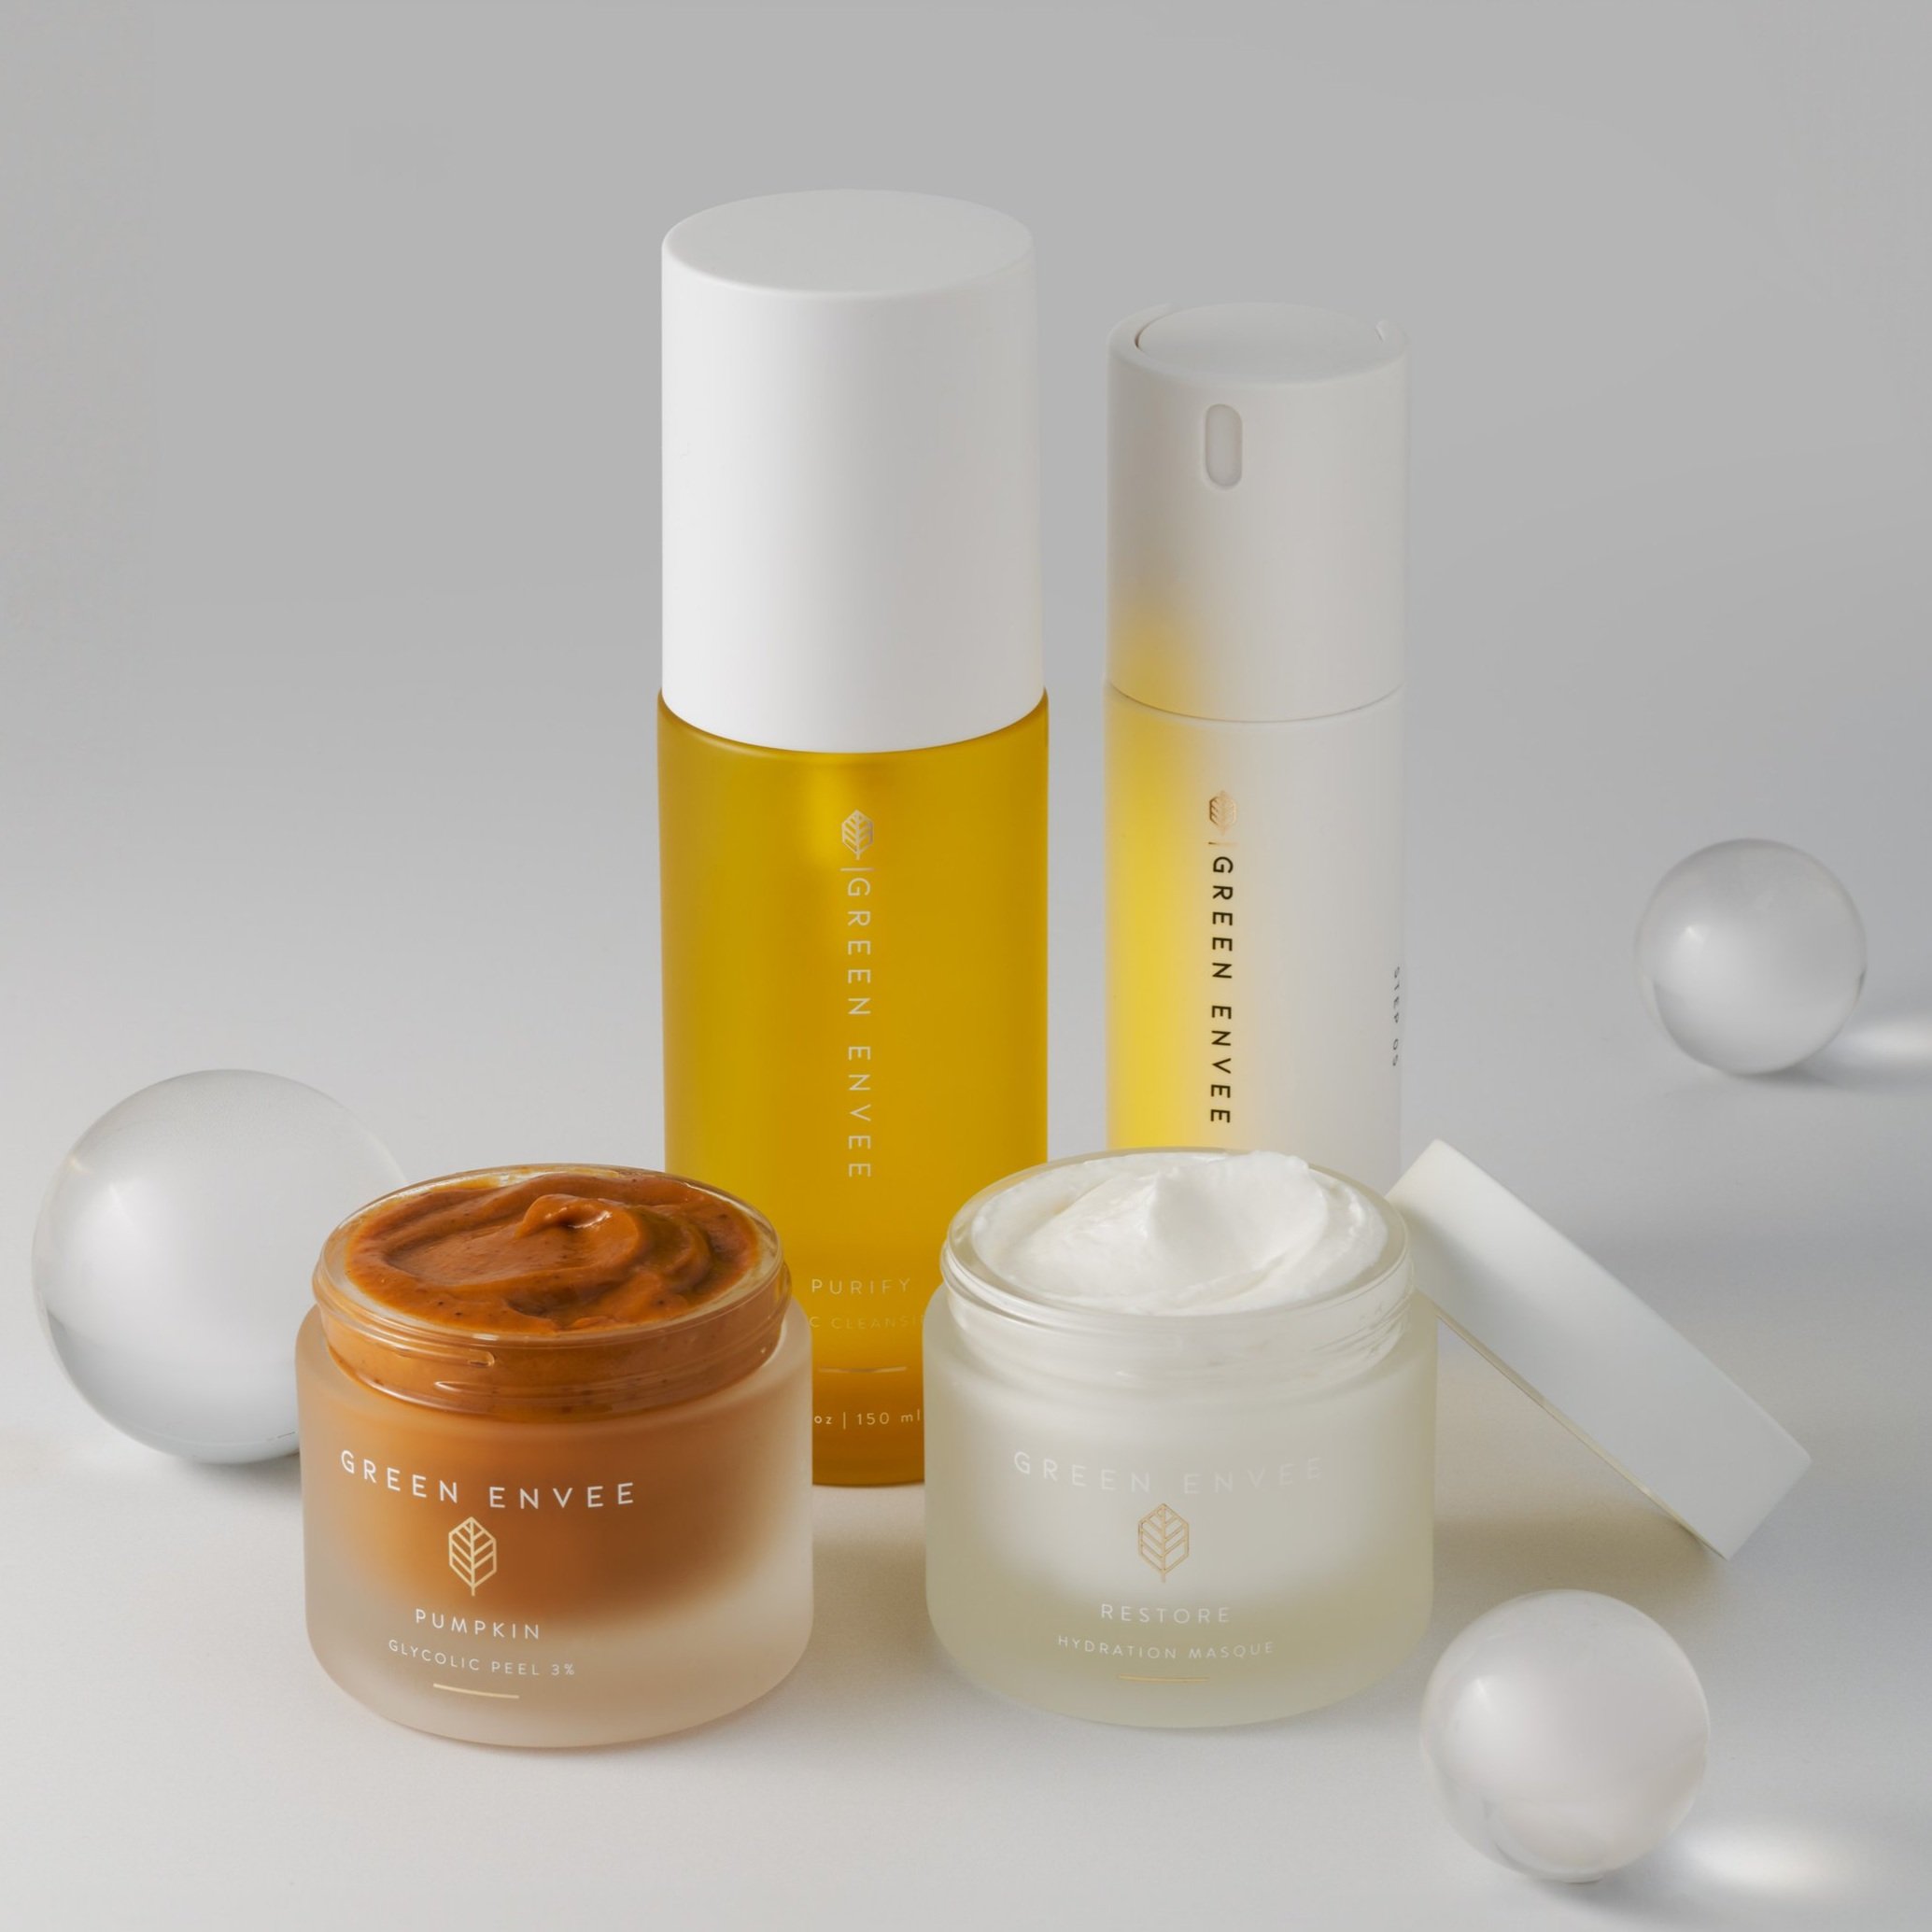
Tip 6: Dynamic Angles and Perspectives
Don't be afraid to explore various angles and perspectives. Find the angles that showcase the unique features of each product, providing a fresh and intriguing visual narrative.
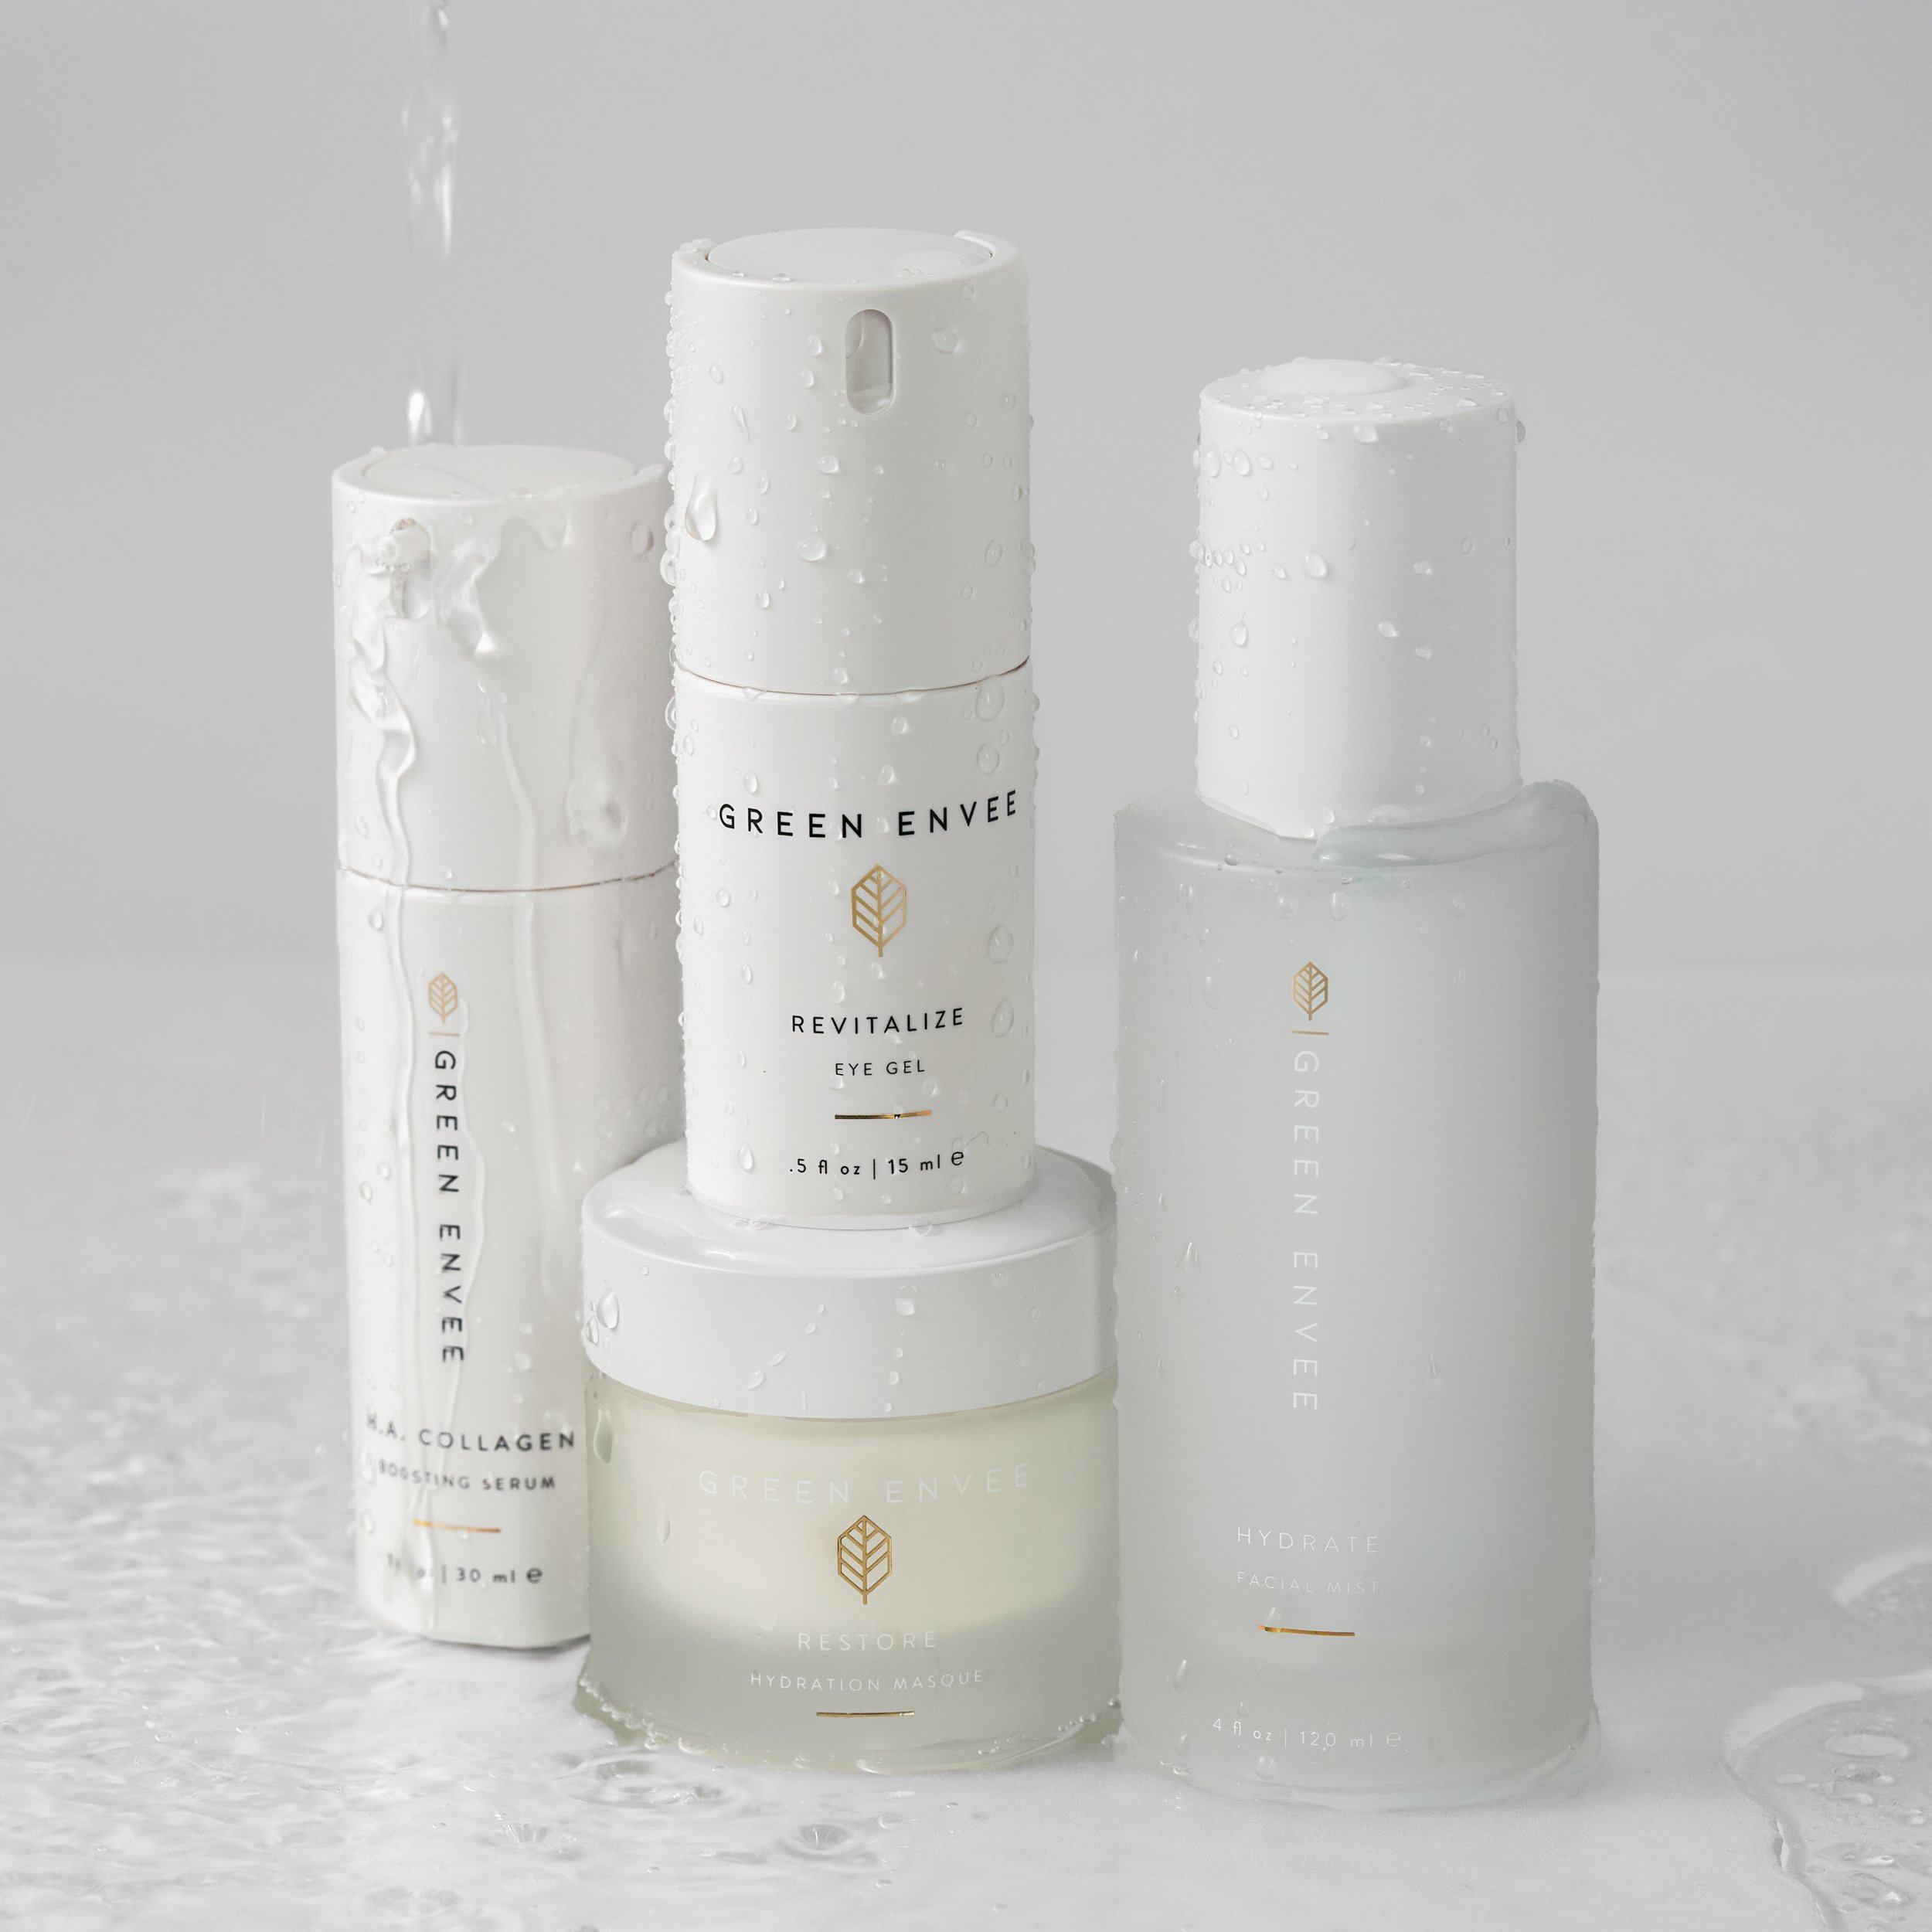
PRO TIP: Add a pop of texture by removing lids from jars. It’s a common trend in high-end product imagery.
Common Mistakes to Avoid
Ⅹ Don’t use too much light! You will end up overexposing the image and lose detail.
Ⅹ Pay attention to your labels! When trying any of our image techniques, be sure that your labels are always visible.
Ⅹ Wear vinyl gloves when styling to avoid dirty fingerprints and oily residue on the products.
Frequently Asked Questions:
What is the ideal time for capturing skincare products in natural light?
The golden hours, early in the morning or late in the afternoon, provide a soft and warm ambiance ideal for skincare product photography.
How can I minimize glare on glossy skincare product packaging?
Adjust the angle of your lights and consider using diffuser panels to reduce unwanted reflections.
Are props necessary for skincare product photography?
Props can enhance the overall appeal, but it's essential to ensure they complement rather than overshadow the main product.
What post-processing techniques are recommended for skincare product images?
Find a balance between enhancing features and maintaining a natural look during post-processing.
How do I avoid common mistakes in skincare product photography?
Stay aware of potential pitfalls, from uneven lighting to awkward shadows, to minimize errors during your photoshoots.


More Articles


Shop
Photography Templates & Tools Designed to Help You Seamlessly Run Your Business