How to Master Food Product Photography: A Step-by-Step Guide

Mediocre food product photography can severely impact your brand’s success in an oversaturated market. Without the right imagery, you risk losing customer trust and failing to communicate the true value of your products. This is especially true for industries like food, skincare, and beauty, where visual appeal directly influences consumer decisions.
At Mainstream Multimedia, we specialize in ingredient-based photography. It is a skill that we consistently apply while working with leading skincare and beauty brands. In this guide, we’ll show you how to master food product photography and create images that are near to perfection.
Step 1: Analyzing the Food’s Story Before the Shoot
Every food product tells a unique story. Is the food indulgent, like a decadent chocolate cake or a rich dessert? Is it healthy and vibrant, such as a fresh salad or smoothie? Or is it luxurious, like gourmet chocolates or premium oils? Knowing the food’s personality helps you determine how to style and photograph it.
For beauty and skincare brands, especially those that feature food-based ingredients, the food’s story also ties into the product’s benefits. For example, skincare products with honey as an ingredient may evoke a story of natural nourishment, while coconut oil-based products may highlight purity and tropical luxury. Understanding both the food and skincare product’s story lets you create visuals that resonate with your audience.

Think about the emotions you want to evoke. Should your customers feel a sense of indulgence, wellness, or luxury? Identifying the right tone will guide your styling, setting, and photography, making sure your visuals align with the product’s personality.
Incorporating Brand Aesthetics into the Shot
Once you understand the food’s story, integrate your brand’s aesthetics into the shot. Whether you’re photographing skincare products or food, consistency with your brand identity is essential.
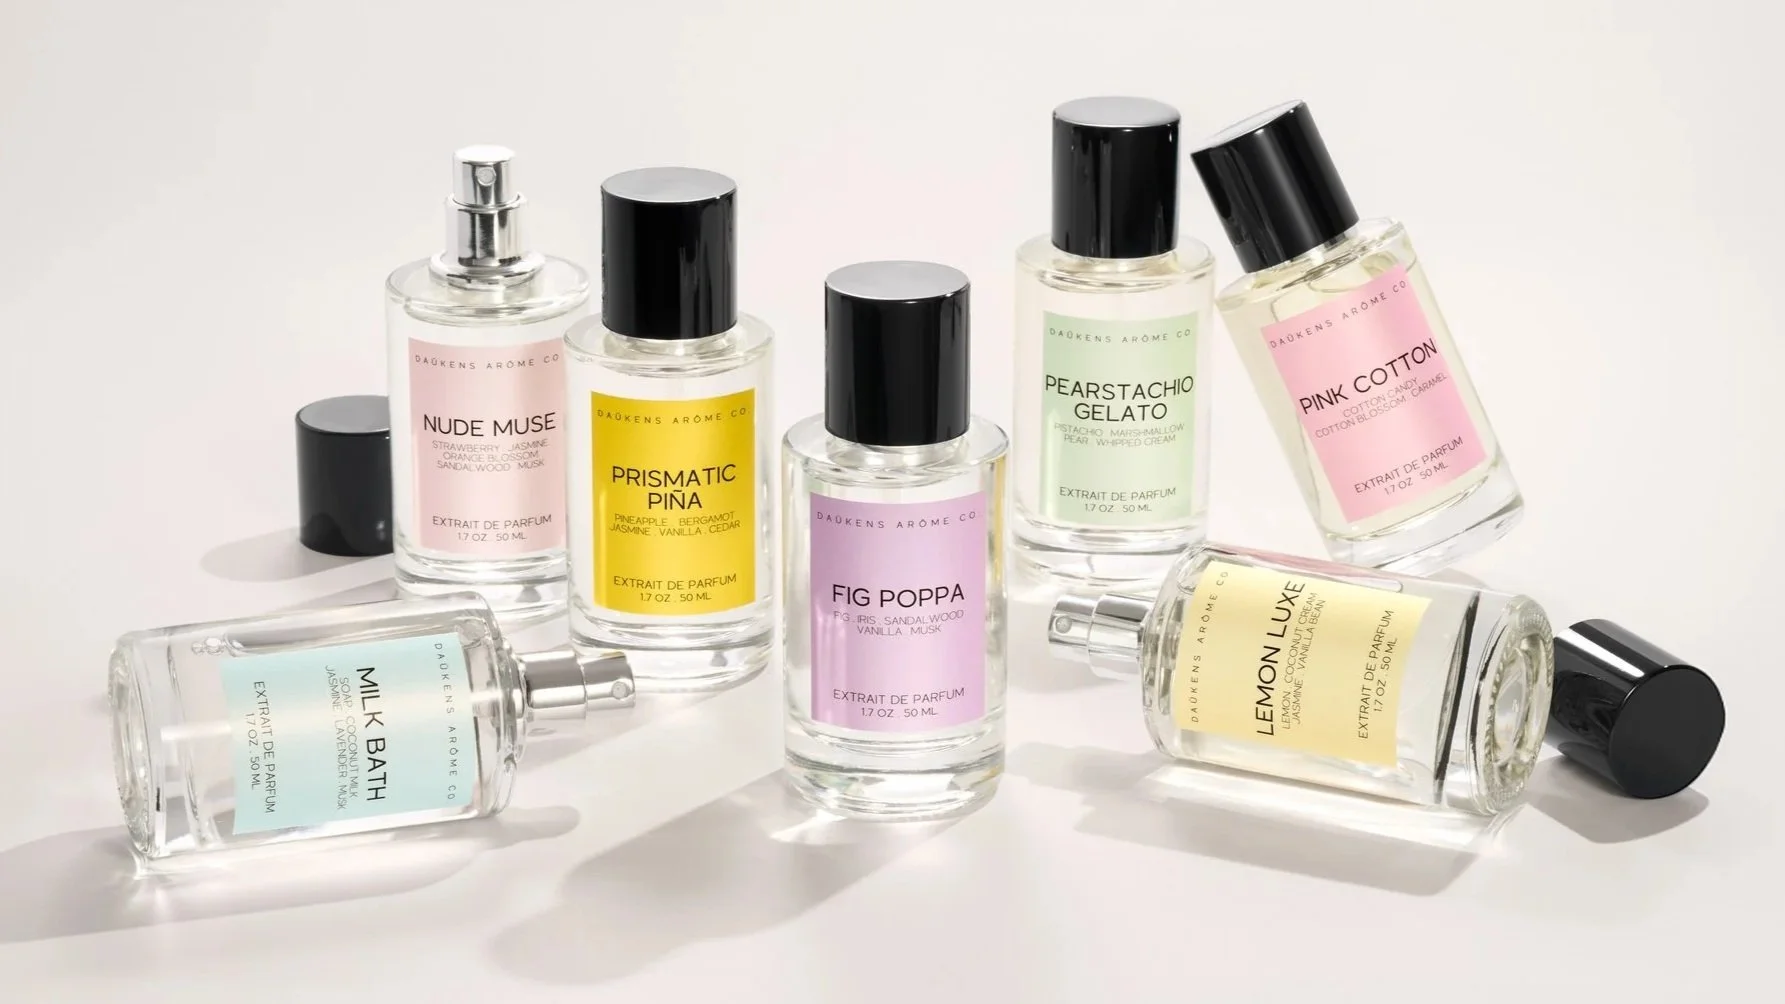
Beauty and skincare brands often want to create visuals that exude elegance, luxury, or natural purity. For example, products with organic ingredients might require minimalist styling, while high-end skincare products may benefit from more luxurious settings.
Consider these elements when setting up your shot:
Lighting:
Soft and diffused lighting works best for skincare products. It brings out the smooth textures of creams, oils, and serums. Natural light enhances the freshness of food-based ingredients in skincare products. Dramatic lighting adds luxury and sophistication to high-end beauty products.
Colors:
Choose colors that reflect your brand’s identity. Soft neutrals or pastels often communicate purity and sophistication in skincare photography. Vibrant tones can express energy or youthful appeal. For food, earthy tones suggest health and organic quality, while richer colors evoke indulgence and luxury.
Props and Backgrounds:
Select props that complement the product’s story. For a skincare product made with honey, natural textures like wood can highlight organic beauty, while sleek marble or glass props emphasize luxury.
The background should mirror the product’s essence. Simple and clean for pure skincare items, or textured and inviting for indulgent or organic food products. Here we discuss more skincare product photo ideas.
Step 2: Advanced Lighting Techniques for Food Photography
Lighting plays a critical role in shaping the mood and visual appeal of food photography. Two popular lighting techniques are high-key and low-key lighting. They serve different purposes and can drastically change the look and feel of your food images.
High-Key Lighting:
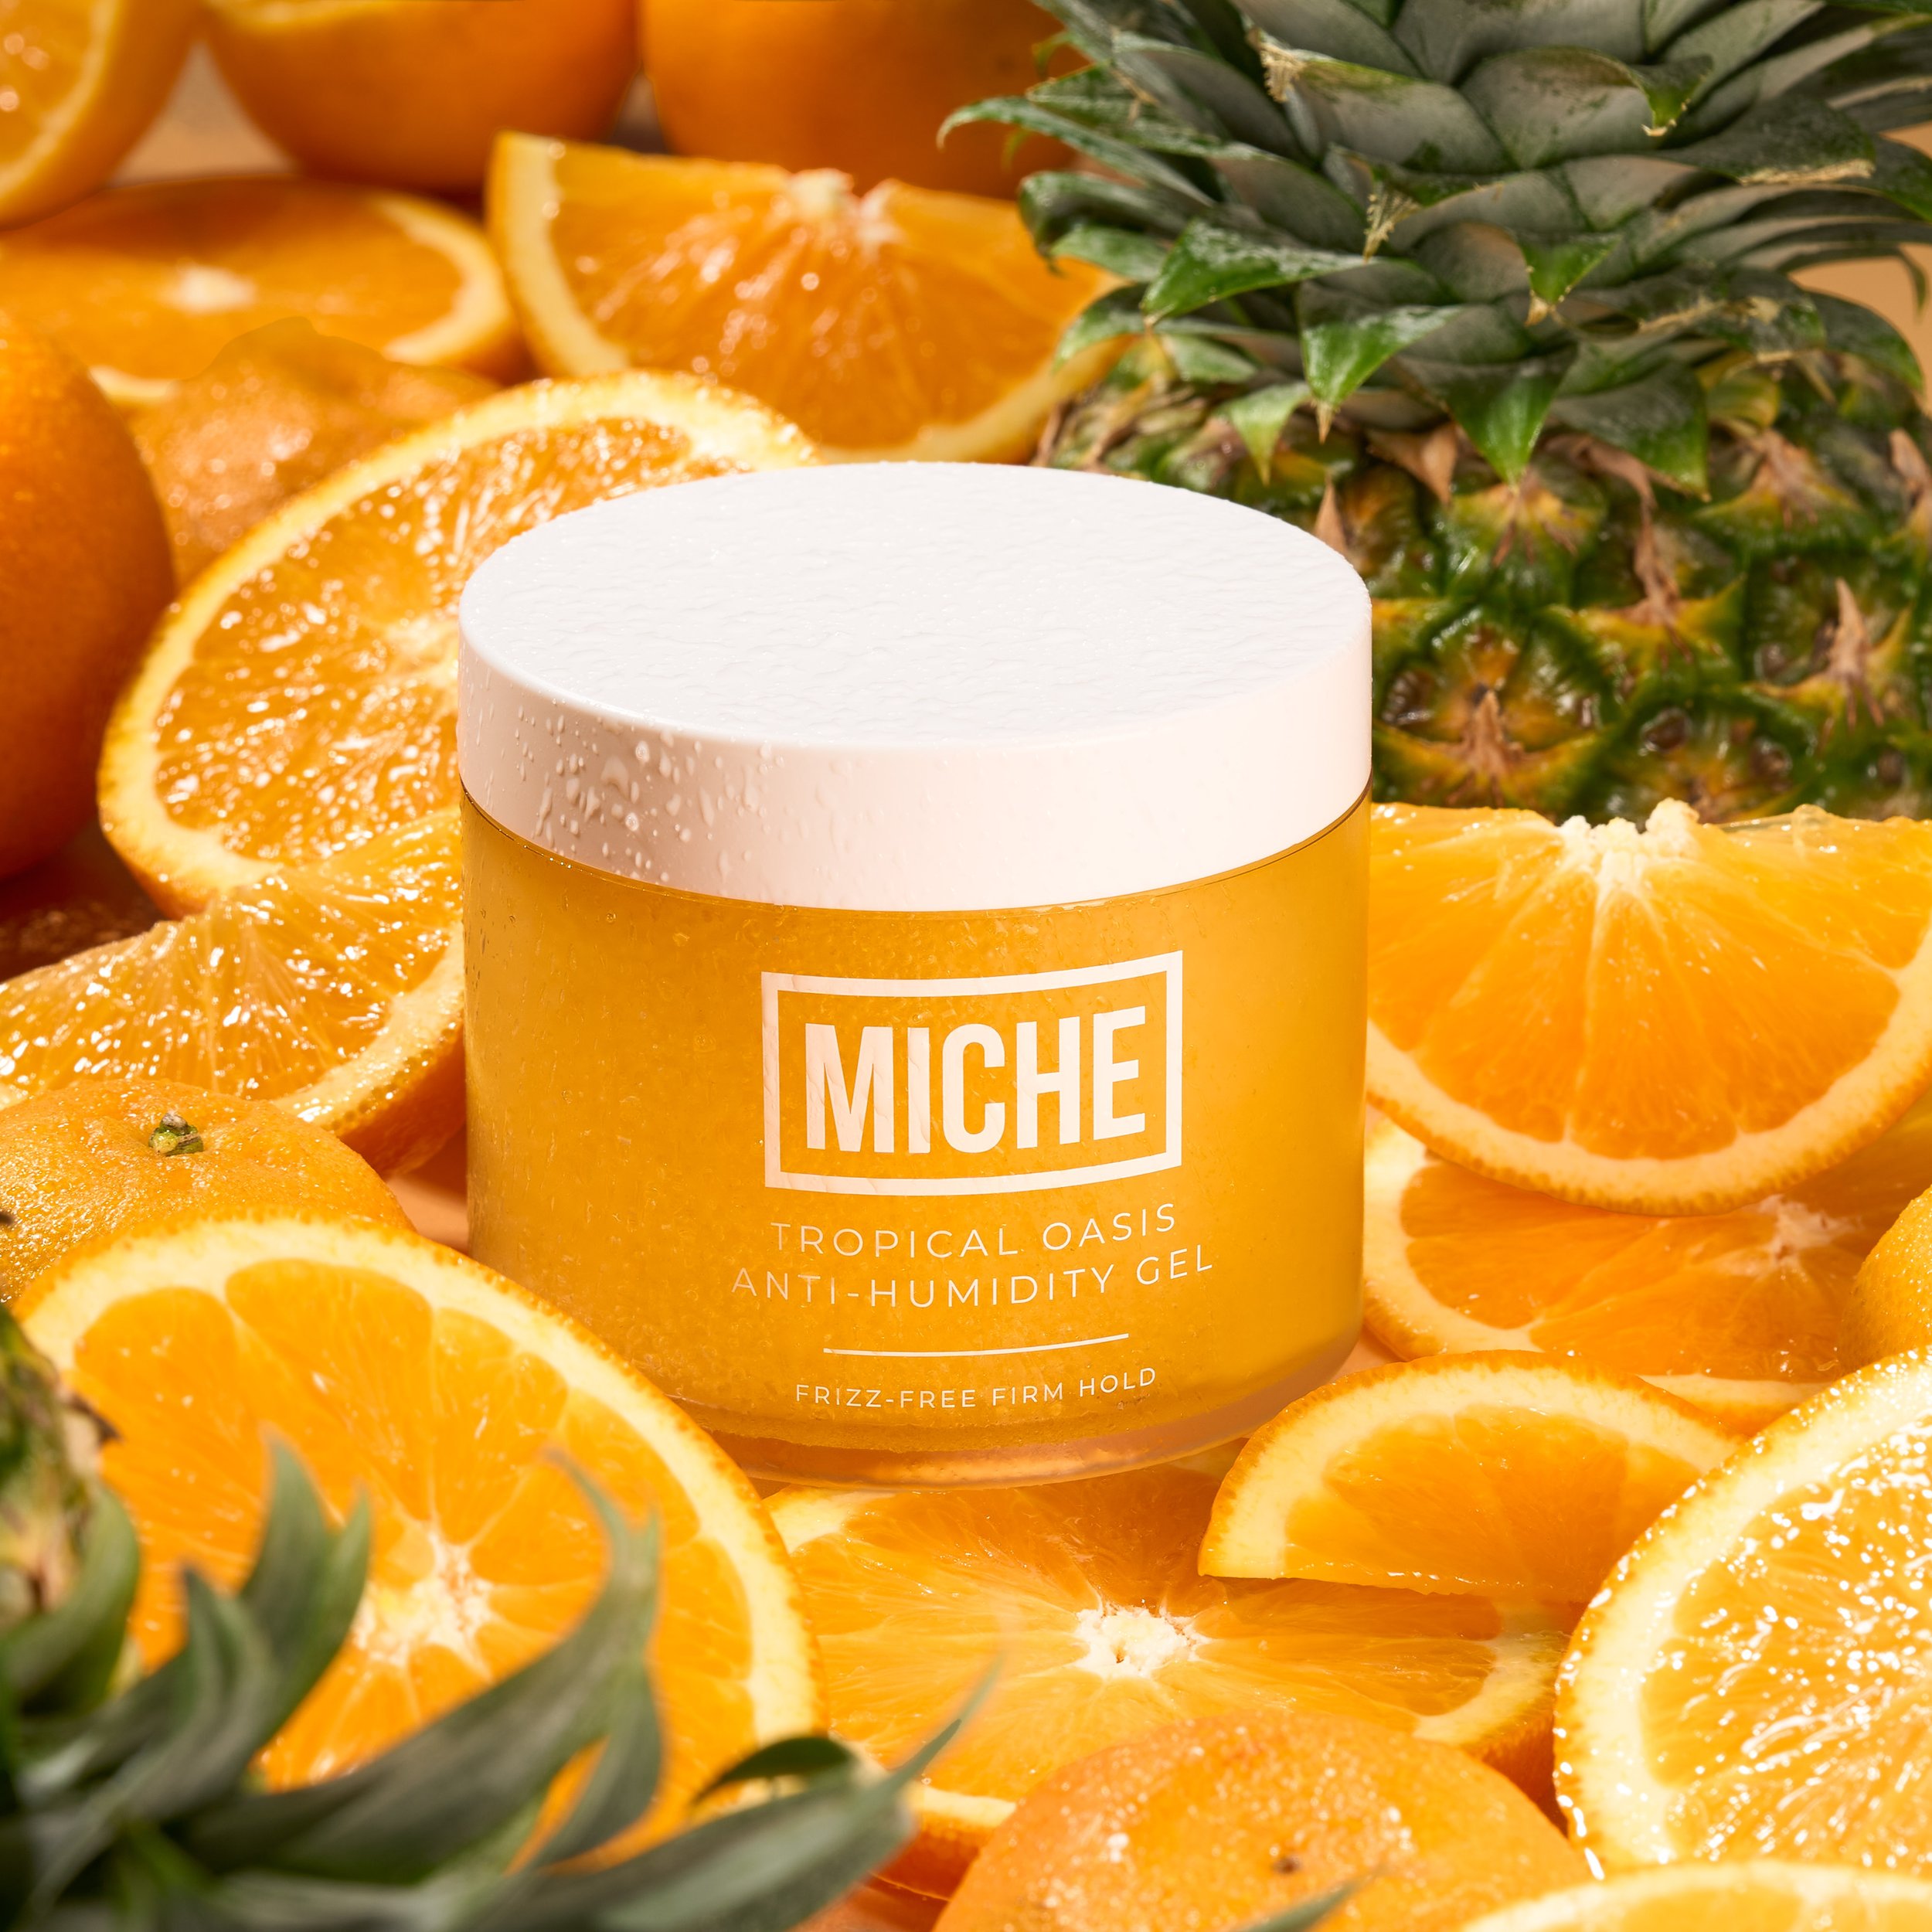
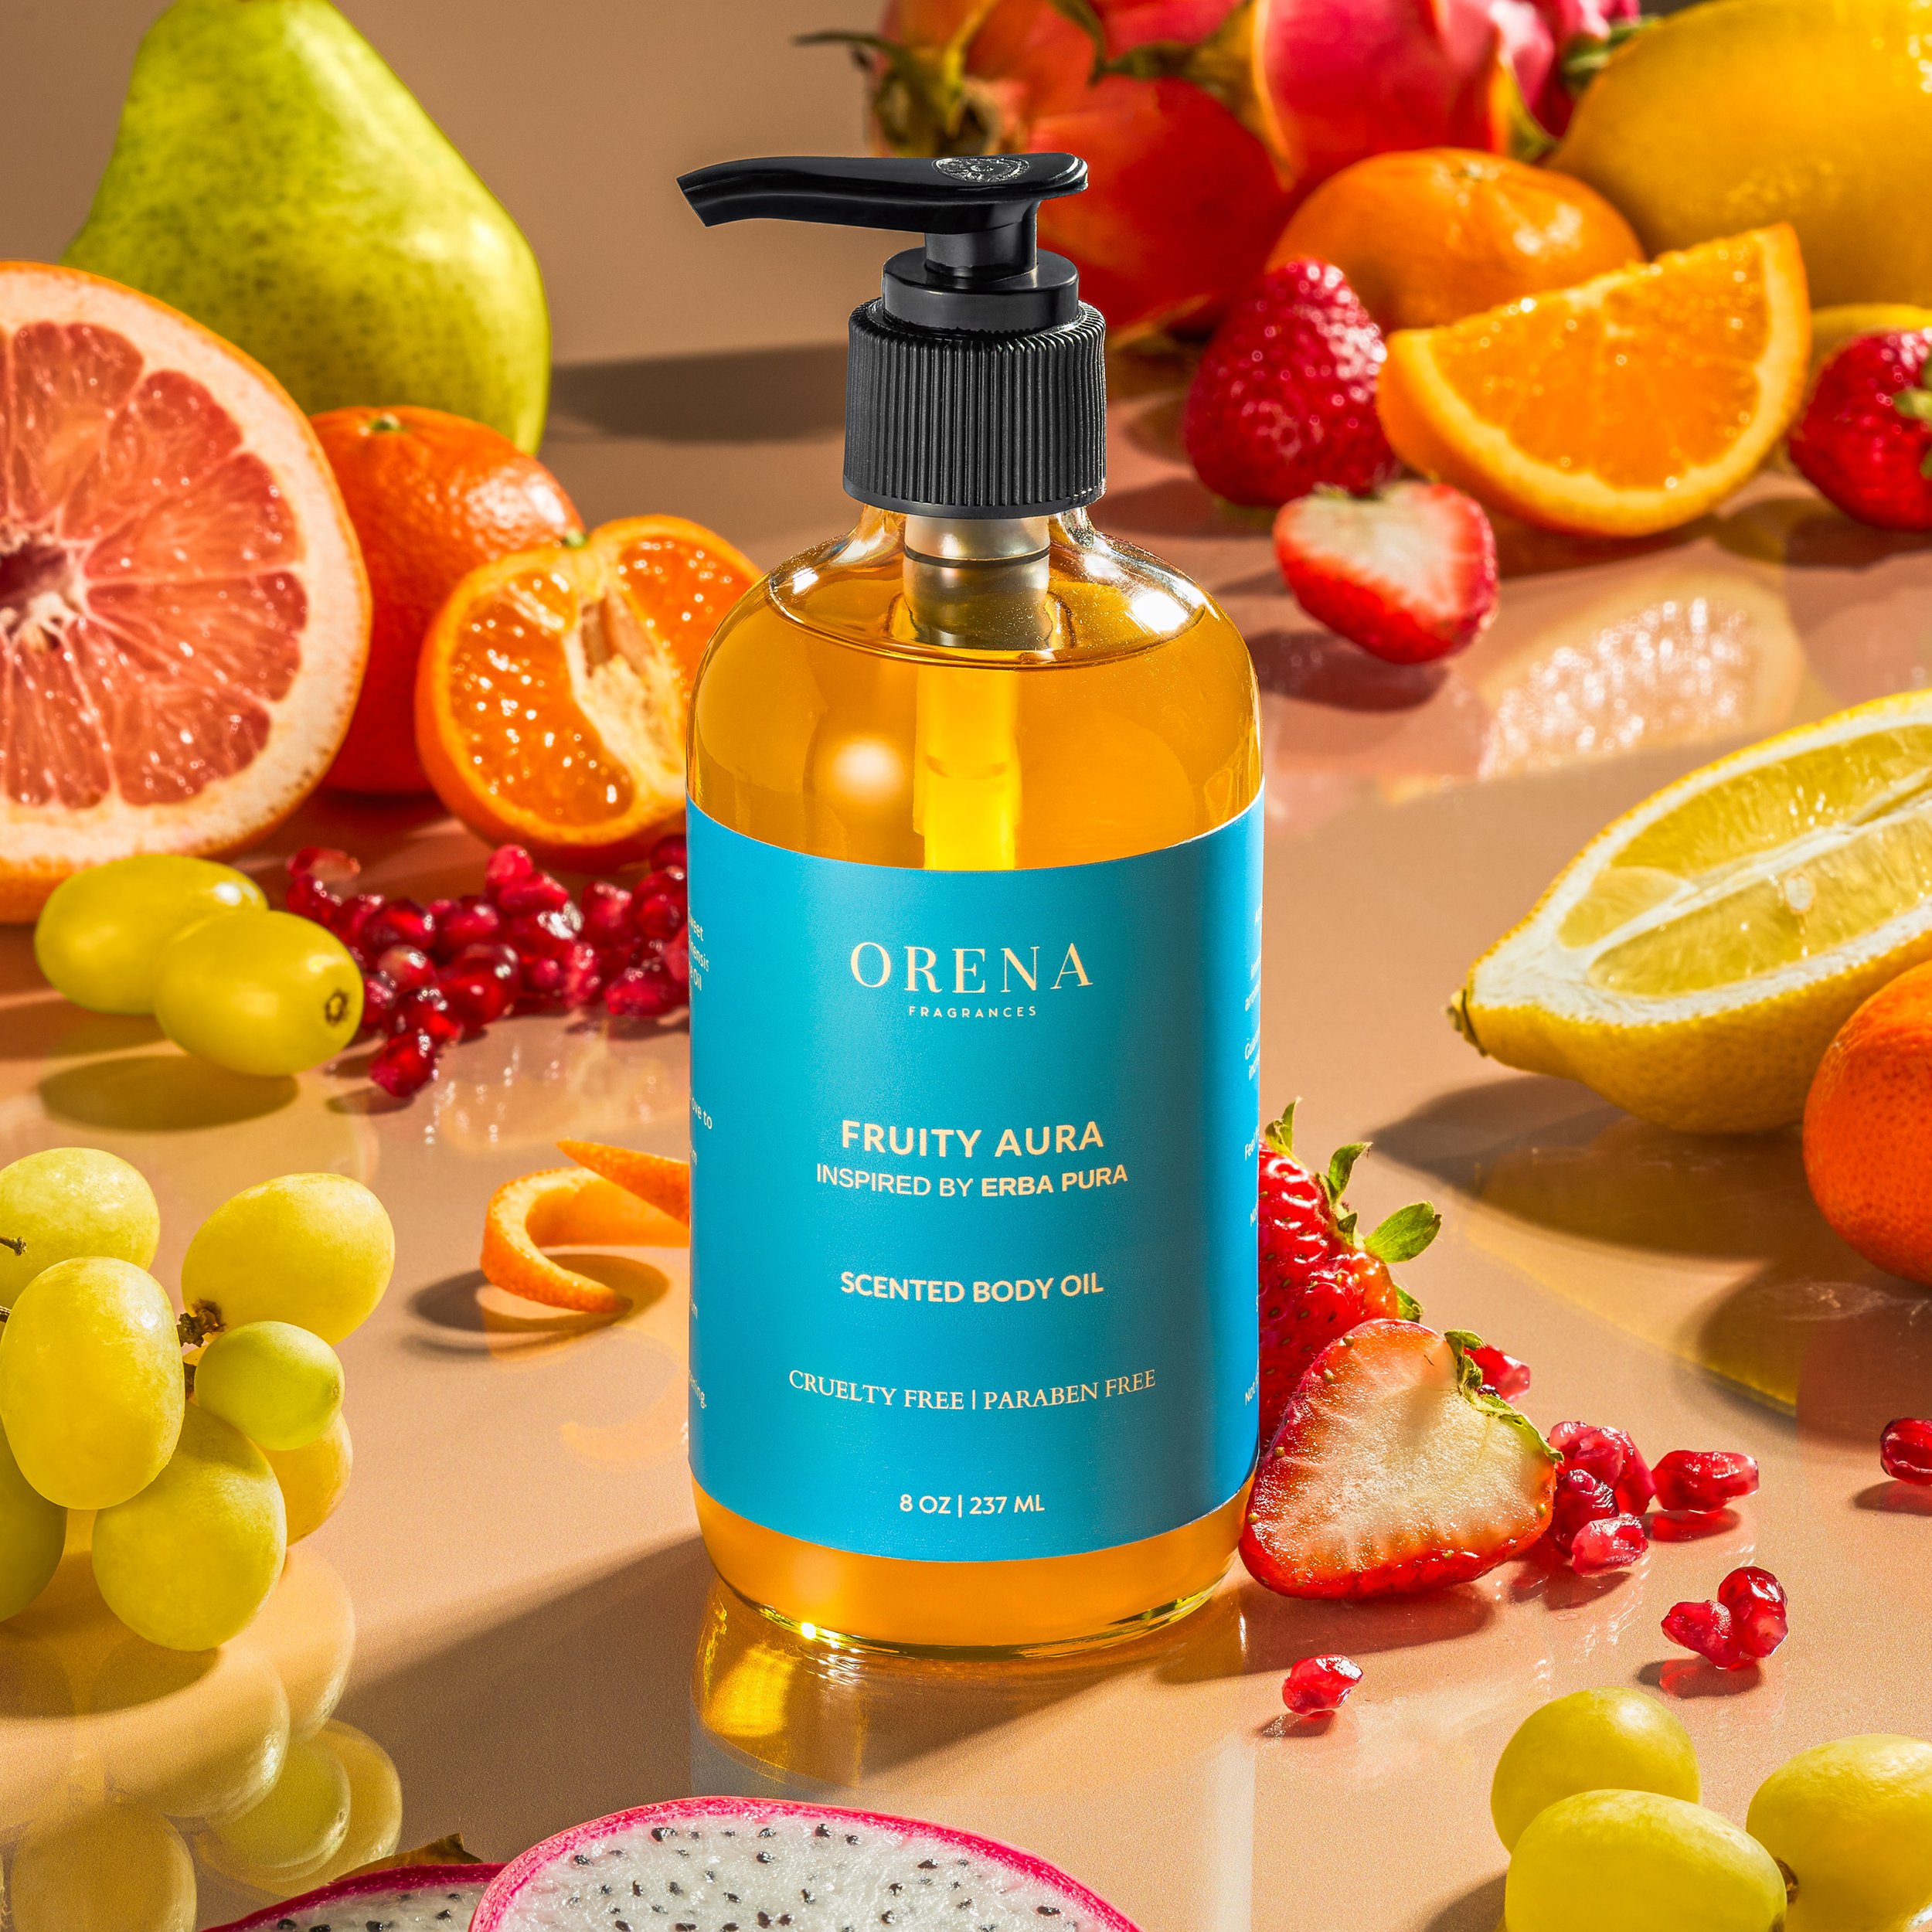
This technique uses bright and soft light to create an airy, clean, and light-filled effect. It works well for fresh, vibrant, and healthy food, such as salads, smoothies, or fruits. High-key lighting helps emphasize the natural colors and freshness of the food, giving it a light, approachable feel. It's perfect when you want to showcase the purity and freshness of ingredients, ideal for skincare brands with natural and wholesome ingredients like aloe vera or honey.
Low-Key Lighting:

In contrast, low-key lighting uses more dramatic, darker lighting with strong shadows and high contrast. This technique is great for indulgent or rich foods like chocolate desserts, steaks, or deep-fried dishes.
It adds depth, mystery, and drama to the image, creating a luxurious, sophisticated look. Low-key lighting also helps to highlight glossy or shiny textures, making it perfect for beauty products that feature rich oils or creams, or foods with a glossy finish like glazed pastries. Check out our detailed guide on dark & moody food photography.
Using Colored Gels and Shadows to Add Depth

Adding colored gels or using shadows creatively can enhance the storytelling in your food photography.
Colored Gels:
By placing colored gels over your light source, you can introduce subtle hues that evoke specific emotions. For instance, a warm orange or red gel might create a cozy and inviting atmosphere, perfect for comfort foods like soups or stews. Cooler tones like blue or green can give your food images a refreshing clean look that makes them ideal for healthy or fresh foods like salads or smoothies.
Shadows for Drama:
Shadows add depth and dimension to your photos, making the food feel more tactile and real. Use shadows strategically to guide the viewer's eye and emphasize certain features of the food. For example, adding soft shadows behind a piece of chocolate can give it a more luxurious rich feel.
Step 3: Creating Hyper-Realistic Textures in Food Photography
Capturing the perfect texture in food photography is essential for making images look appetizing and conveying the true essence of the dish. Textures like melting cheese, glistening sauces, or even a splash of soup can evoke a sensory experience. Here's how to master these techniques for hyper-realistic textures.
Highlighting the ‘Perfect’ Texture
Texture is key to making food appear fresh and enticing. Some food textures, like drips of melted cheese or glistening sauces, are best captured with a few technical adjustments:
Freeze the Action: Use a high-speed shutter to freeze fast-moving textures like drips or splashes. This works well for cheese melting or liquids splashing over food. A macro lens will allow you to capture smaller details like droplets or the glistening surface of sauces.
Use a Reflector for Detail: Position a reflector near your food to bounce light onto the surface, emphasizing glossy or wet textures. For instance, in shots of creamy sauces, this makes the sauce appear luscious.
Close-Up Shots: Use close-up shots to focus on finer details like melting butter, glossy sauces, or drips of liquid. A shallow depth of field helps blur the background, bringing attention to the texture.
Simulating Real Food Environments with Set Dressing
The right props and surfaces enhance the food’s textures without overpowering it.
Matte Textures for Natural Appeal: Use matte surfaces like linen or rough wooden boards to let the food’s texture pop. These surfaces work well for rustic or wholesome dishes like bread, fruits, or vegetables.
Glass Surfaces for Reflection: For shiny foods, like glazed pastries or oily dishes, glass surfaces add depth and reflection, amplifying the food’s luxurious texture.
Rustic Props for Warmth: For hearty dishes, use rustic props such as cast iron pots or ceramic bowls to create an inviting environment, enhancing the perception of the food’s texture.
Cinematic Photography: Bringing Action into Still Life
Adding motion or props can turn a still food photograph into a dynamic image.
Splash of Sauce: Add a dramatic splash of sauce or liquid to your shot, like a burst of chocolate syrup or sauce dripping off a spoon. This adds energy and draws attention to the texture of the food.
Hand-Model Action: Introducing a hand reaching for the food, stirring, or drizzling a topping adds life to the shot and highlights the texture in an engaging way.
Smoke and Steam: Capturing steam or smoke from hot dishes adds depth and realism. The swirls of steam can convey warmth and freshness, enhancing the image’s appeal.
Step 4: The Art of Food Styling for Commercial Photography
Food styling plays a key role in creating enticing images that elevate the product's appeal, especially in beauty product photography where food-based ingredients are featured. Here's how to master it:
Food Composition Techniques: Layering and Creating Flow
Layering adds dimension to your photos, especially when showcasing food-based ingredients in beauty products. Negative space helps the viewer focus on the key product details, such as the texture of oils or creams. Geometric patterns can create a clean and organized flow, perfect for luxury skincare items.
Color Theory in Food Styling

Contrasting colors like vibrant citrus paired with neutral tones bring energy and freshness, ideal for beauty products with food-based ingredients. Complementary colors, such as rich greens with gold accents, create harmony and elevate the natural appeal of the ingredients.
Step 5: Mastering Camera Settings for Food Photography
Mastering camera settings is essential for capturing stunning food photos. Here’s how to fine-tune your settings for the best results.
How to Use Aperture to Control Depth of Field
A wide aperture (low f-stop like f/2.8 or f/4) creates a shallow depth of field, blurring the background and highlighting food details. This bokeh effect emphasizes textures, like the gloss of a sauce or delicate layers of a dish. Use a smaller aperture (higher f-stop) for more focus across the scene, ideal for overhead shots.
Choosing the Right Shutter Speed for Food Movement
To freeze fast action, like pouring or splashing, use a fast shutter speed (1/500 or higher). For a soft, dynamic effect, such as a slow pour, use a slower shutter speed (1/60 or 1/125) to convey movement.
Focusing on the Right Areas: Selective Focus Techniques
Manual focus helps emphasize specific textures or details, like the shine on a pastry or the layers of a dessert, guiding the viewer’s attention to key elements in the shot.
Step 6: The Role of Backgrounds and Props in Building a Scene

The right backgrounds and props are key to crafting a compelling food scene. They set the tone, draw focus to the food, and can enhance the story you want to tell.
Minimalistic Backgrounds for High-End Food Photography
For high-end food and luxury haircare photography, use sleek, simple backdrops like white, black, or soft neutrals. These minimalist backgrounds keep the focus on the product, ensuring it stands out as sophisticated and refined. This approach works well for premium food dishes or beauty products like shampoos and serums.
Textured and Rustic Backgrounds for Artisan or Homemade Products
When styling for haircare products with natural ingredients, and artisan or organic food, textured and rustic backgrounds are perfect. Wooden surfaces, stone textures, or linen fabrics evoke an organic, homemade feel that complements food like artisanal bread or skincare products with plant-based ingredients.
For haircare, textures like wood or natural fibers reinforce the idea of nourishing eco-friendly ingredients. These backgrounds give a natural authentic look, ideal for showcasing handmade or organic products.
Smart Prop Usage: How Much Is Too Much?
Props should complement, not overpower, the product. Use minimal yet impactful items like a simple plate, towel, or plant to enhance the story without cluttering the scene. Keeping props intentional ensures the focus remains on the product.
Step 7: Post-Processing Techniques
Post-processing can elevate your food photography to the next level. Use HSL adjustments to enhance vibrancy by boosting the saturation of key colors, like reds and greens, while preserving the food’s natural look.
Adjust luminance for brightness without over-saturating or losing texture. When removing imperfections, use subtle healing brush techniques to clean up distractions like crumbs or fingerprints, but avoid excessive smoothing that could make the food look unnatural.
To create the warm glow of golden hour, adjust warmth and tone curves, increasing contrast in highlights and shadows to achieve a soft, inviting effect. These techniques help create hyper-realistic, appetizing food images.
Common Food Photography Mistakes
Food photography can be tricky, but knowing how to troubleshoot common issues can help you get the best results.
If your food looks too artificial, it’s often due to over-editing or poor styling. To make the photo appear more natural, use softer lighting and avoid heavy saturation or sharp contrasts. Focus on creating realistic textures and maintaining the food’s authentic look.
For glossy surfaces like sauces or glass jars, reflections and glare can be an issue. To avoid this, adjust your shooting angle and use a polarizer filter to minimize reflections. You can also diffuse light to soften the shine.
If your photos are grainy or blurry, it’s typically due to low ISO or slow shutter speed. Increase your ISO to reduce noise, and ensure the shutter speed is fast enough to capture sharp details. For blurry shots, focus on using a tripod to stabilize your camera and maintain focus on key elements.
Conclusion
Food product photography demands skill, professional equipment, and a keen eye for detail, from perfecting lighting to arranging props. It takes time and effort to capture the textures, colors, and essence of your products in a way that connects with your audience.
We’ve written this article to help you understand what goes behind food product photography and the techniques required to achieve stunning results. At Mainstream Multimedia, we specialize in professional product photography including ingredient-based shots. If you're looking to improve your product images, we can help create high-quality photos that truly showcase your brand.